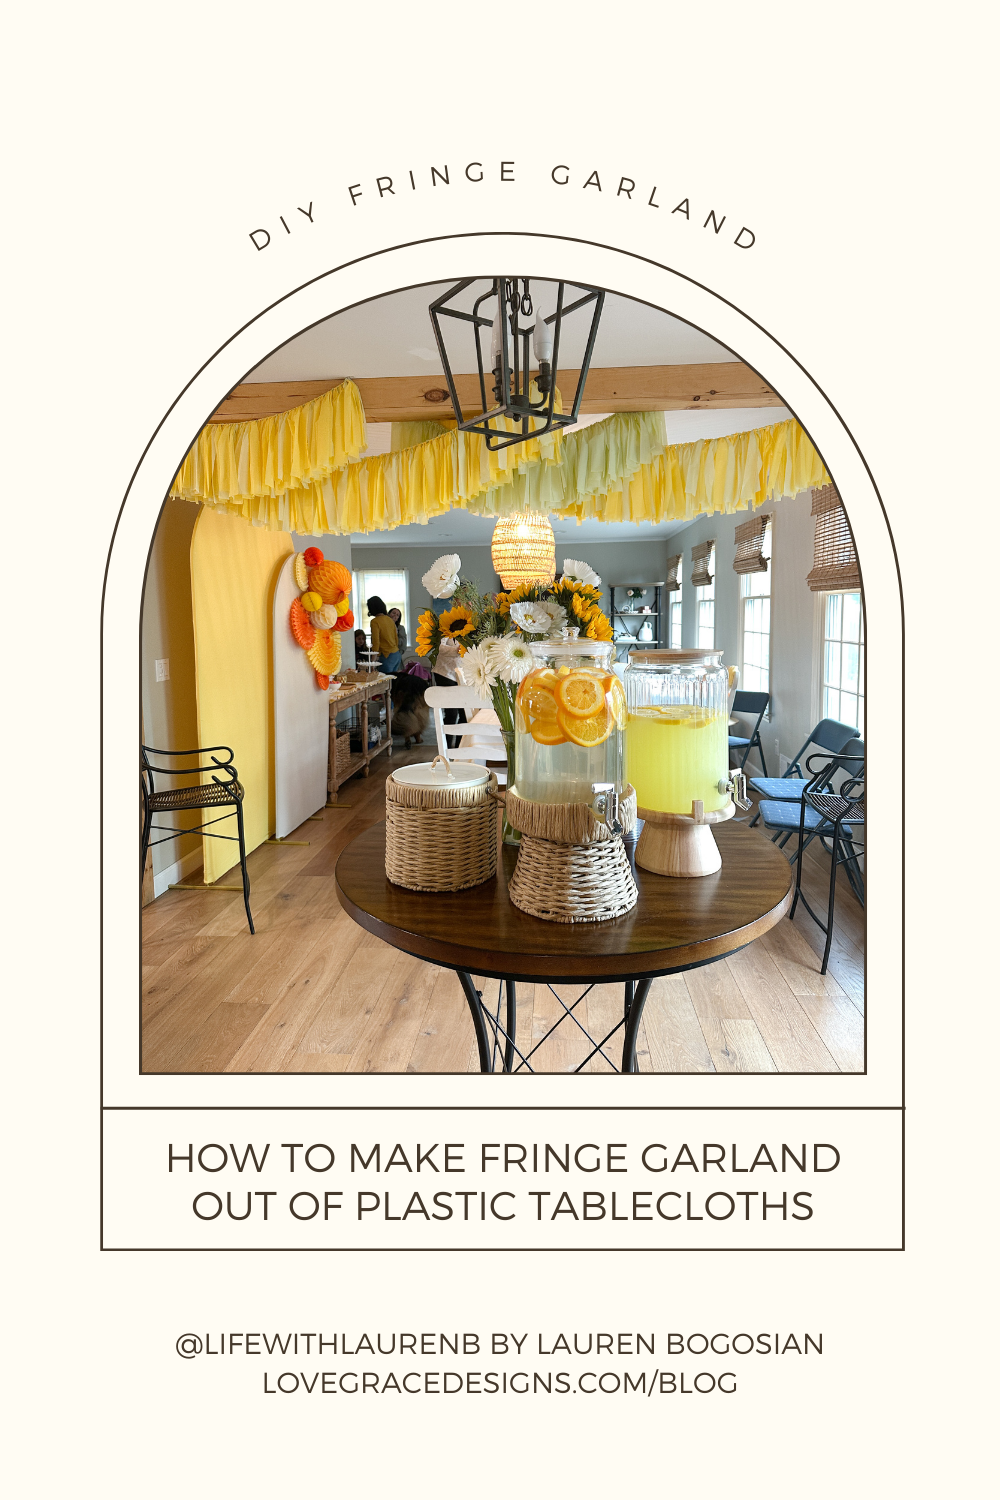
I saw fringe garland backdrops on Pinterest and quickly did a deep dive into researching them. I found the original post from Deb Trette’s Instagram and was ready to make this backdrop for Sonny’s first birthday party.
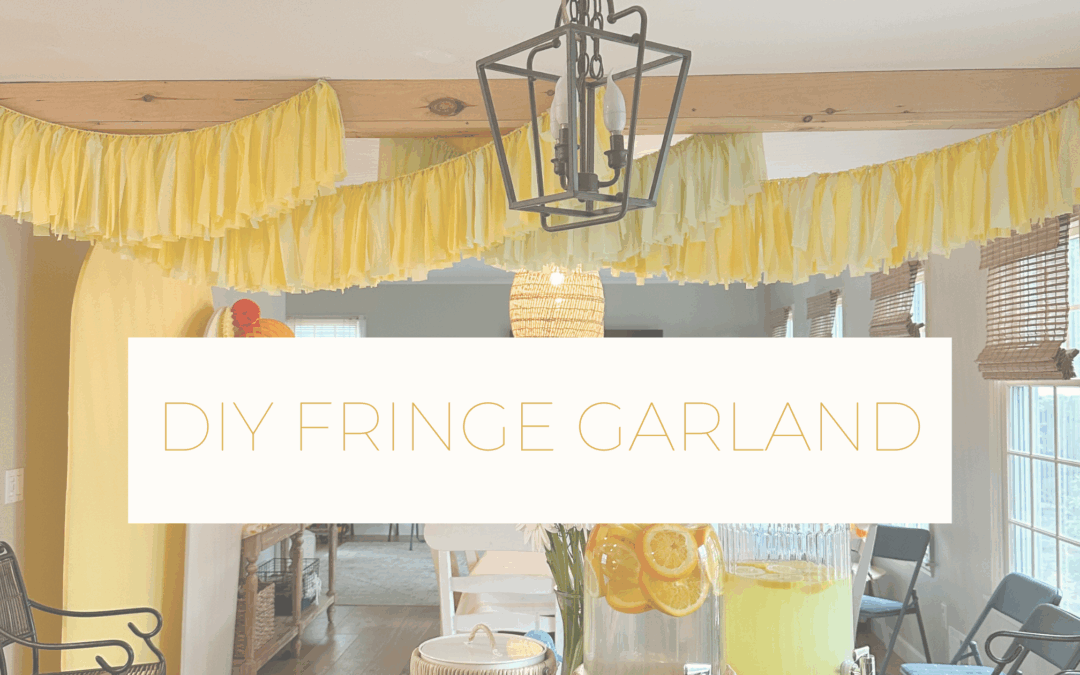
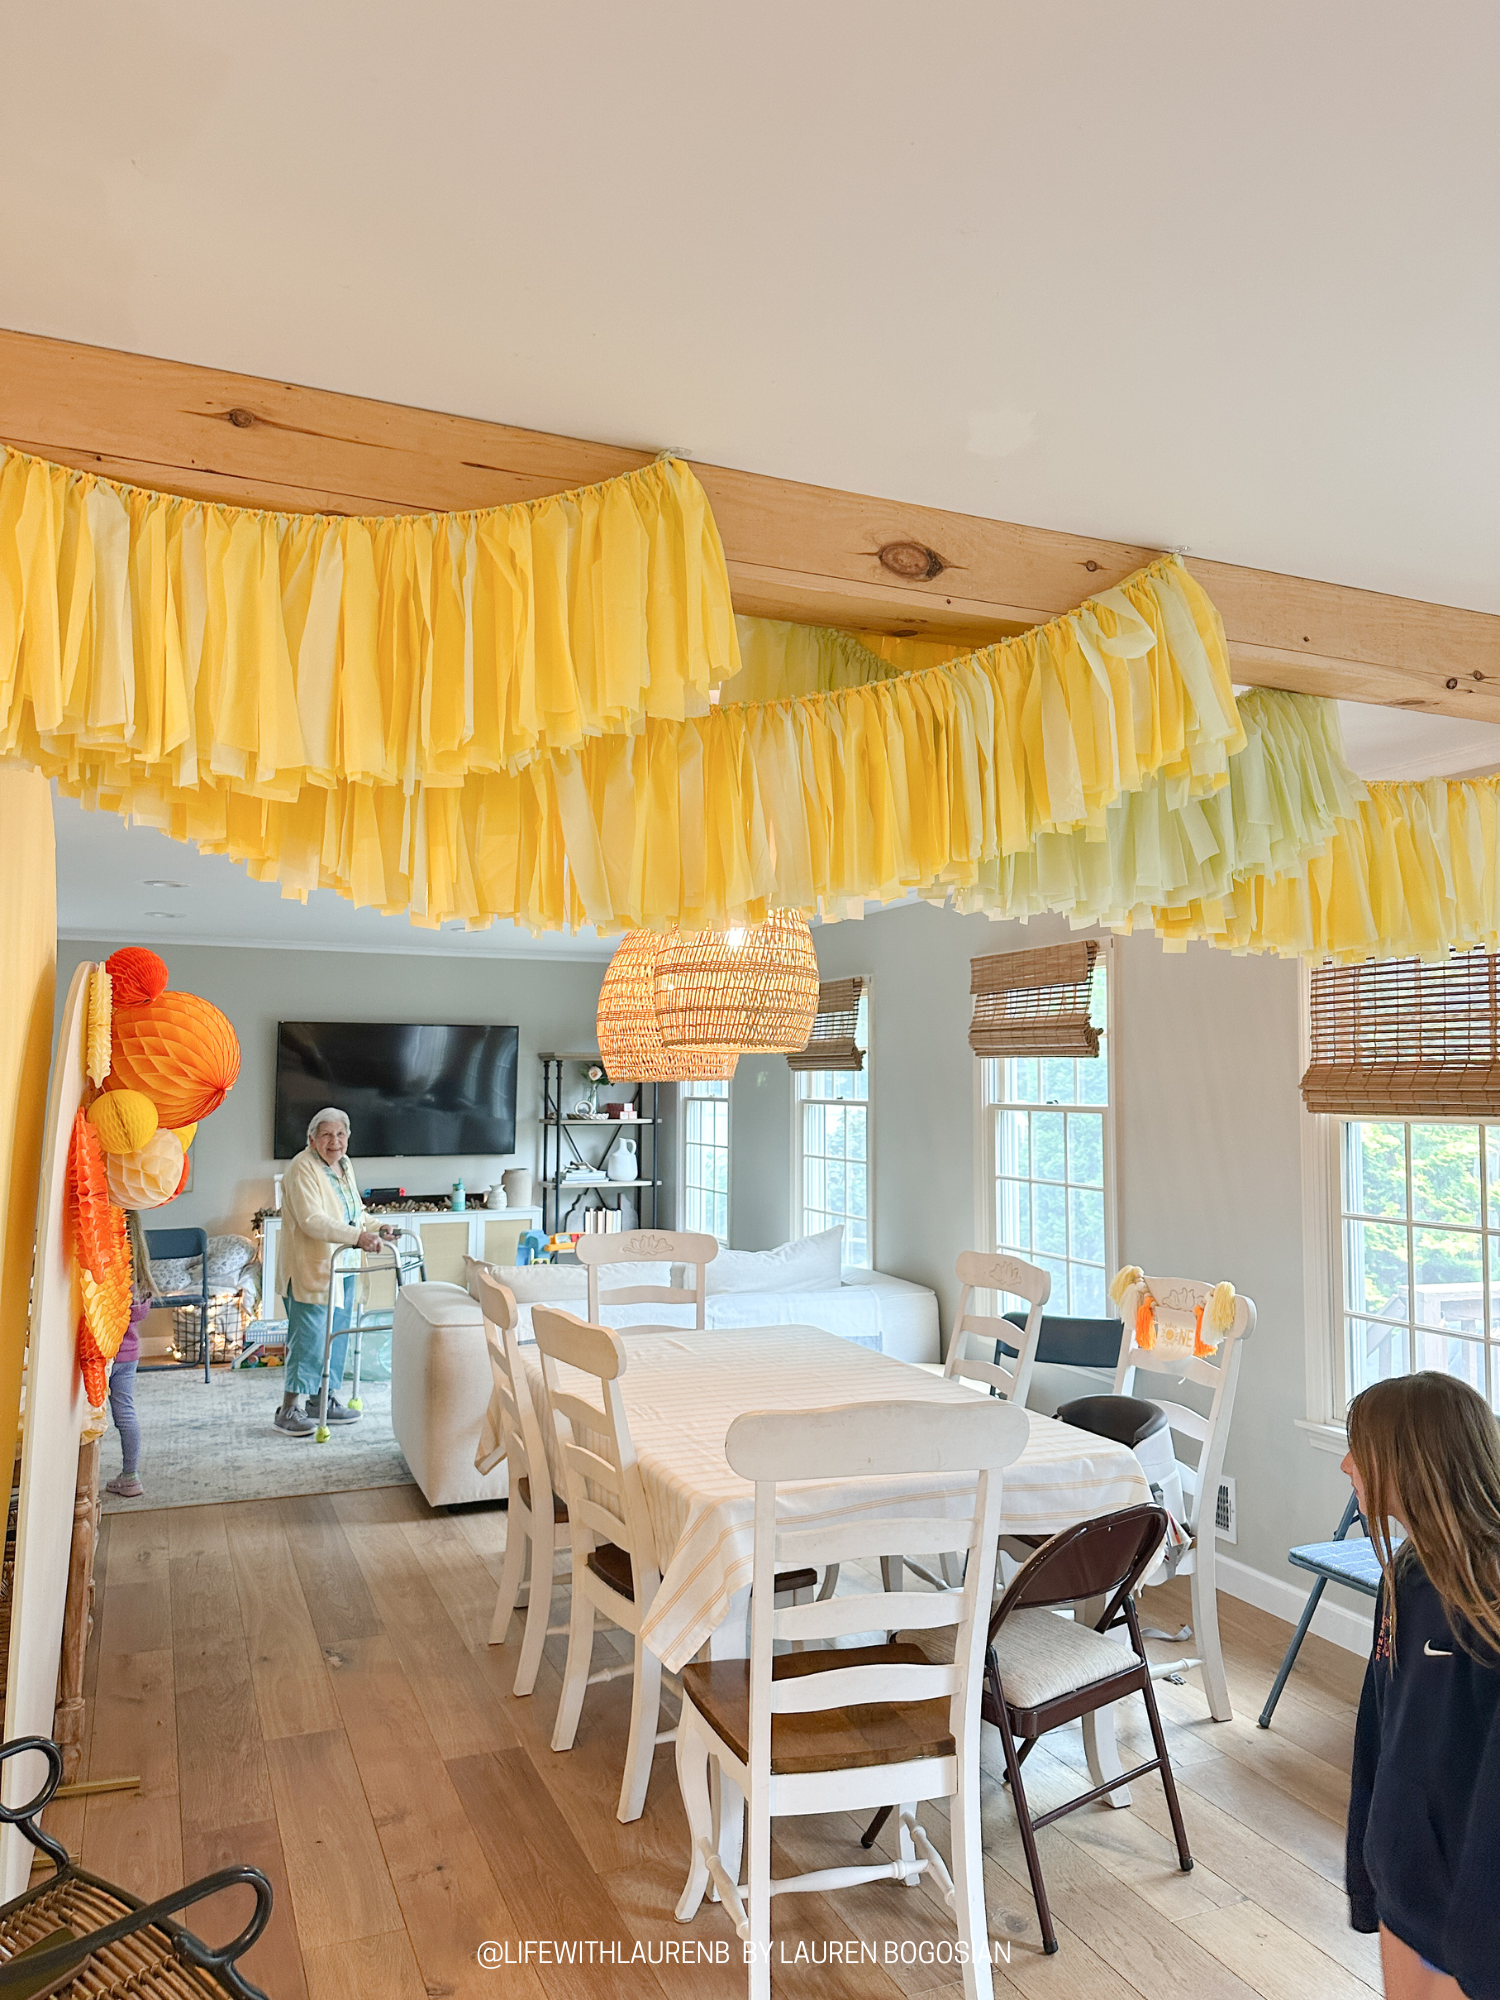
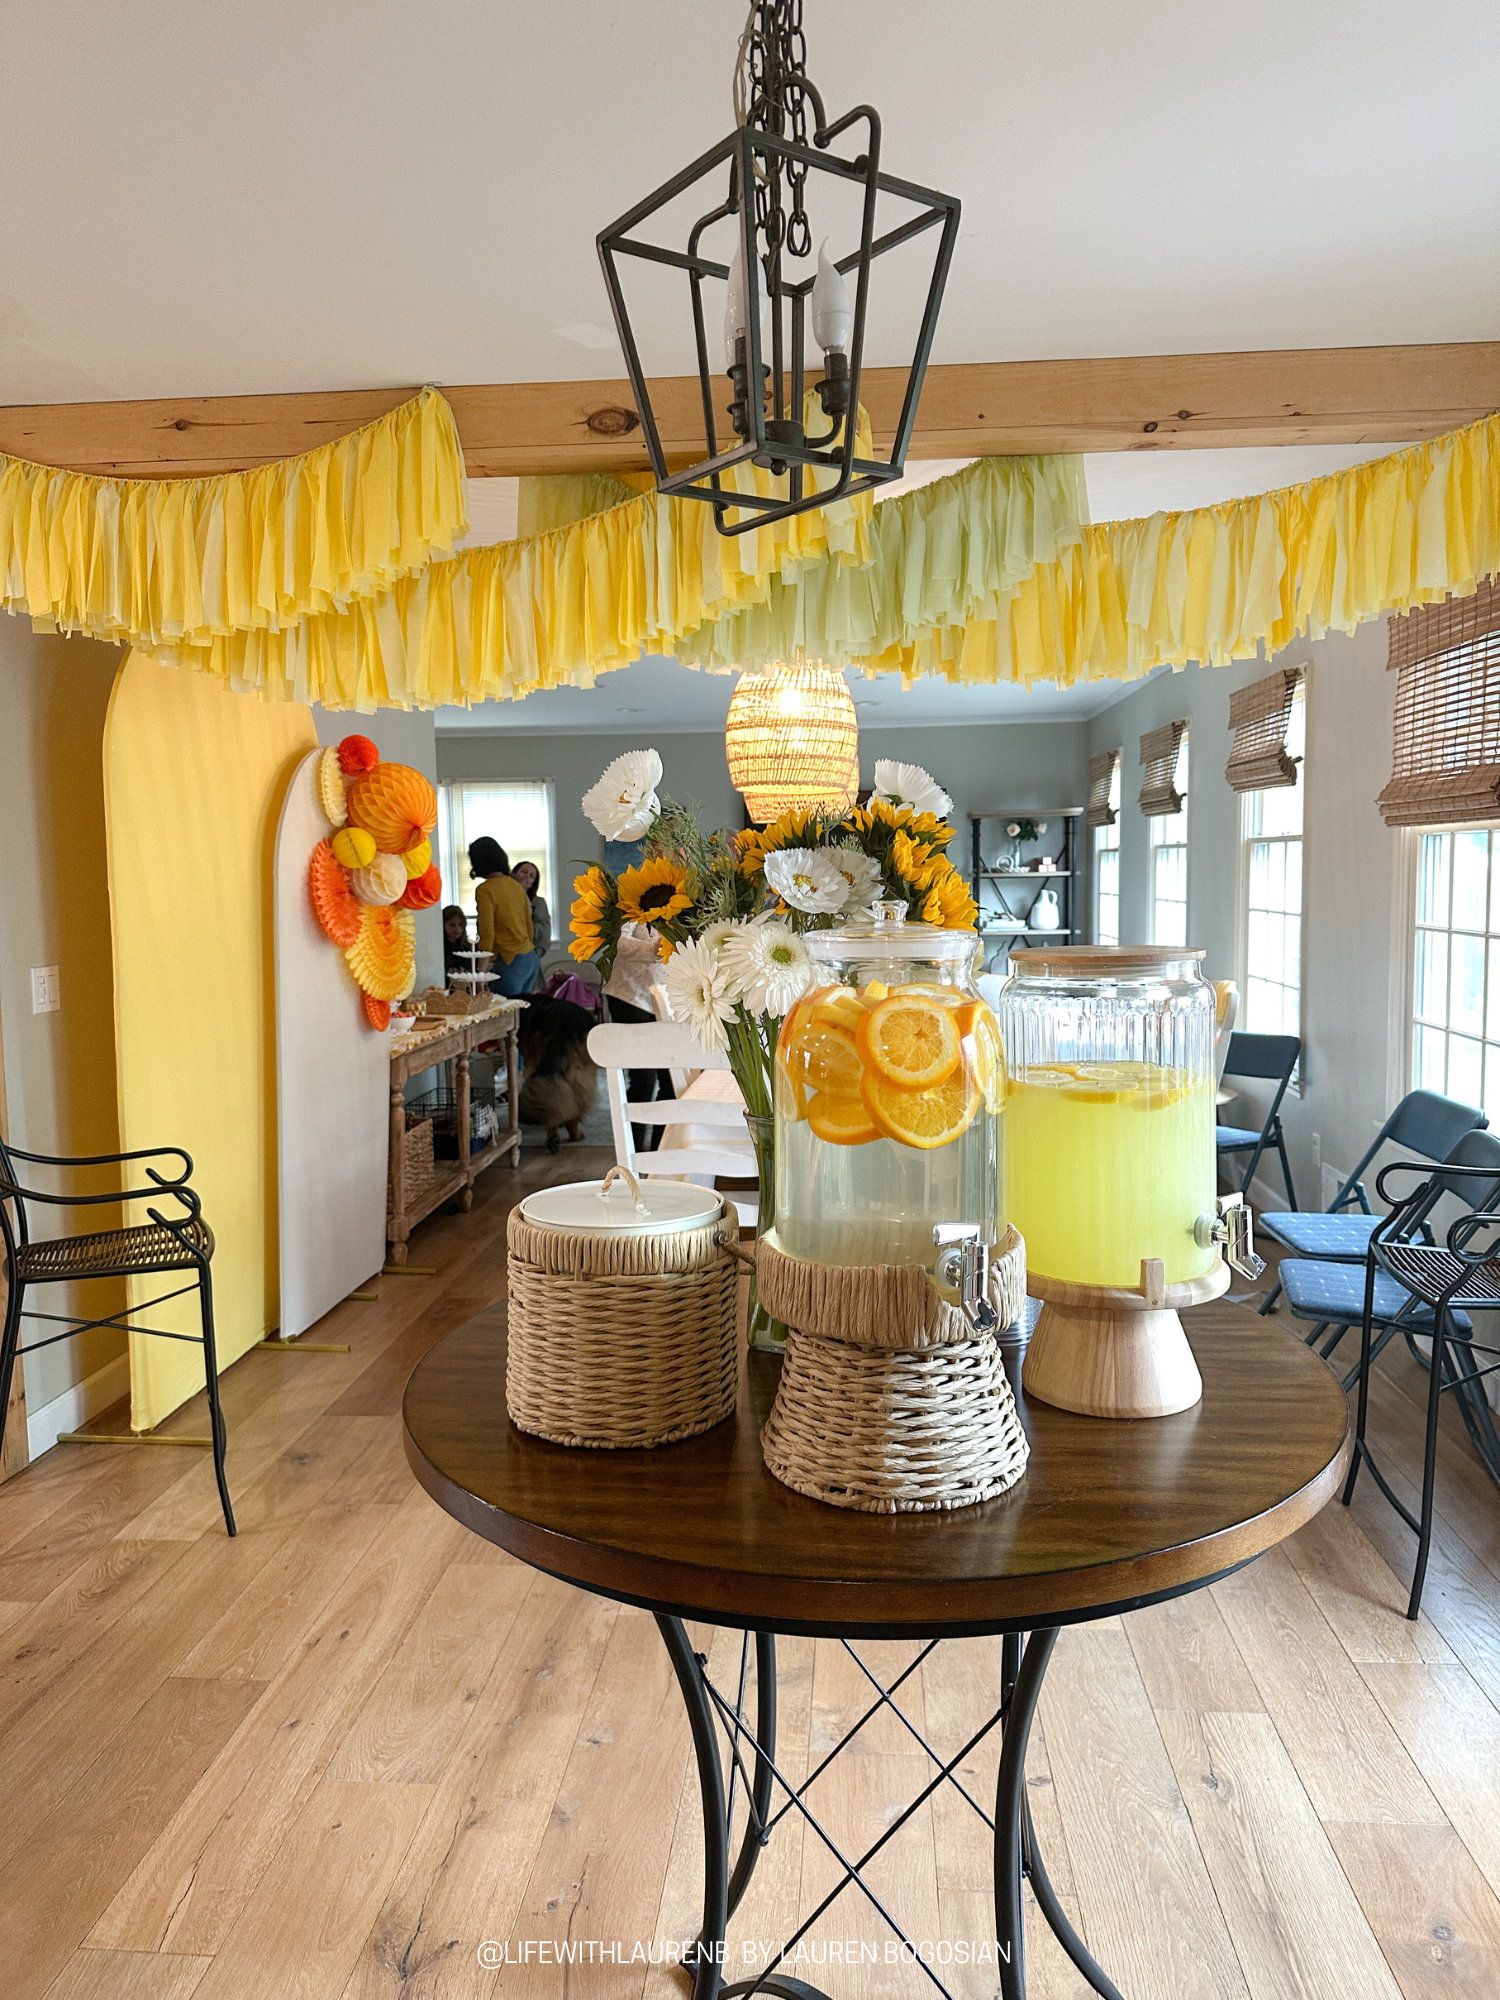
The birthday party was supposed to be outside at a park that has a large pavilion. The middle section of the pavilion is 14 feet so that is what I initially planned to cover. I wanted to make a few different lengths to layer over and around each other rather than one full 14 foot one. After deciding to bring the party to our house due to pouring rain the day of, I hung it up in the middle of our house around our cased opening.
What You Need
You’ll need some very basic items to make fringe garland!
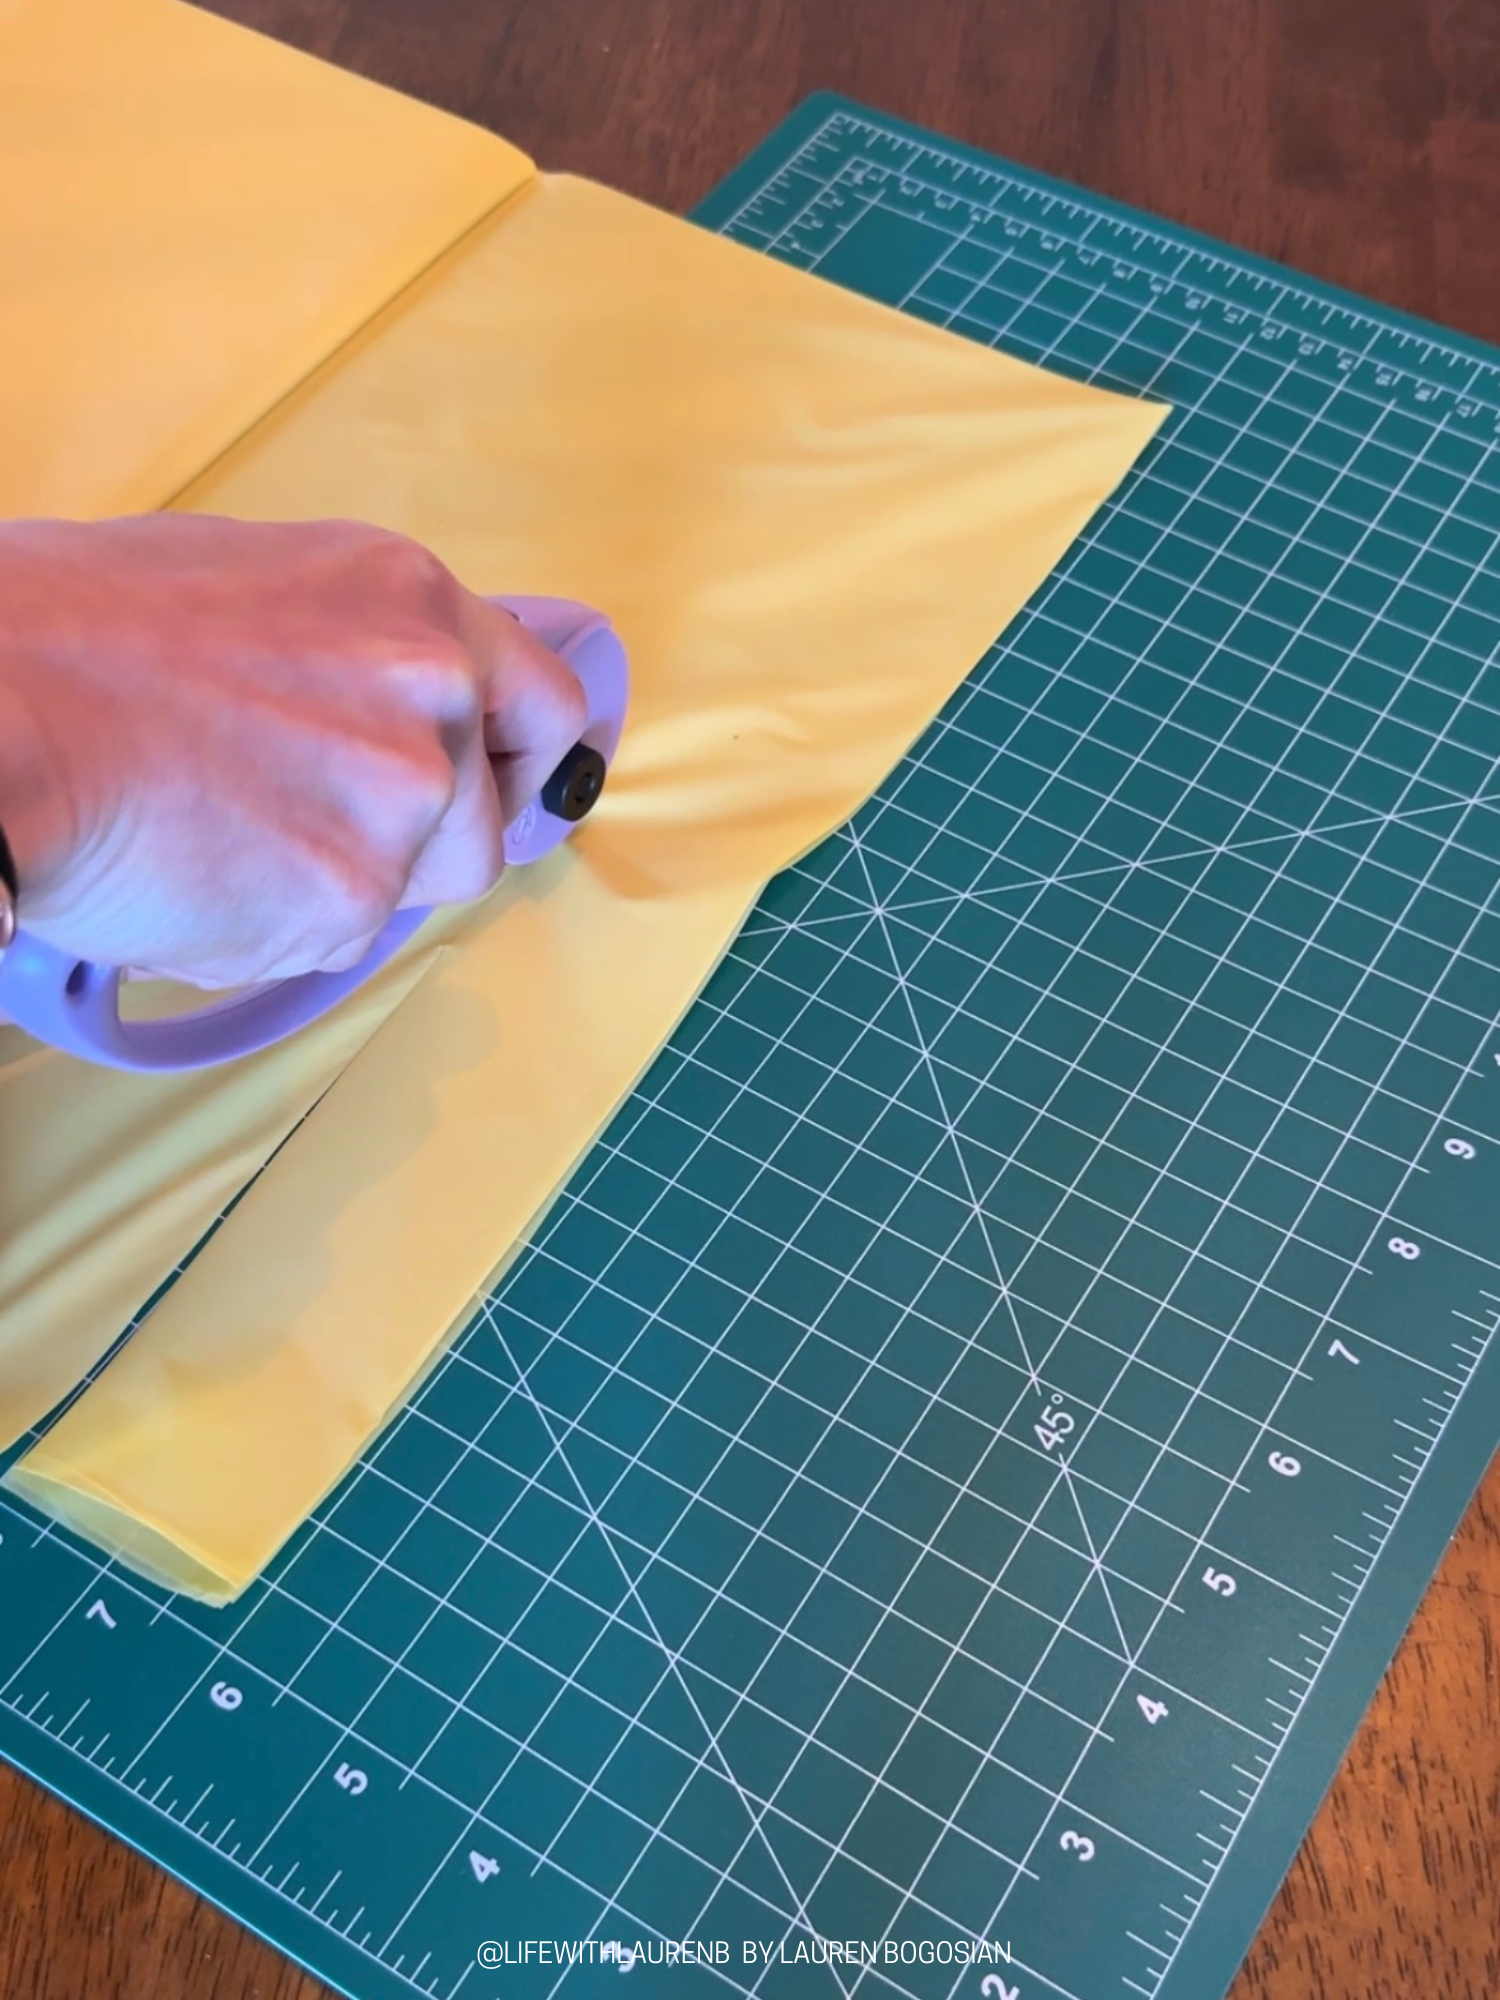
- Plastic tablecloths
- Circular cutter
- Cutting mat
- String/twine
- Scissor

I bought a 10 pack of light yellow plastic tablecloths from Amazon and when I received them they looked like a pistachio/melon color….so obviously NOT light yellow. I bought a different plastic tablecloth in yellow that came in a 6 pack. While making them, I bought another pack of the yellow because I thought I wouldn’t use the ‘light yellow’ ones but we wound up not even needing the second order. I mixed the two colors and they came out great together!

How To Make the Fringe Garland
I made 2, 6 foot garlands, 3, 4 foot garlands, and was halfway through making a 4th, 4 foot garland when we decided to keep it indoors at our house so we knew it wouldn’t be needed.
I mixed the light yellow and yellow for both 6 foot garlands and 2, 4 foot ones. I alternated 2 yellow strips and 1 light yellow strip. I did 1 full light yellow 4 foot garland.
I cut them into 2 inch strips. I unfolded the tablecloths just enough to have the top still folded in half once. Cutting it like this made 2 strips per cut.
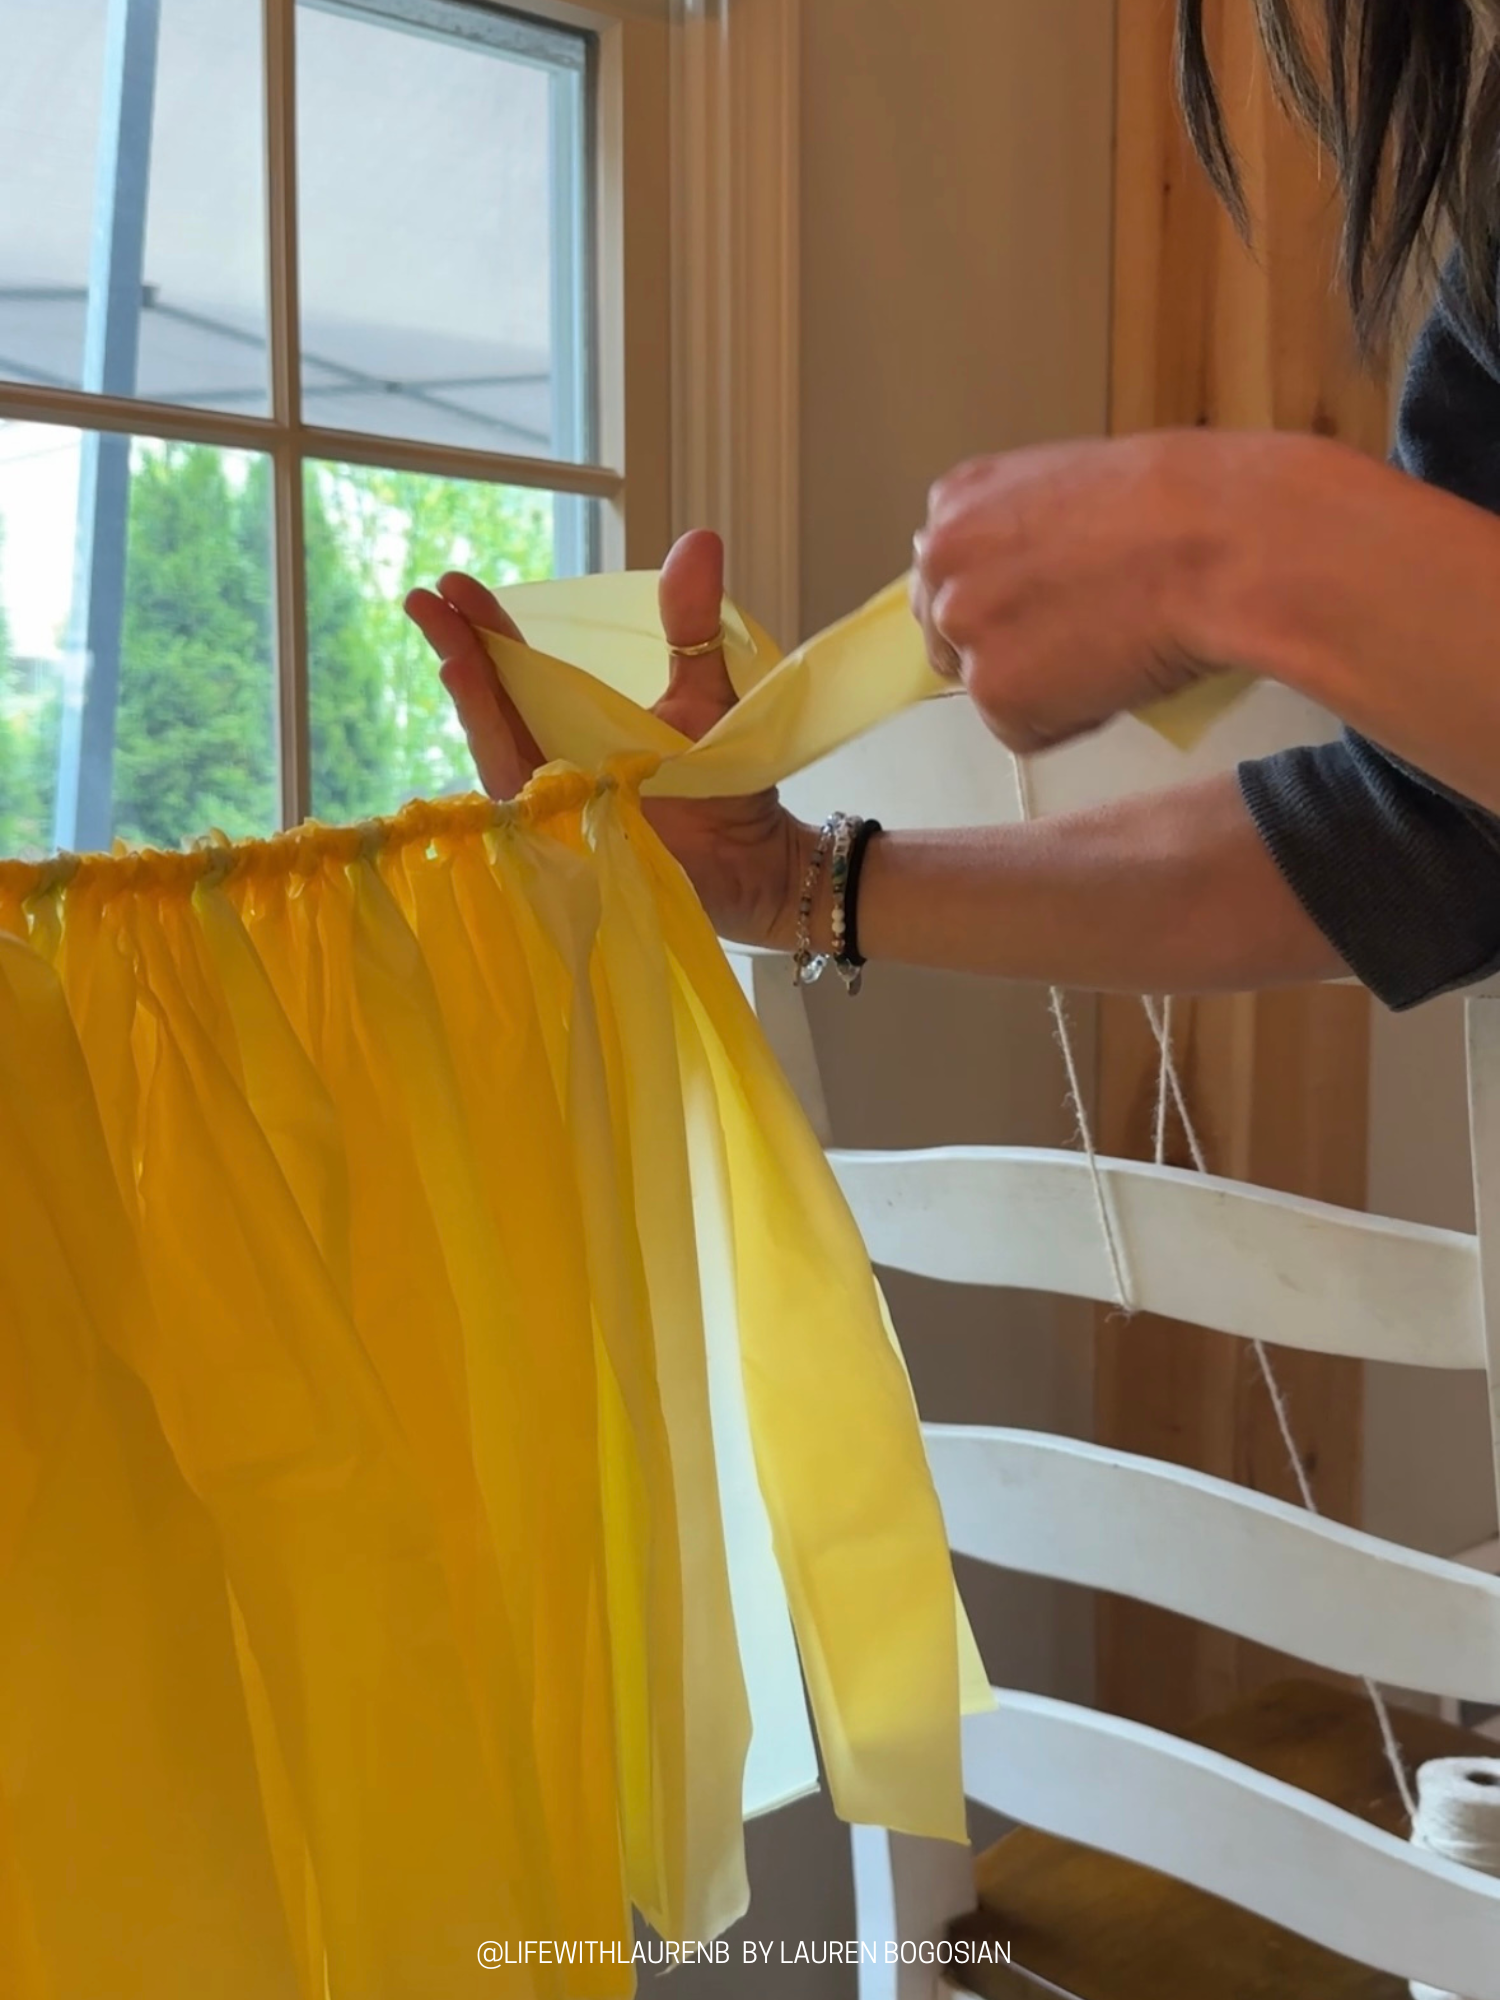
You make a loop, then bring the two ends through the loop and tighten. Then repeat a million times. LOL But truly, that’s it!
It’s all VERY easy, just time consuming!
Pro tip! I’m not sure if all would be like this, but after I cut them, my tablecloths still had one piece that needed to be cut on the bottom to disconnect the 2 strips. I didn’t read that anywhere so just an FYI that you’ll use the rotary cutter to cut the 2 inch strips but the bottom part that is already open, still needs just one basic cut with a scissor so that does add some time to the cutting process.
How To Hang The Garland
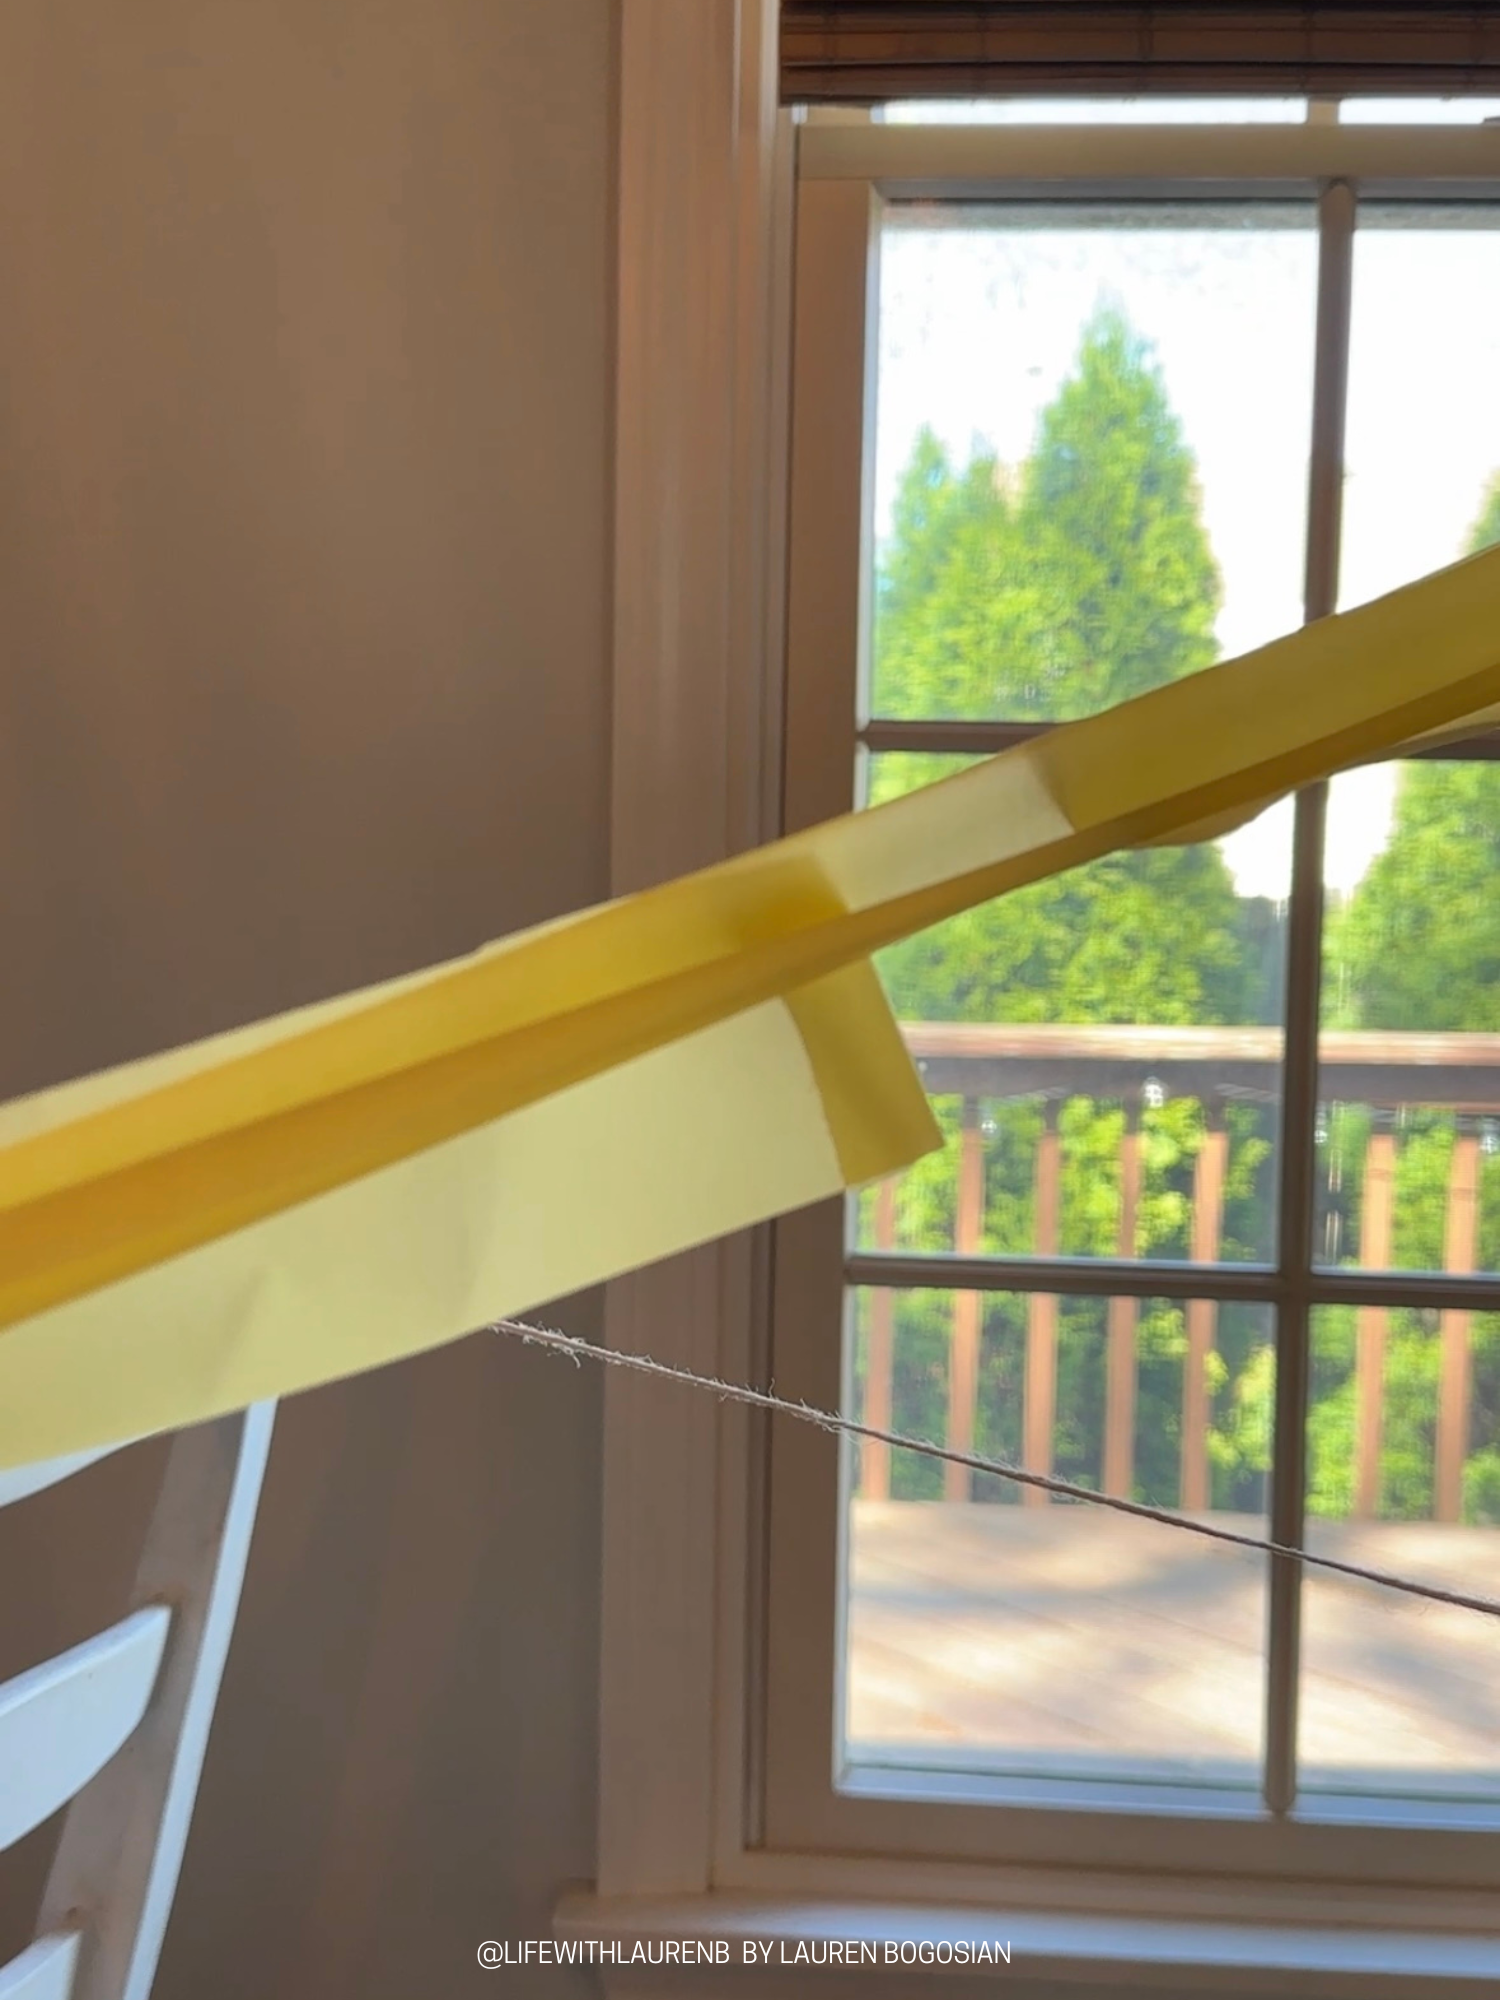
I hung the garland using command strips with hooks. I either hung the garland over the hook or knotted a loop on the end with the string and hung it on the string loop. It was very easy to maneuver and hang where you choose.
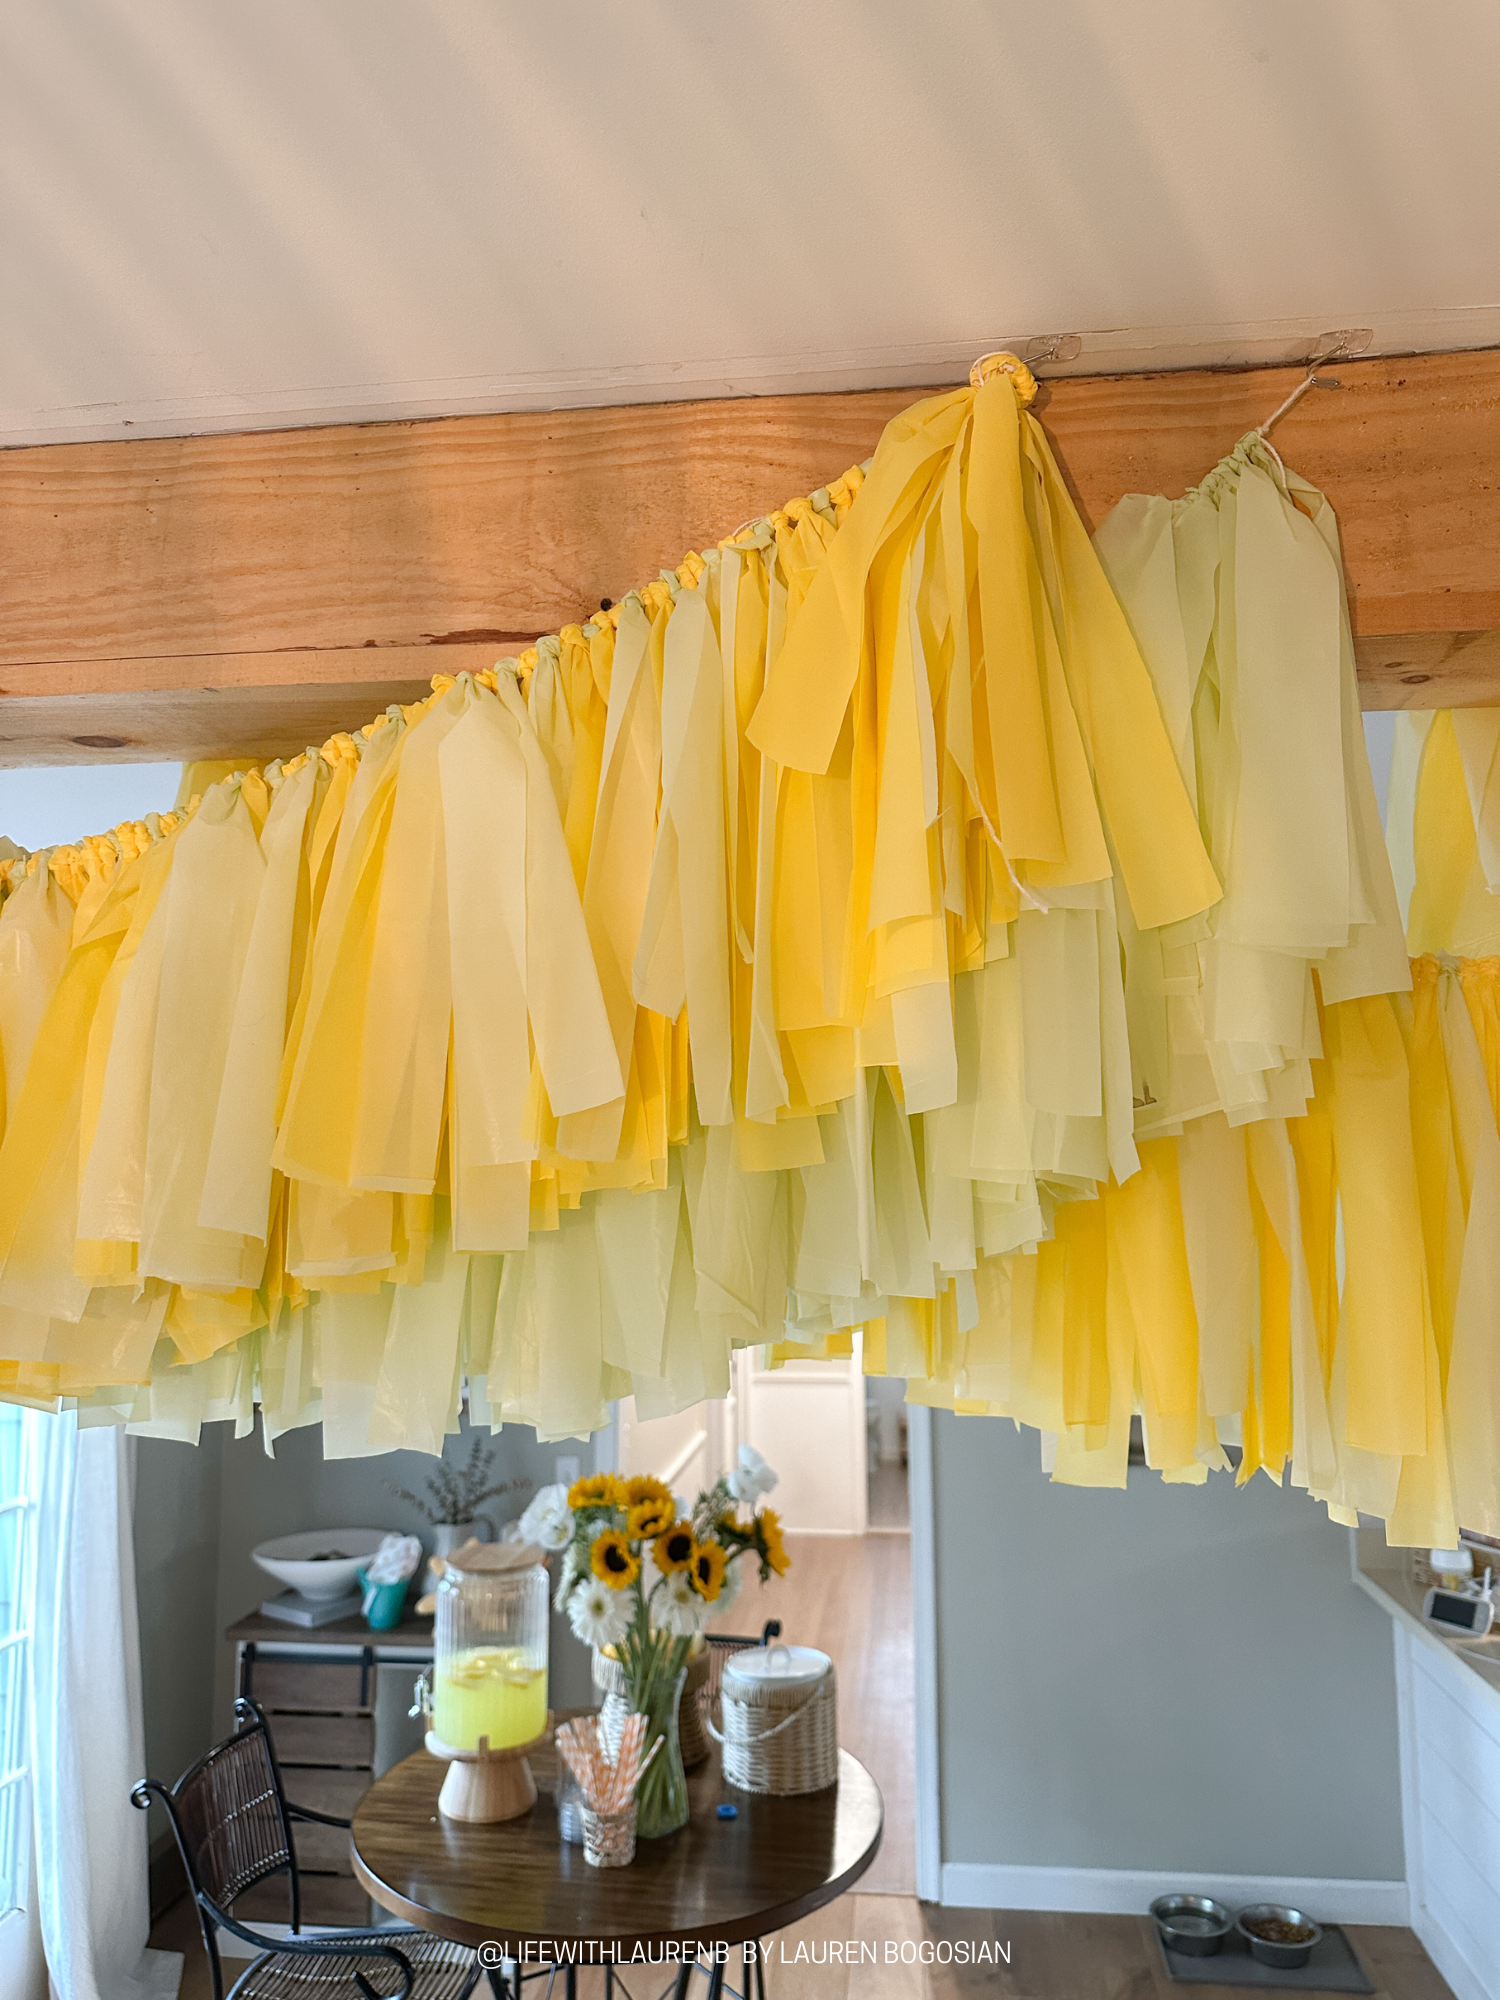

I loveddd how it turned out and so happy the yellows brought such brightness inside on such a miserable weather day. It’s a very ‘wow factor’ decoration piece without breaking the bank at all and does not need any skill. If you’ve made some before, I would you to see how you have styled your fringe garland for parties!
Save this as inspiration for a future fringe garland backdrop idea!