How adorable are these yarn pumpkins?!? I saw this DIY on Pinterest in September and I instantly thought what an amazing idea!! I knew I’d want to do this with my Mom and Grandma because they also like crafts and especially crafts that can be made for holidays or seasons! Well let me be extremely transparent with you upfront- it’s WAY more time consuming than it seems. The outcome is definitely adorable and makes such cute fall decorations but it is not a quick craft by any means.
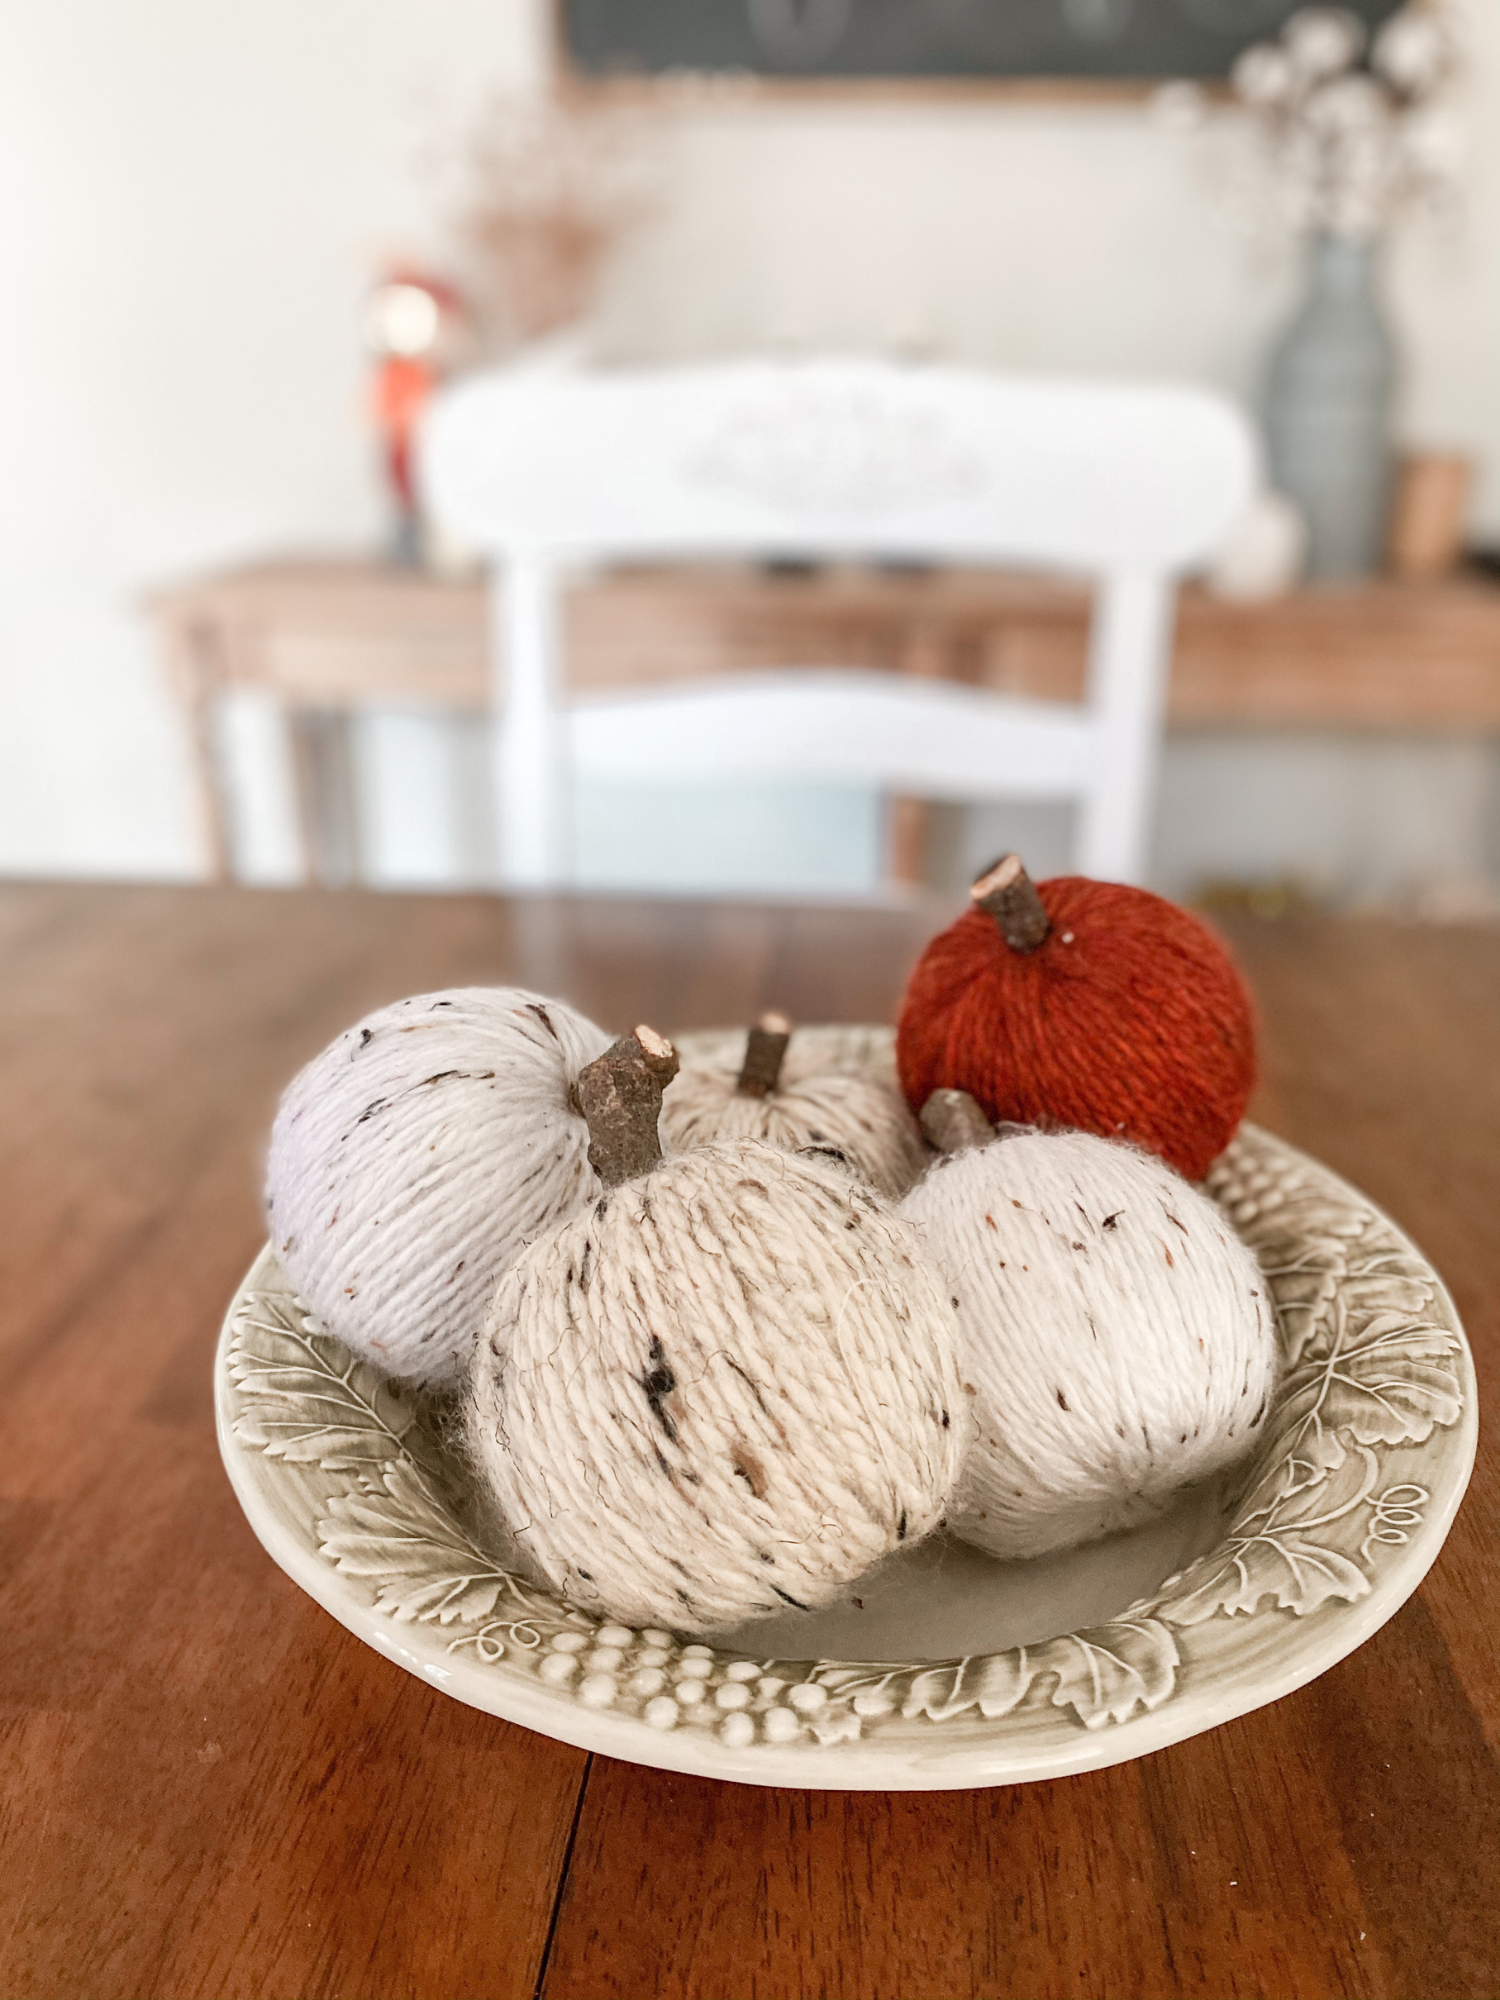
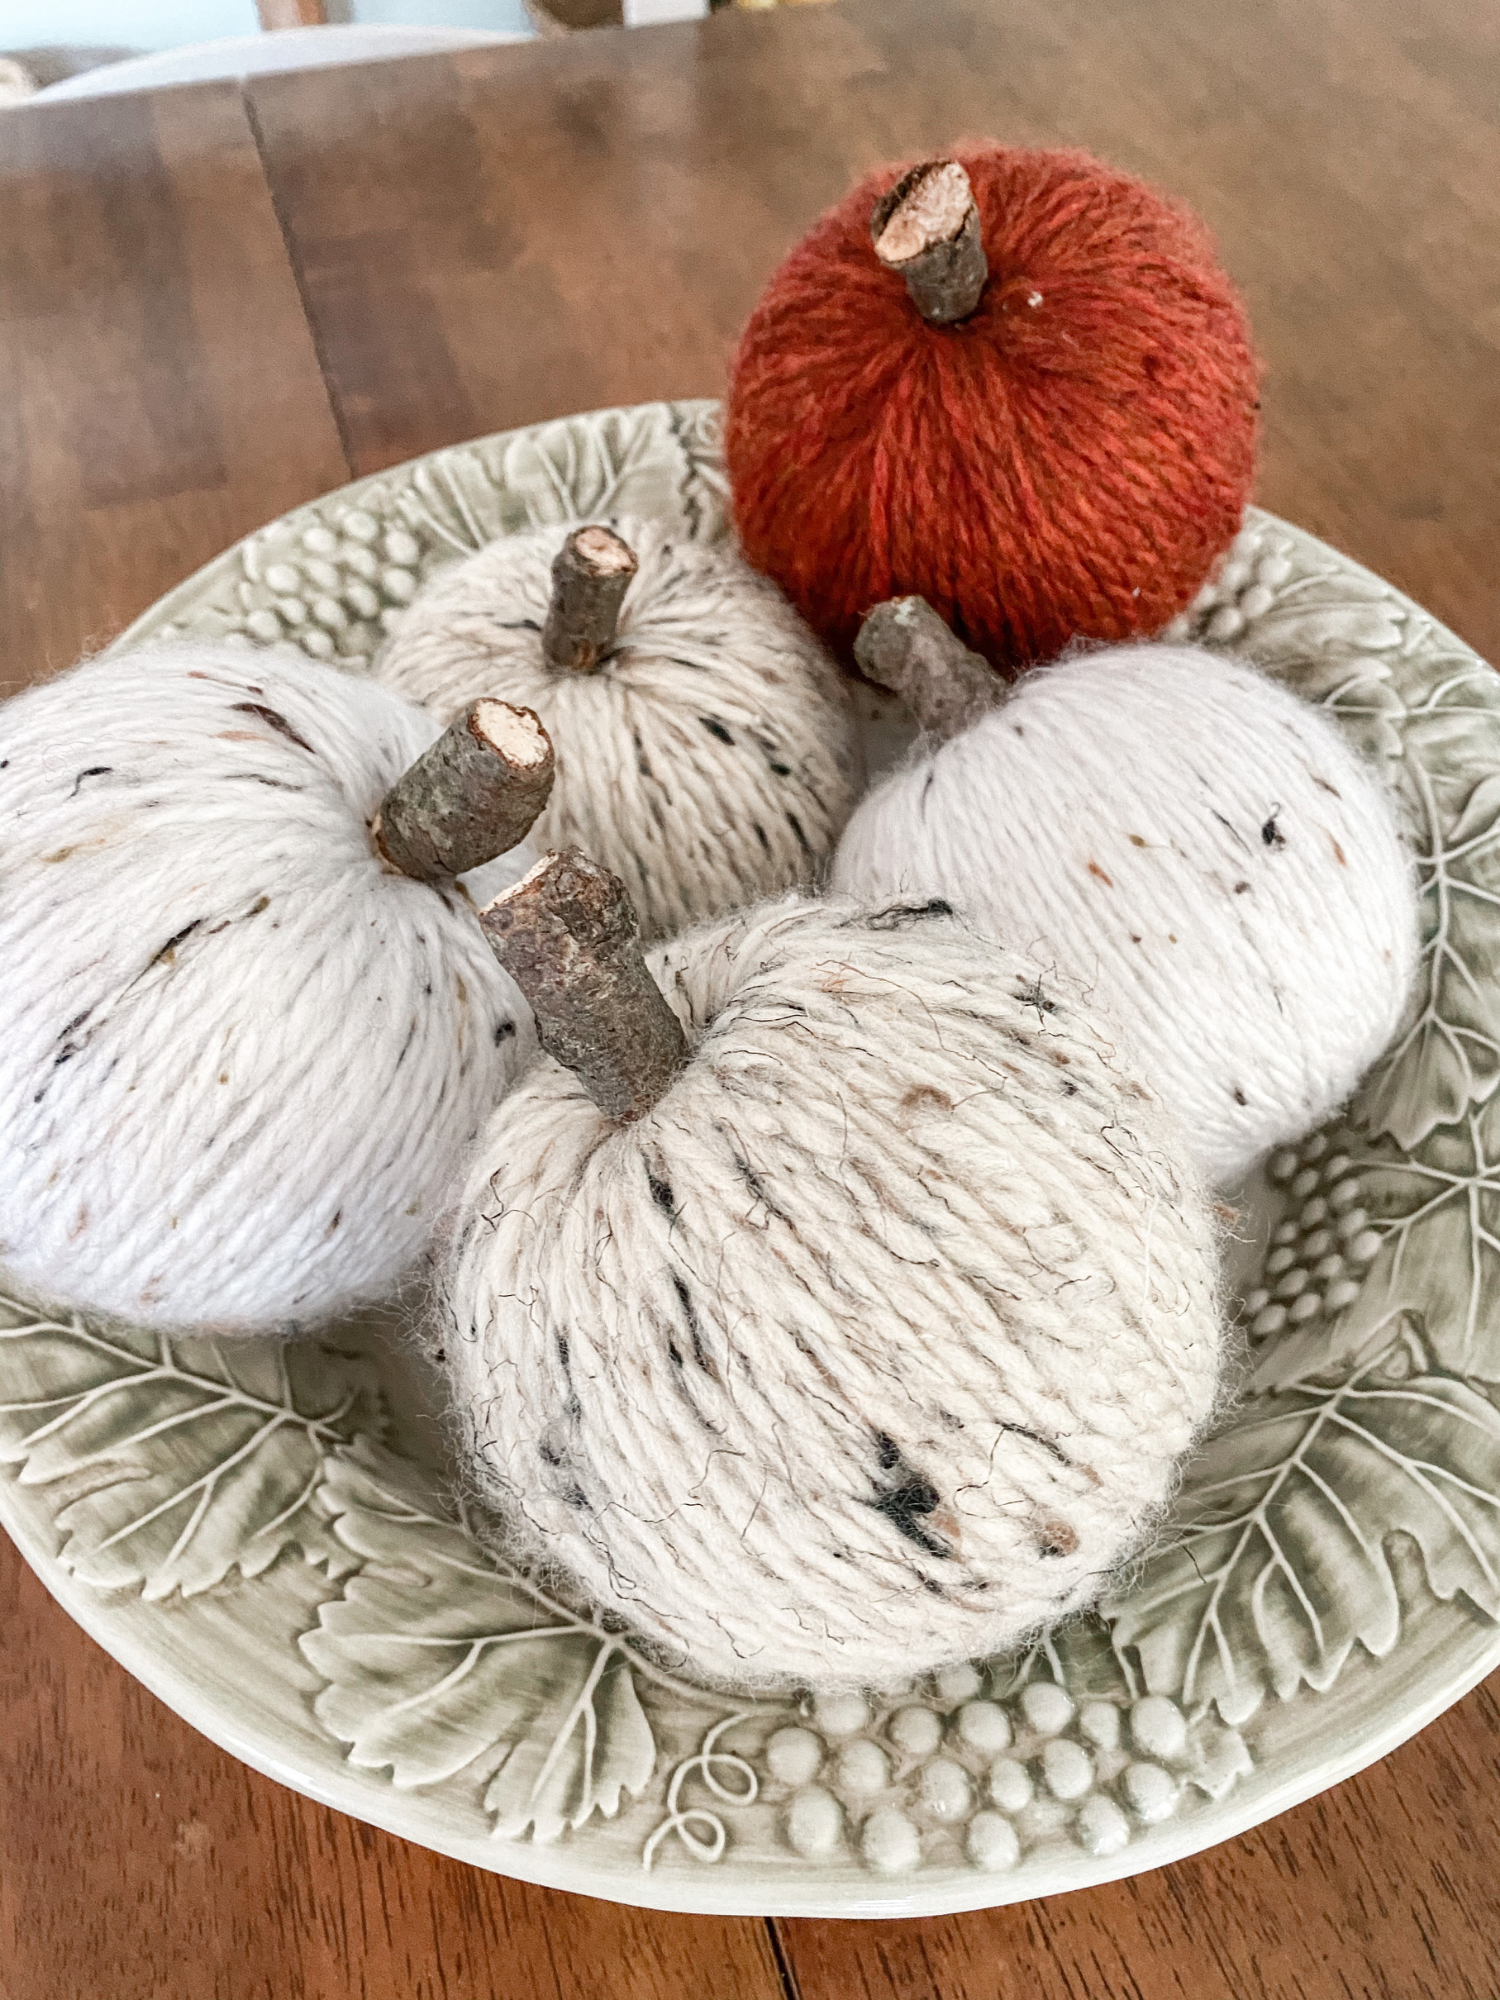
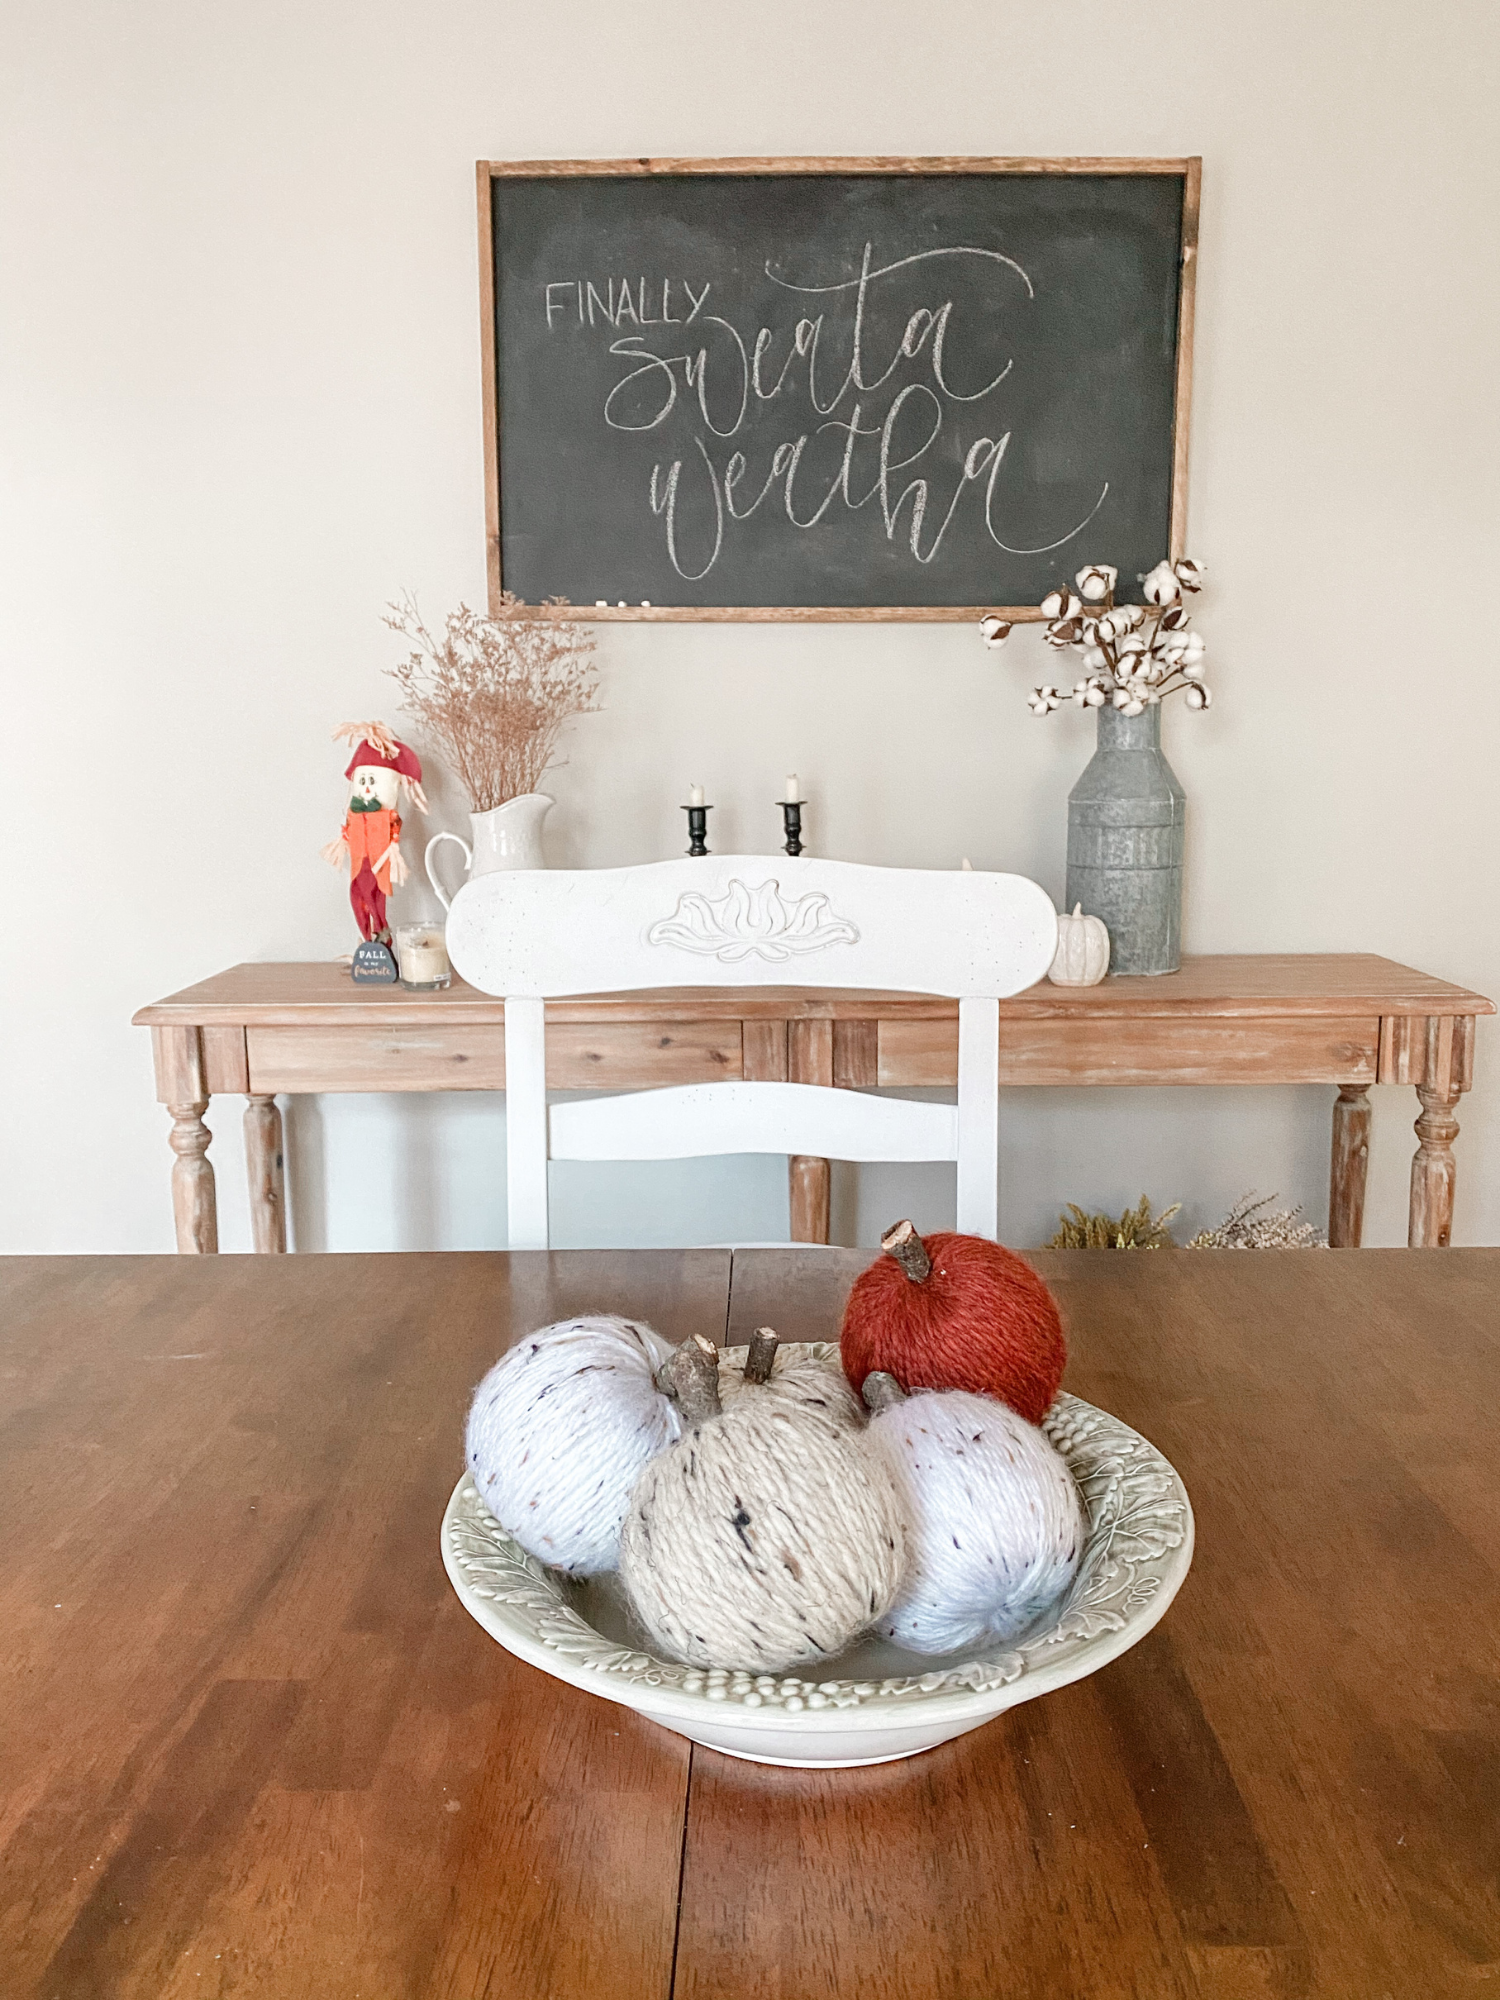
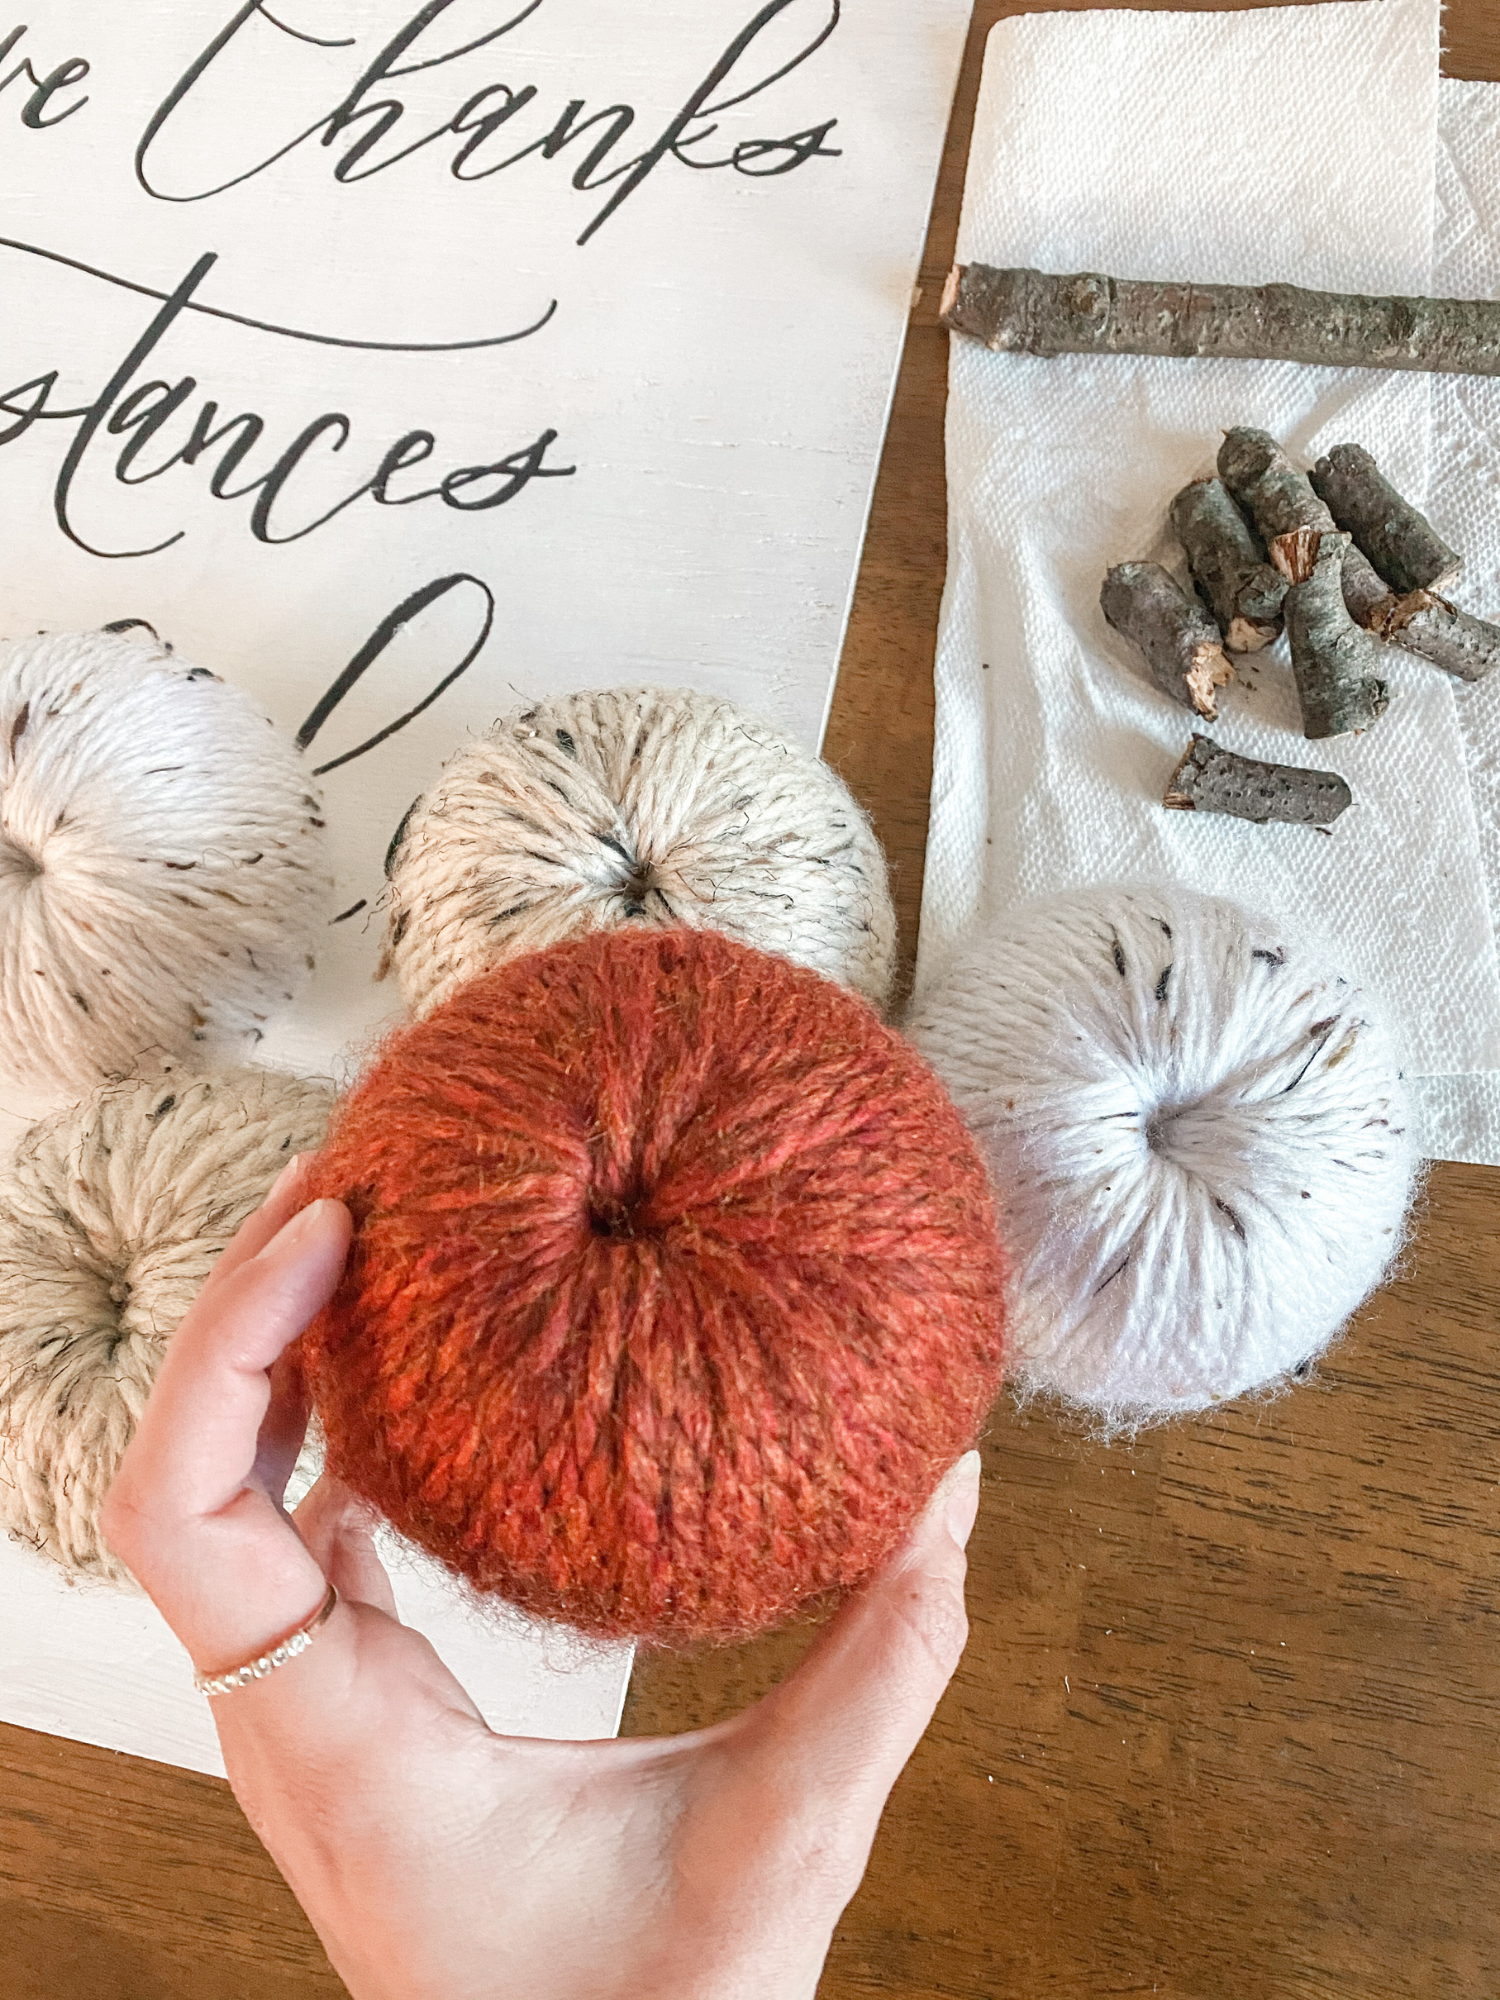
The three of us aren’t huge Haloween decorating people but we are all about decorations for Fall and giving that cozy feel to the home when the temperatures start to drop. These little yarn pumpkins seemed to be the perfect blend of fall and cozy! My Mom and I went to Michael’s (the closest craft store to us) and shopped for some yarn that we wanted and picked up the styrofoam. I chose to do a lot of smaller ones to put in a basket as a center piece and my mom chose to get larger ones as just one large pumpkin decoration- she picked up one for herself and one for my Grandma. I decided I wanted to do neutrals to still blend with my coastal farmhouse home vibe, plus I’m not a fan of orange/orange pumpkins. I found some great natural beige yarn with flecks in them, ivory yarn with darker flecks in it to contrast it just a bit, and a deep sienna/burnt orange color. My mom saw this really neat yarn that had grays, whites, and darker oranges all weaved together. The yarn was thicker which we didn’t think about but looking back, simple single string yarn may be best so it’s not too thick in the center….if you do decide on yarn like we got, it still works but it just takes some extra work to get through the center which is what takes time, but more on that later!
Supplies
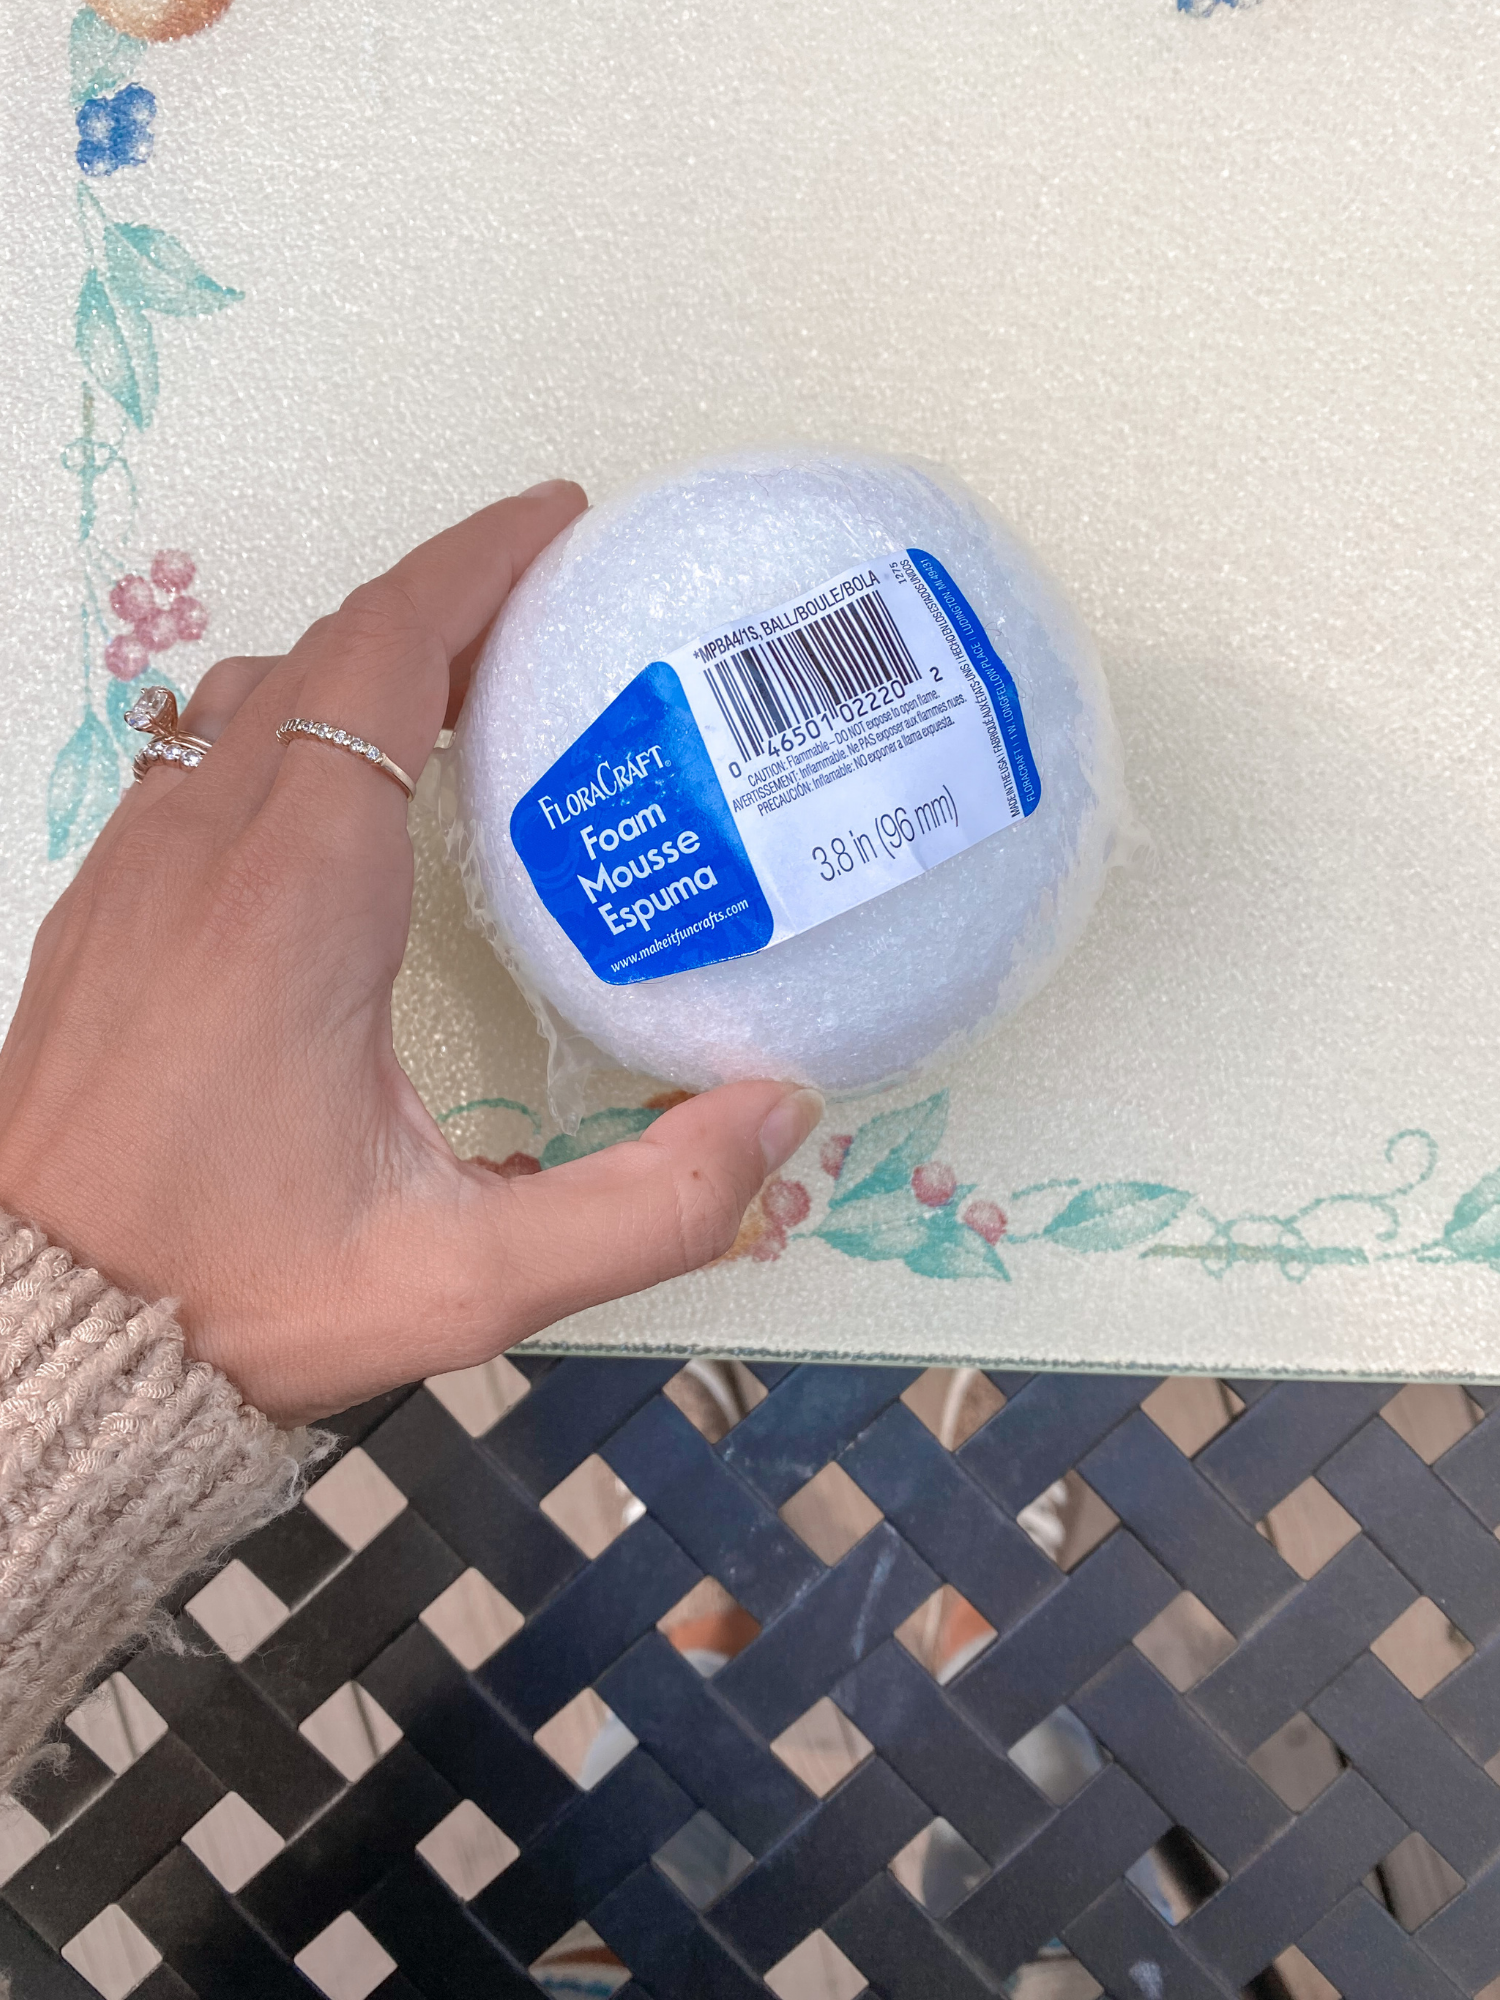
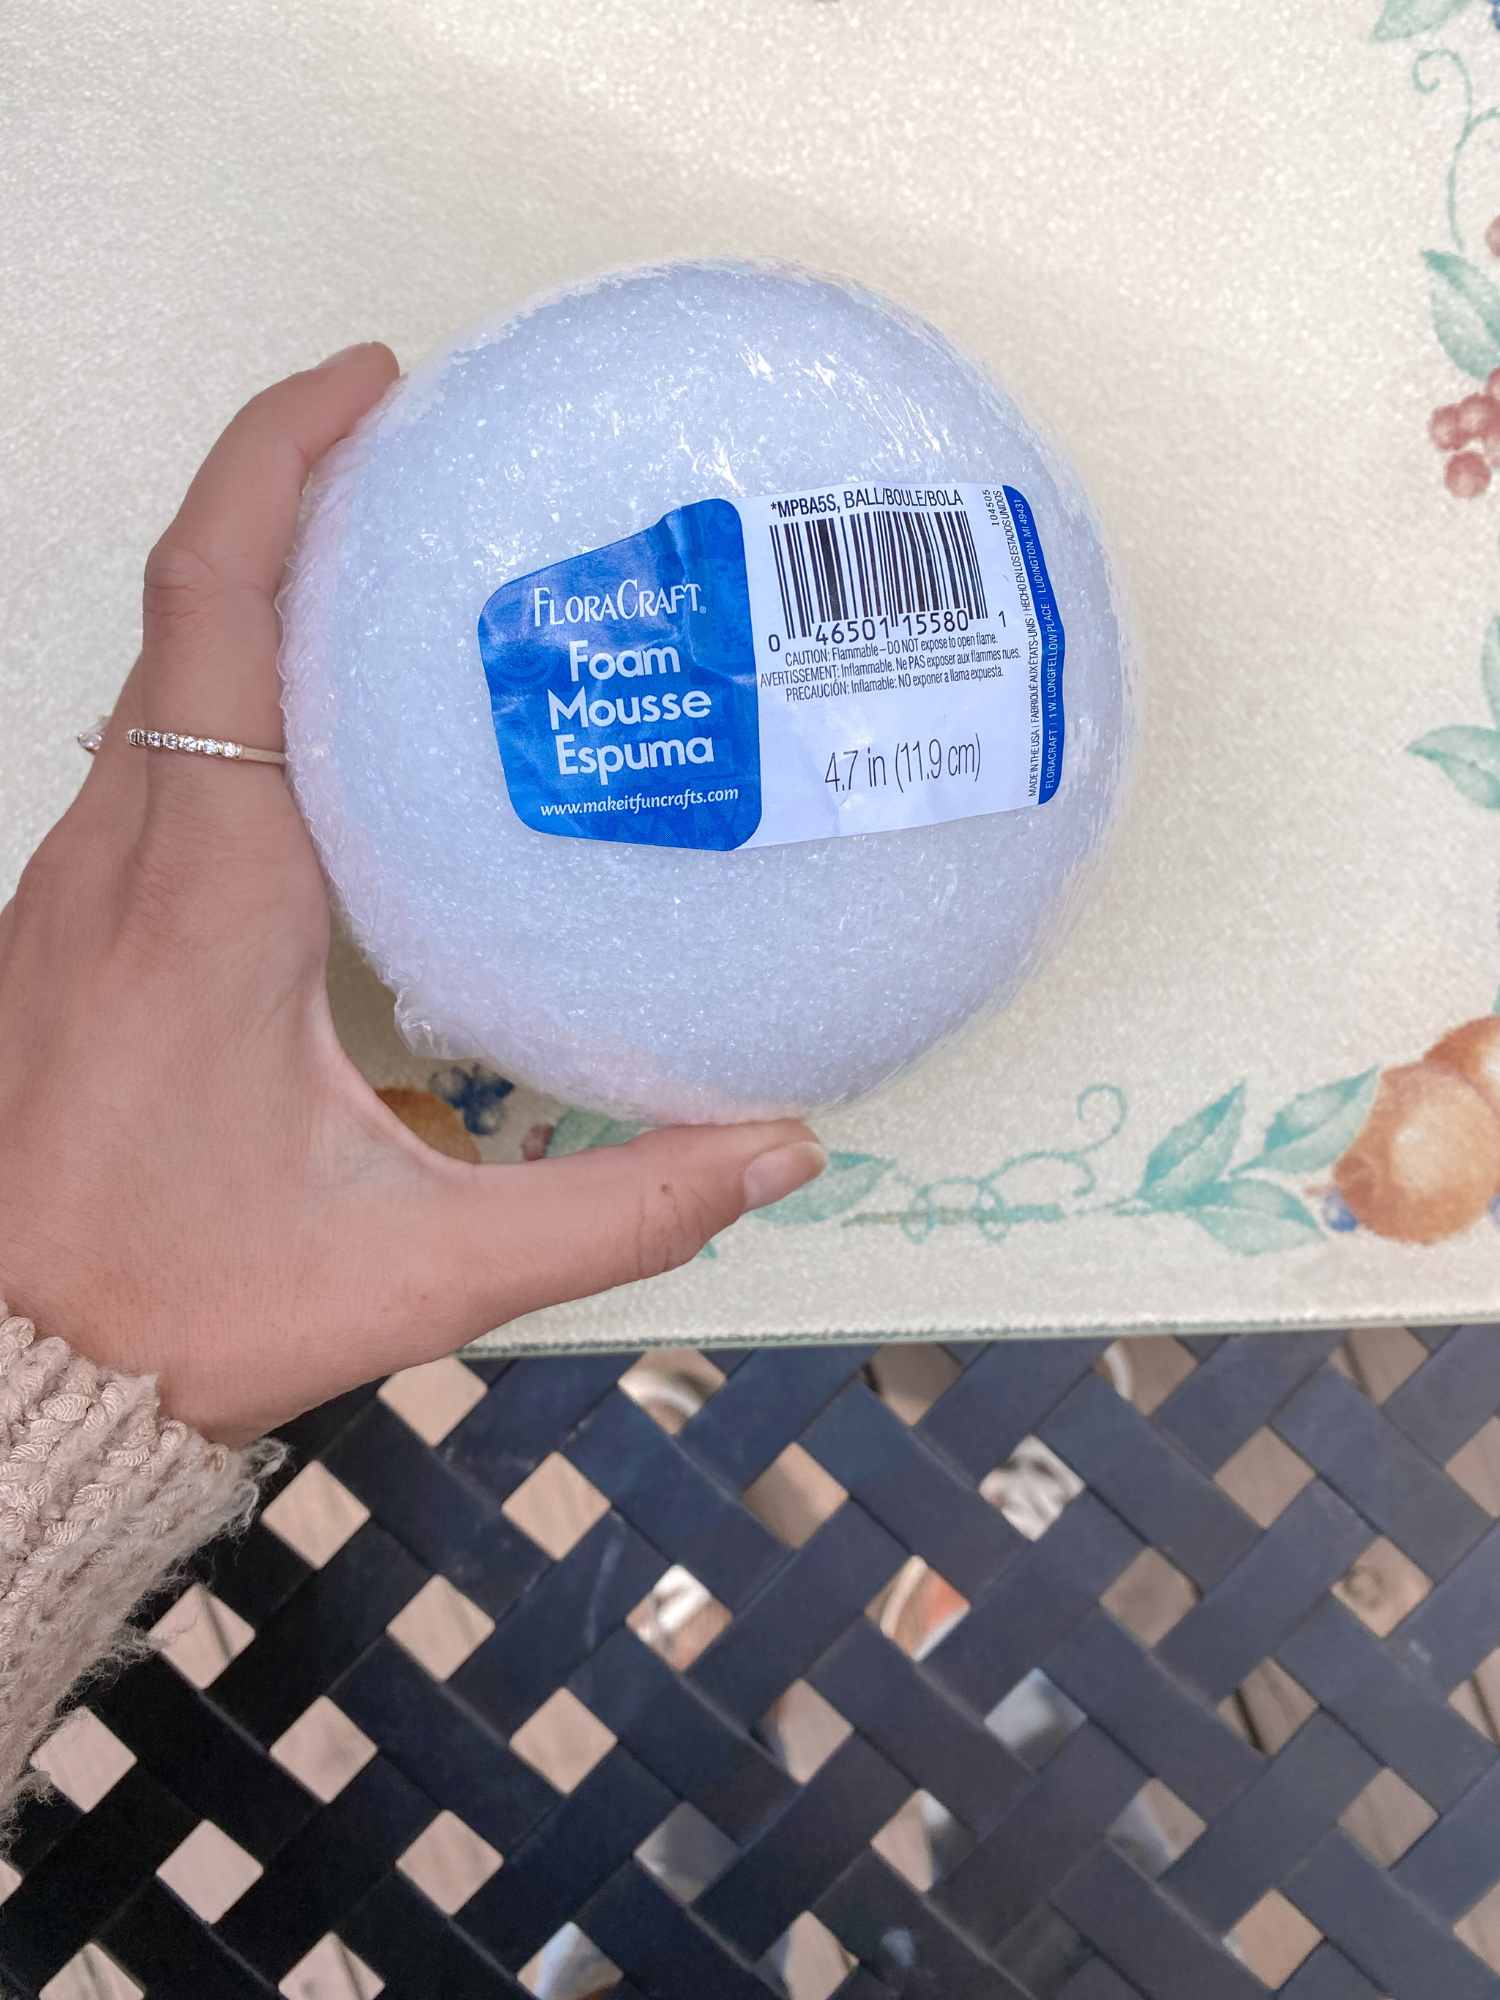
- Styrofoam balls (we used 3.8in and 4.7in)
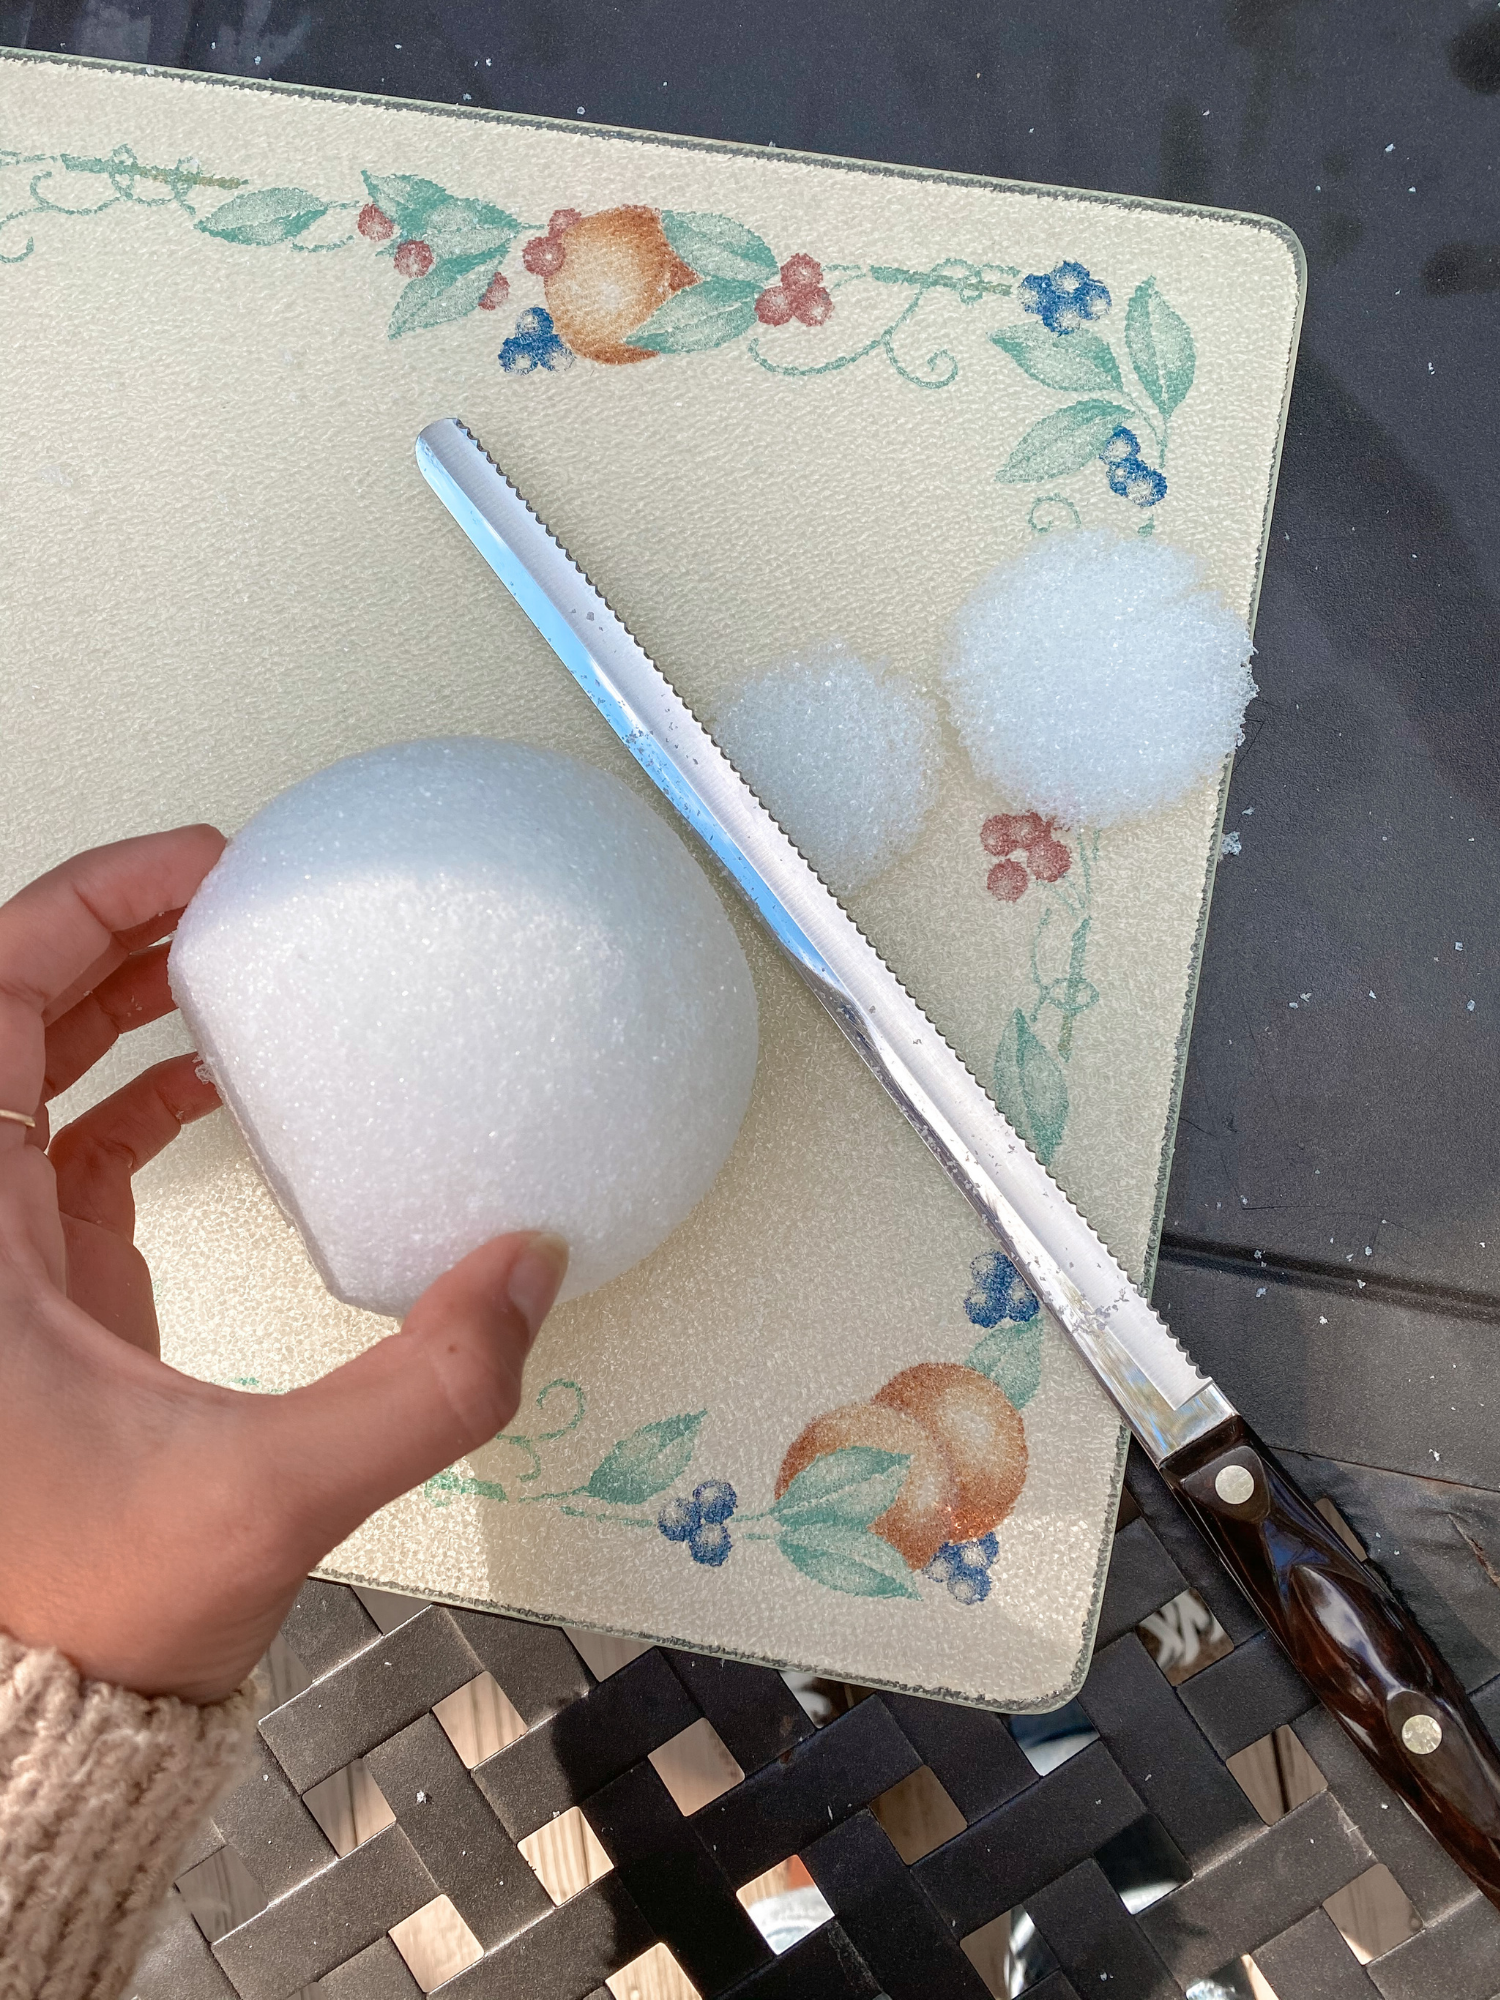
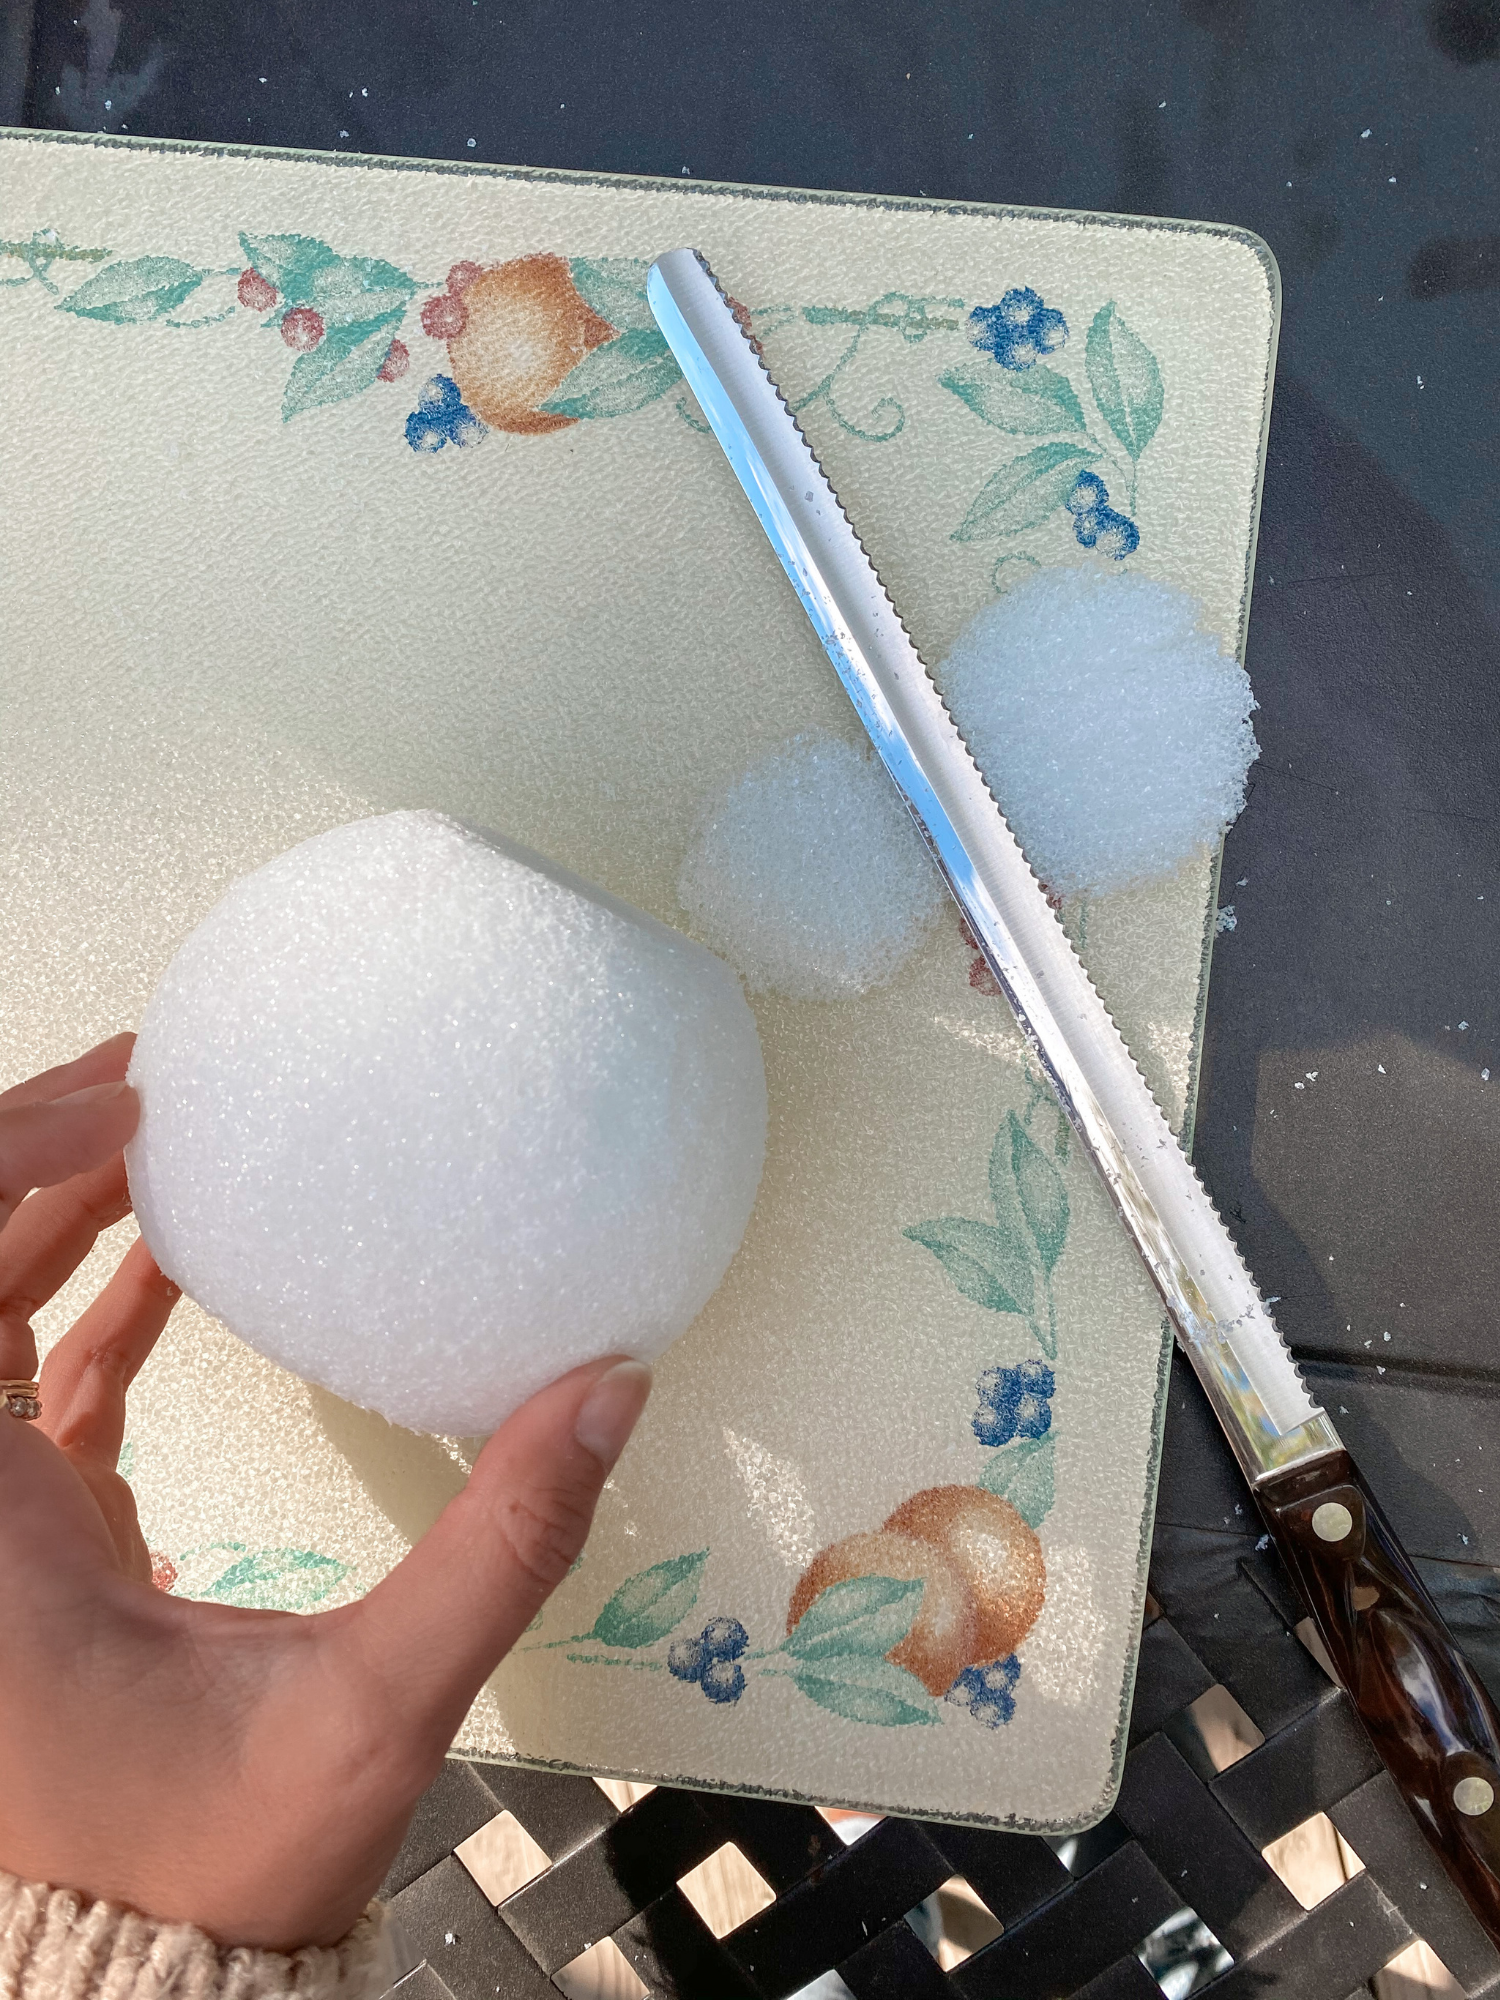
- Serated Knife
- Scissors
- Yarn (not too thick)
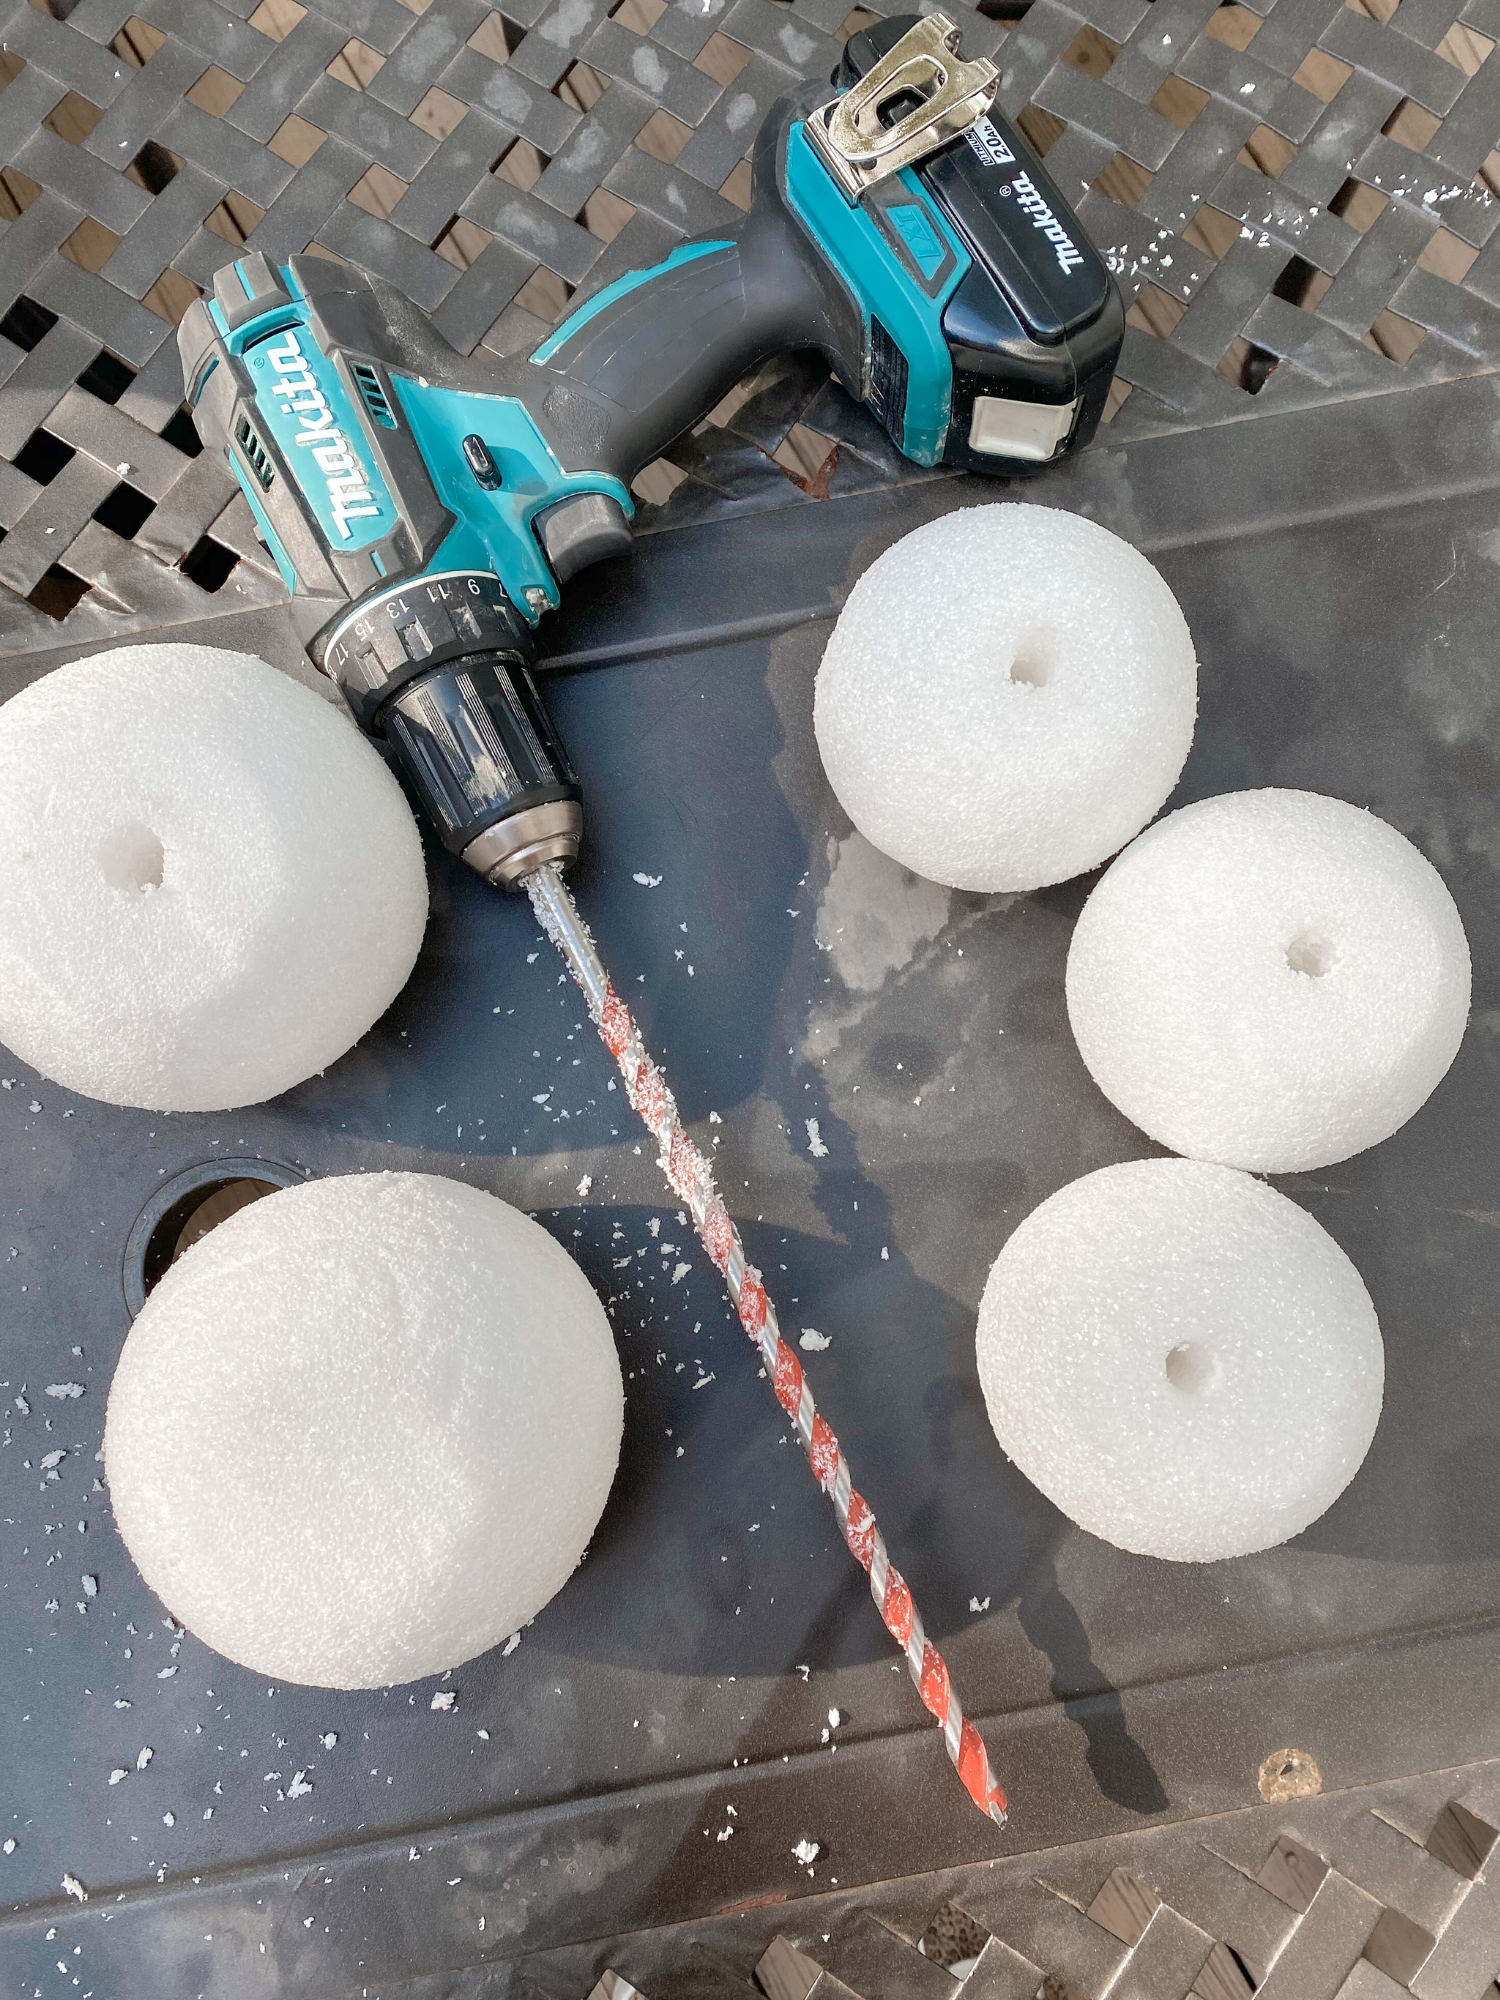
- Drill
- 1/2″ drill bit (preferabbly a spade drill bit)
- Metal Straw or Knitting Needle or Plastic Yarn Needle
- Rubber band if using metal straw
- Sticks from outside
- Hot glue and hot glue gun
Styrofoam
For the styrofoam, I got 5 3.8in styrofoam balls and my mom got 2 4.7in styrofoam balls. We followed the instructions on the blog post I found on Pinterest to cut the styrofoam but did not make them all exact. Since I had multiple, I wanted them to still have some organic feel to them because pumpkins are not perfect/not all the same! We cut the tops flat just a bit and cut a little bit more off the bottom. This also helps for them to sit flat and not roll over.
Wrapping the Yarn
There was definitely trial and error on every step and figuring out the best way to thread the yarn around the ‘pumpkin’ and through the hole was one that stumped us for a bit. If you regularly knit, you may have the proper tools, but none of us do so we initially tried a larger sewing needle but our yarn was just too thick to get through the needle hole. If you have a knitting needle or one of those plastic yarn needles with a large hole, then definitely use that! We ultimately found that a metal straw worked (or a chop stick could even work). We got a thin rubber band and wrapped one end of the yarn to the metal straw. A thin rubber band is key because once the yarn starts to thicken in the center of the hole, a thick rubber bank will get stuck and slide off the straw in the middle of the hole.
For the actual wrapping part, it came very quick and simple, but there are tricks to it to ensure it works the best it can. We initially started with 4-5 arm lengths of yarn…that got us maybe a 1/4 of the way around the pumpkin, if that. So then we went to 4-5 wingspans of yarn and that still wasn’t enough. It’s perfectly fine to not have 1 long continuous piece of yarn but just know that it requires a lot more than you may think. When starting, we put one end of the yarn in the middle or towards the bottom of the pumpkin with the end facing down. I found that looping the yarn down through the hole from the top works best. You can overlap the yarn on the bottom of the pumpkin and it will still lay flat but you won’t see it as much as you would if you overlapped a lot on the top. The yarn pretty much sticks to the styrofoam so when you first start or start with another piece of yarn, place it on there and then go over it when wrapping the yarn around to hide the end. Be sure to pull the yarn taught just so it won’t bunch. It probably took 40 minutes to 1 hour to wrap the yarn on each pumpkin.
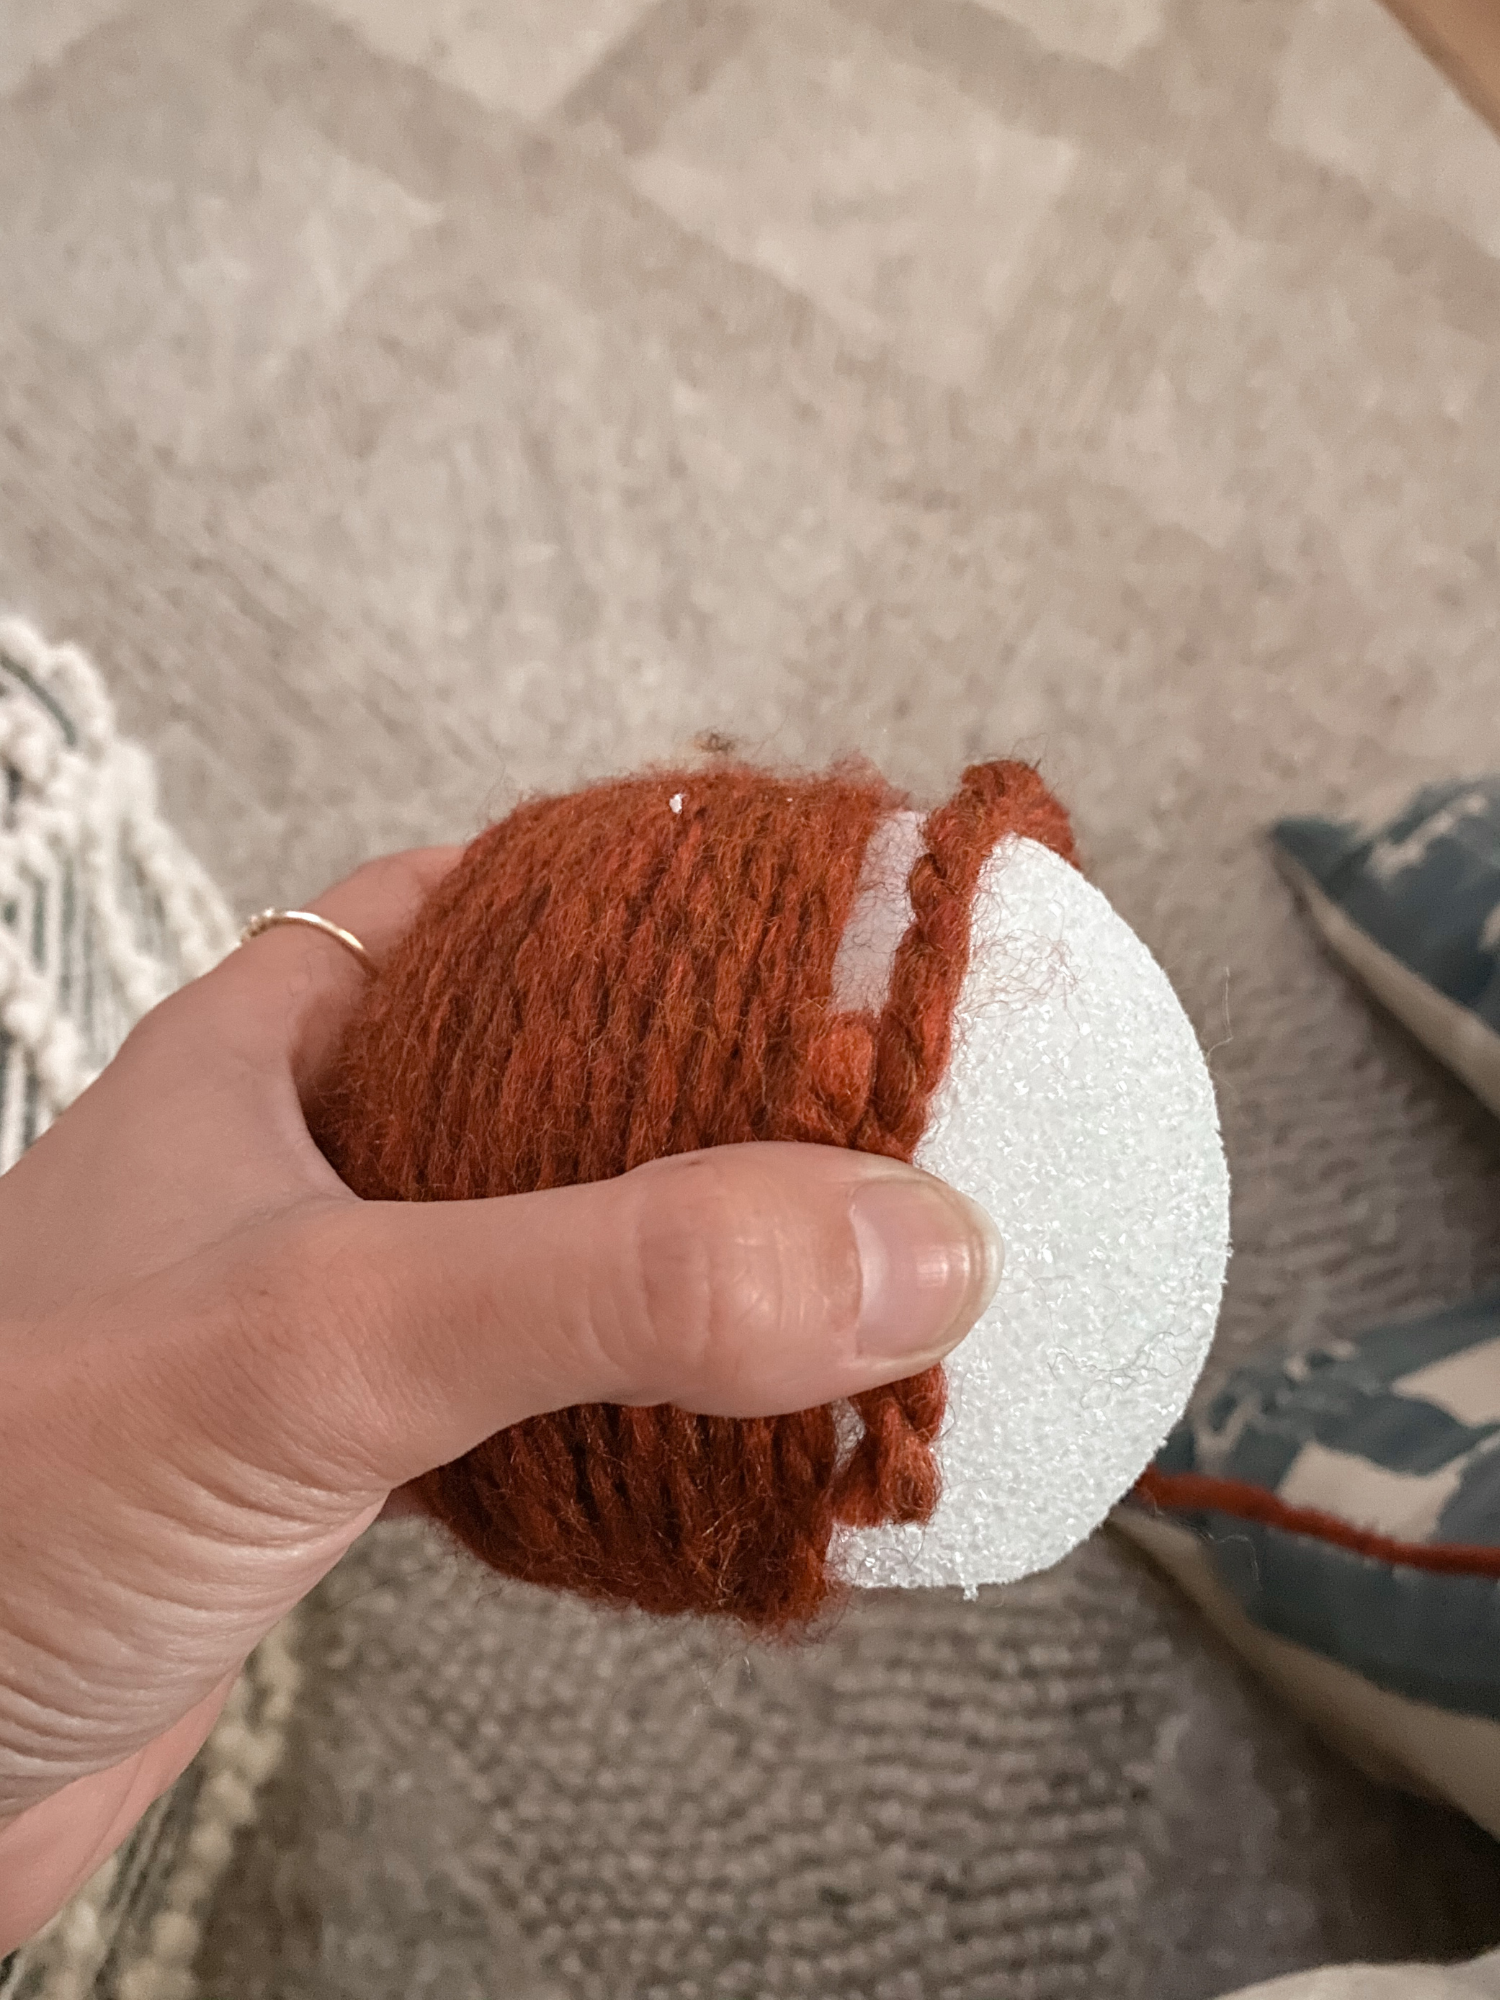
When finishing, bring the last piece of yarn down the hole and knot it a couple times, then push it slightly back in the hole so it can’t be seen. No glue or anything is needed for the yarn wrapping part.
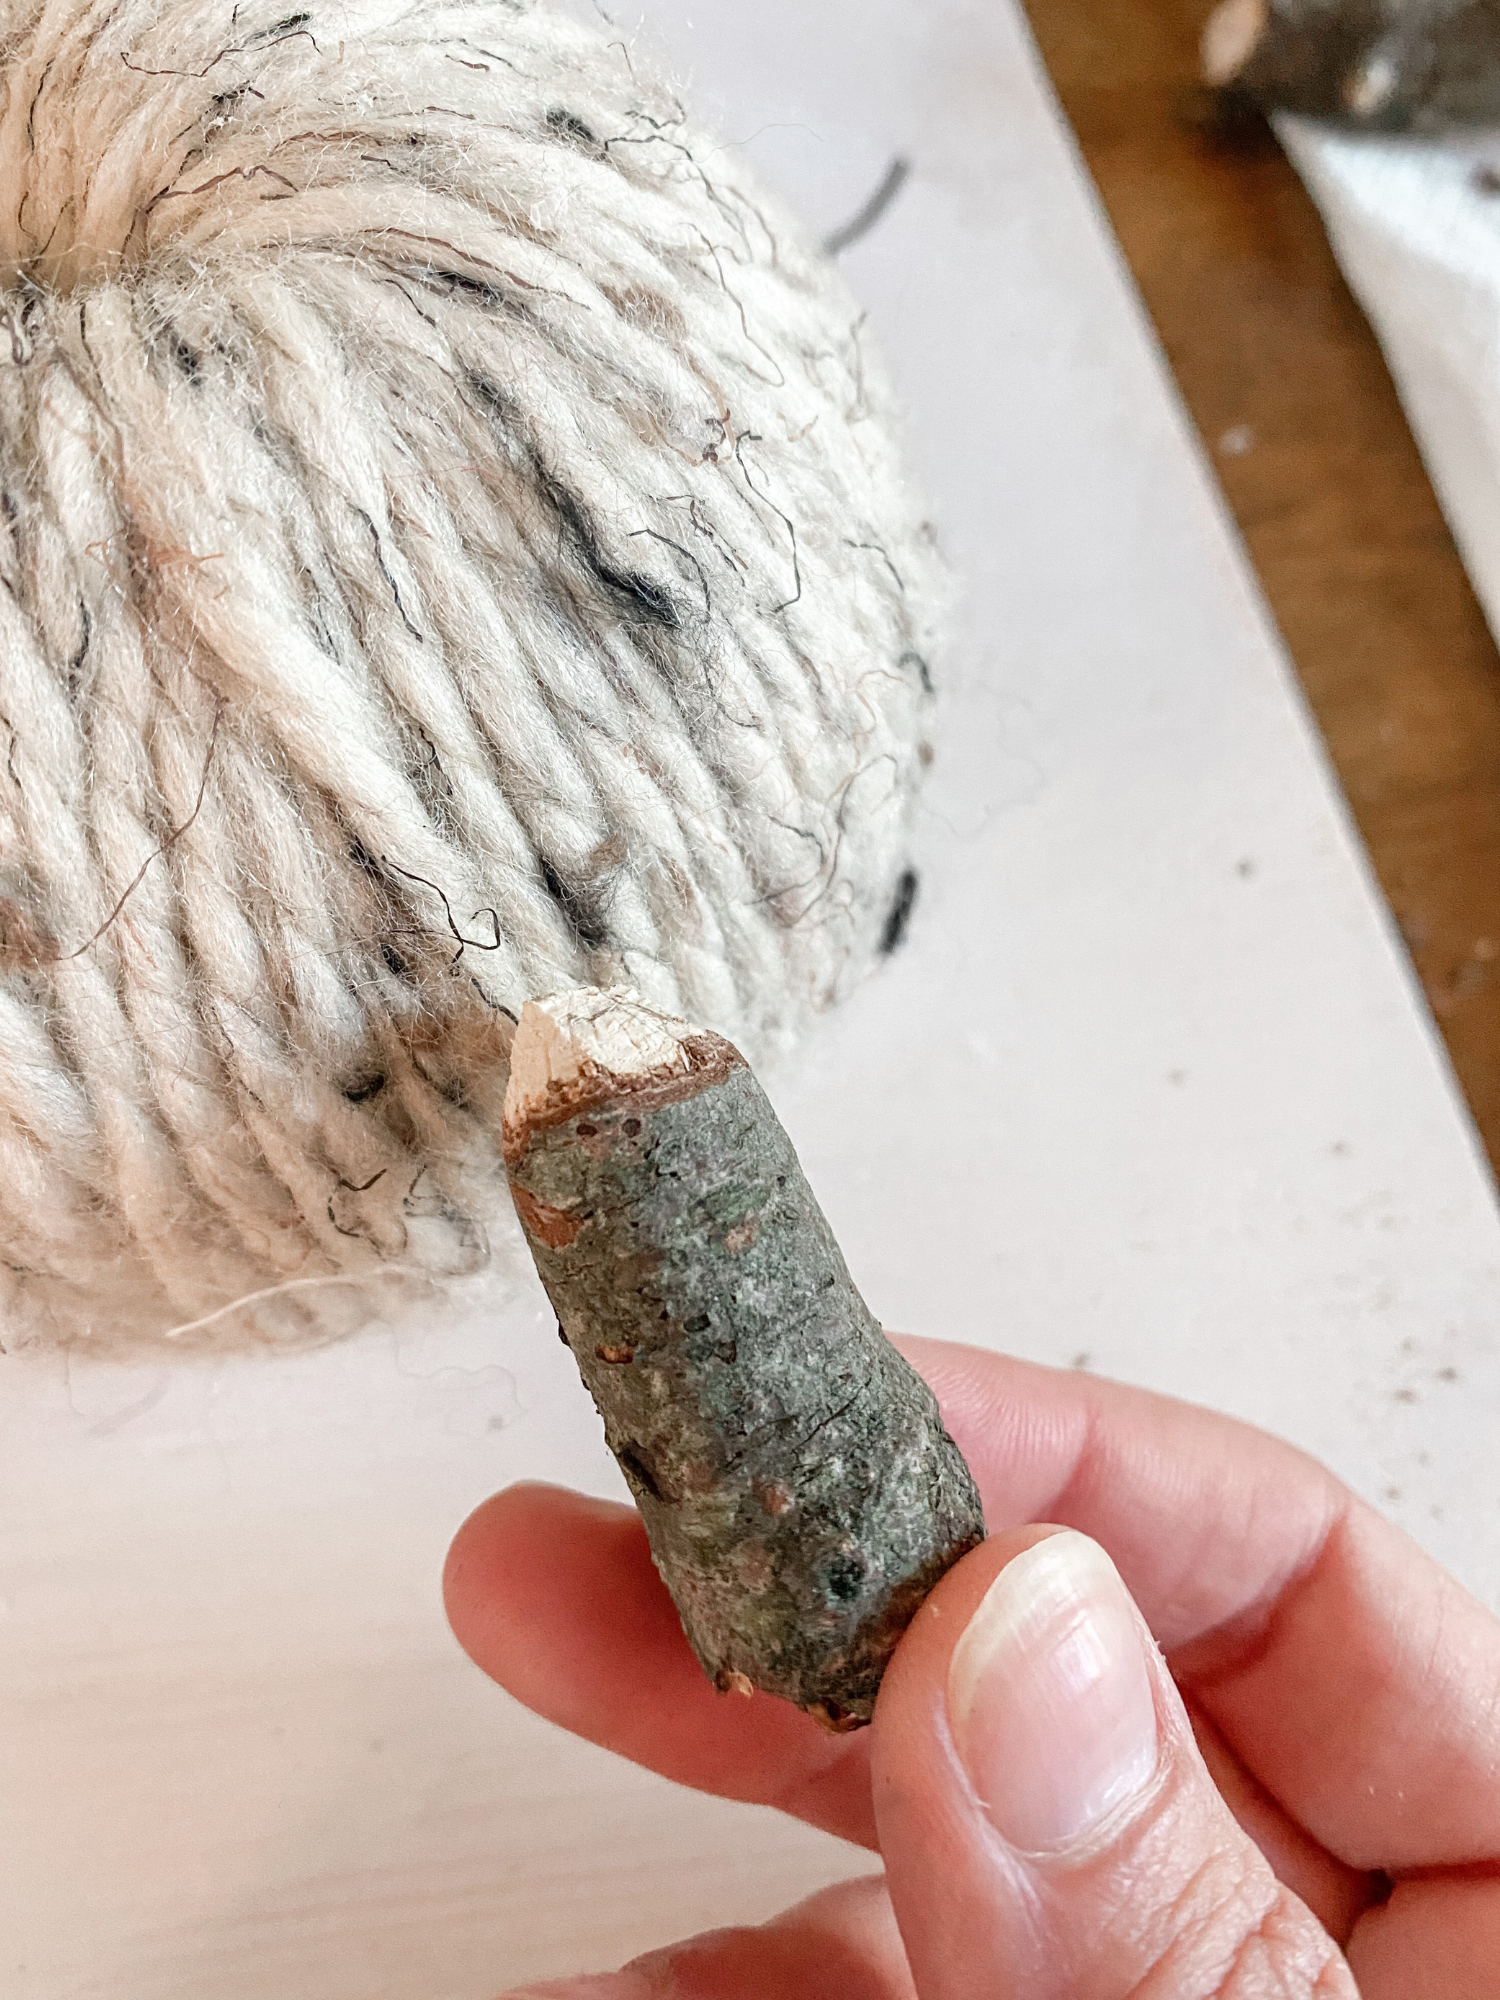
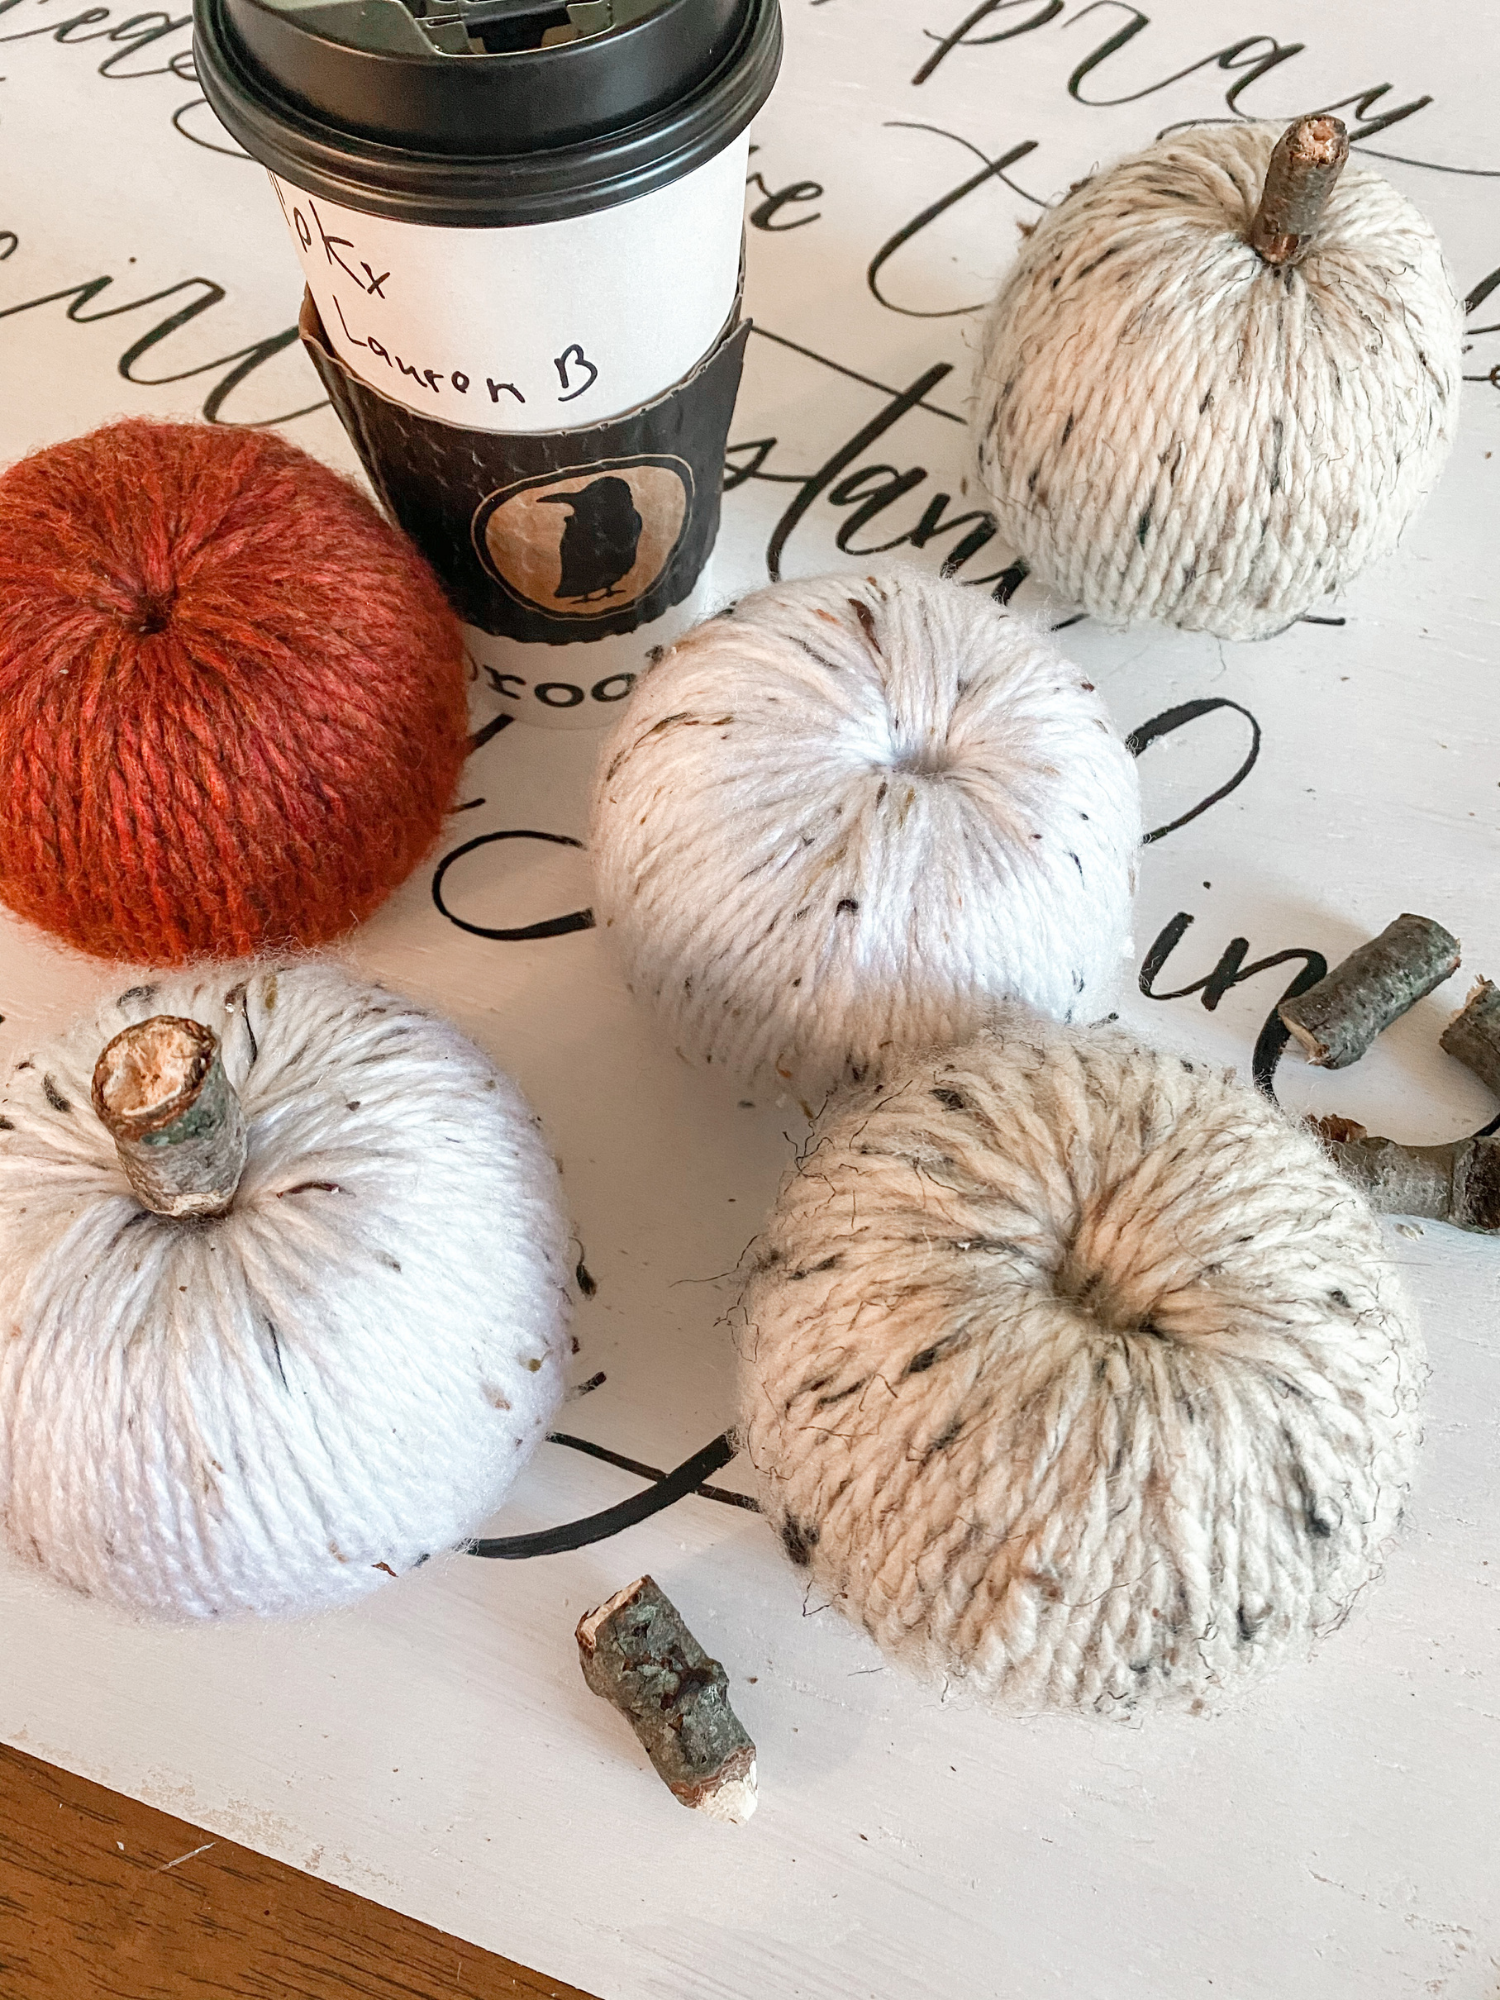
Adding the Stem
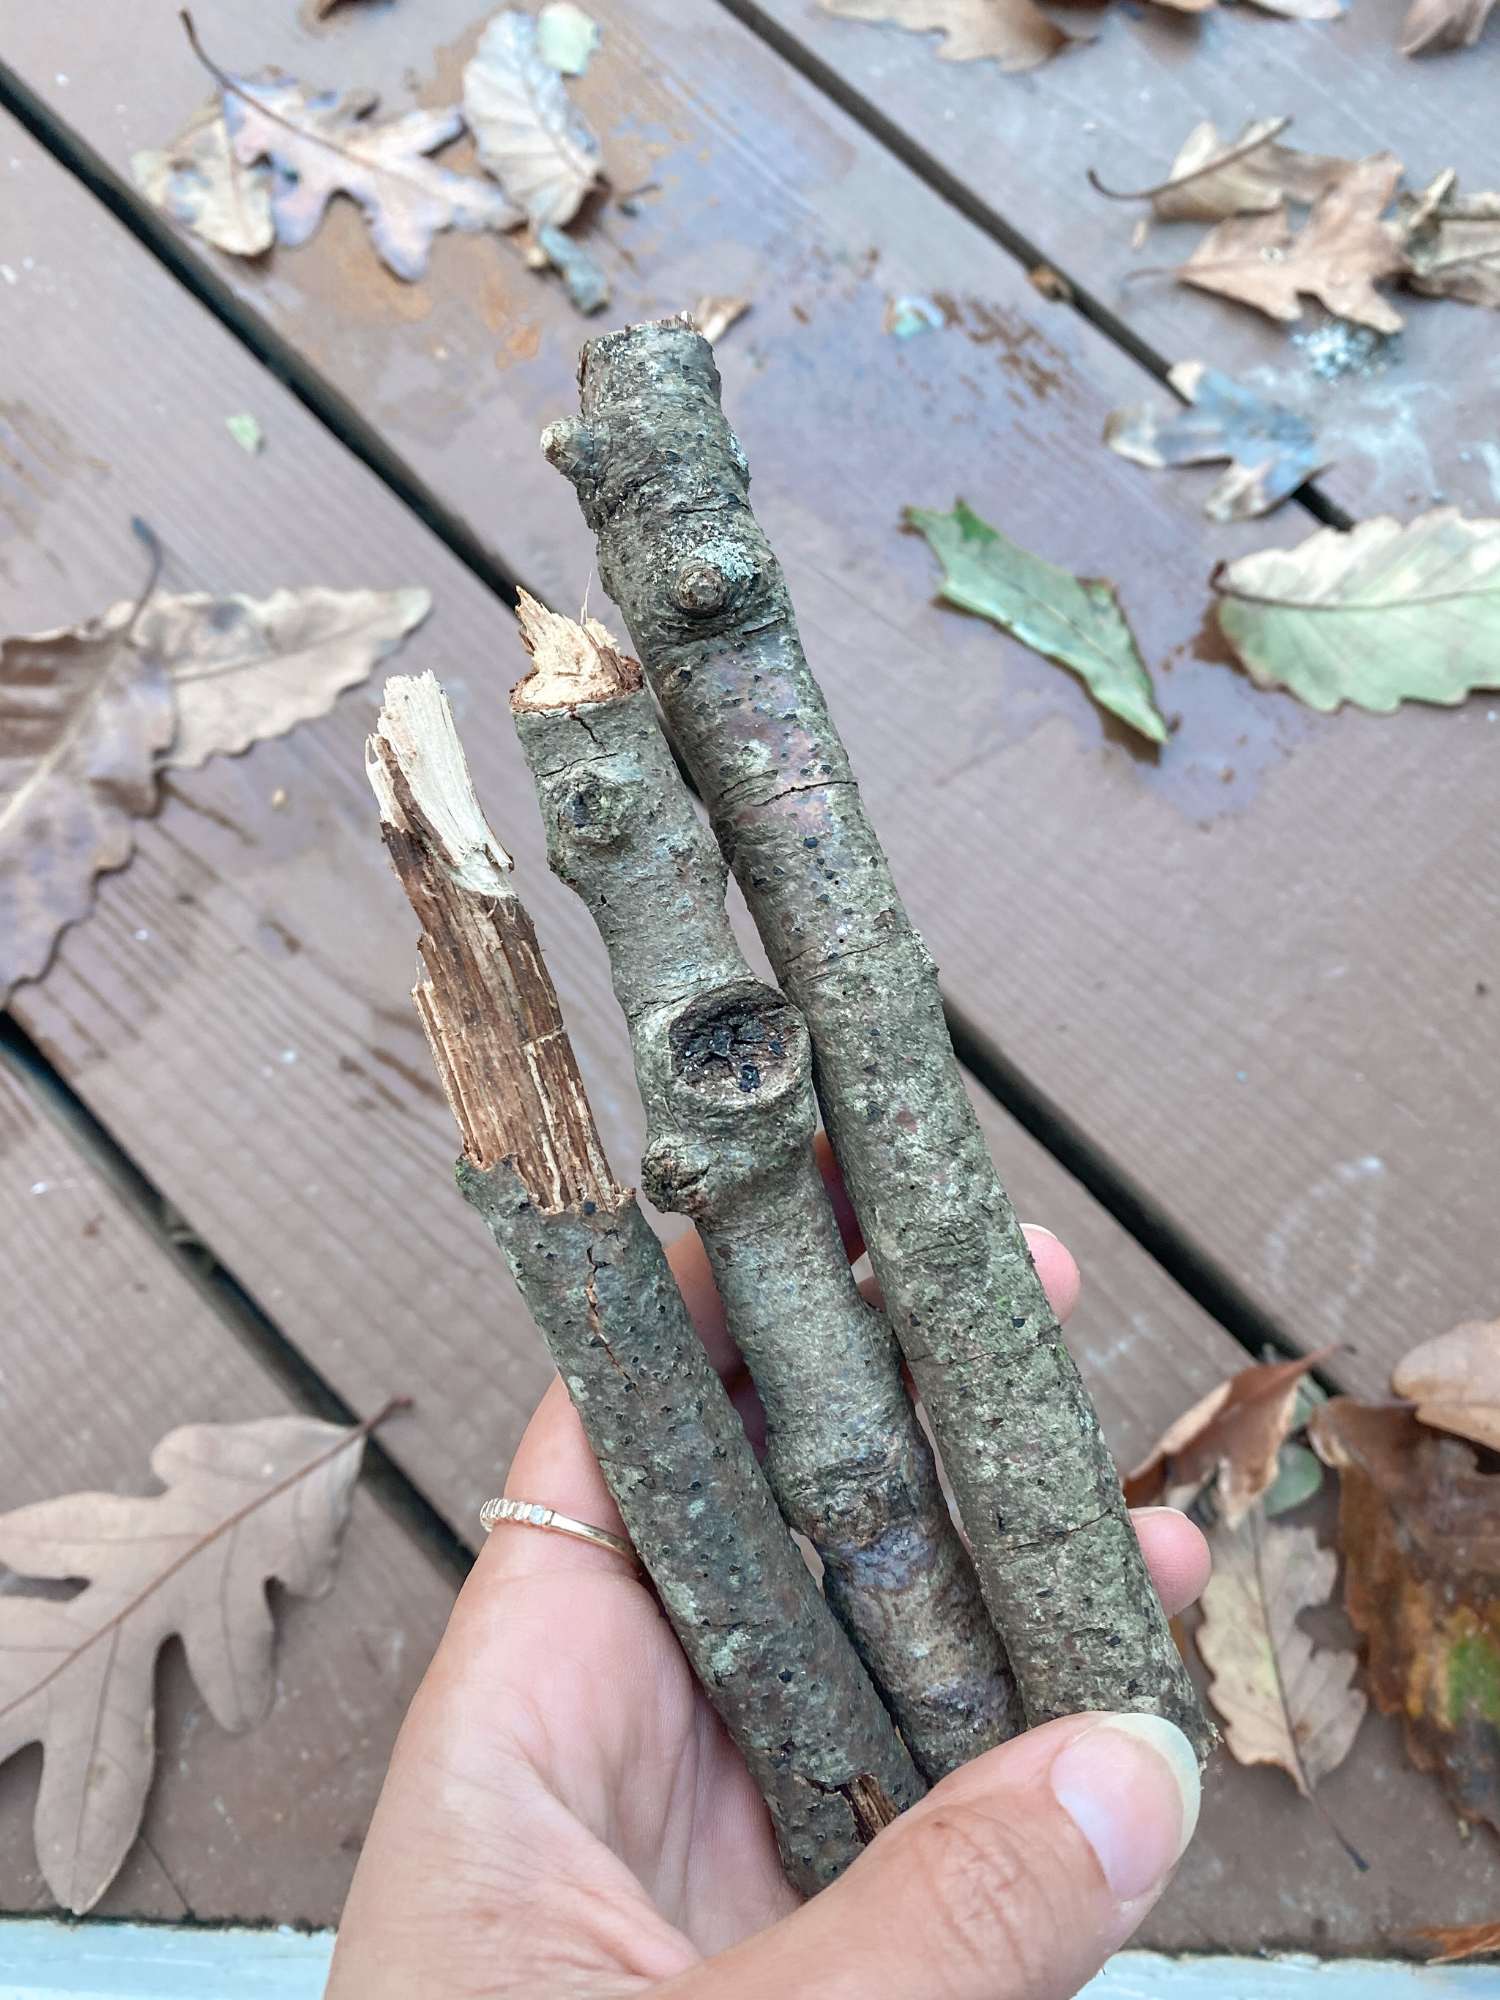
The stem is probably the easiest part. Go in your yard and grab a stick that has fallen. Make sure it has some thickness to it so it looks like a stem that would match the size of your pumpkin. We are lucky that we have a lot of trees in our backyards and neighborhood so finding a stick wasn’t difficult but if you don’t live in an area where sticks are easy to come by, you can always use a wine cork!
Displaying Your Yarn Pumpkin
I loved the idea of multiple smaller ones thrown together in a basket or bowl in the center of the dining room table or a kitchen island. I have a bowl that I used but even one of those trendy wood dough bowls would look so neat!