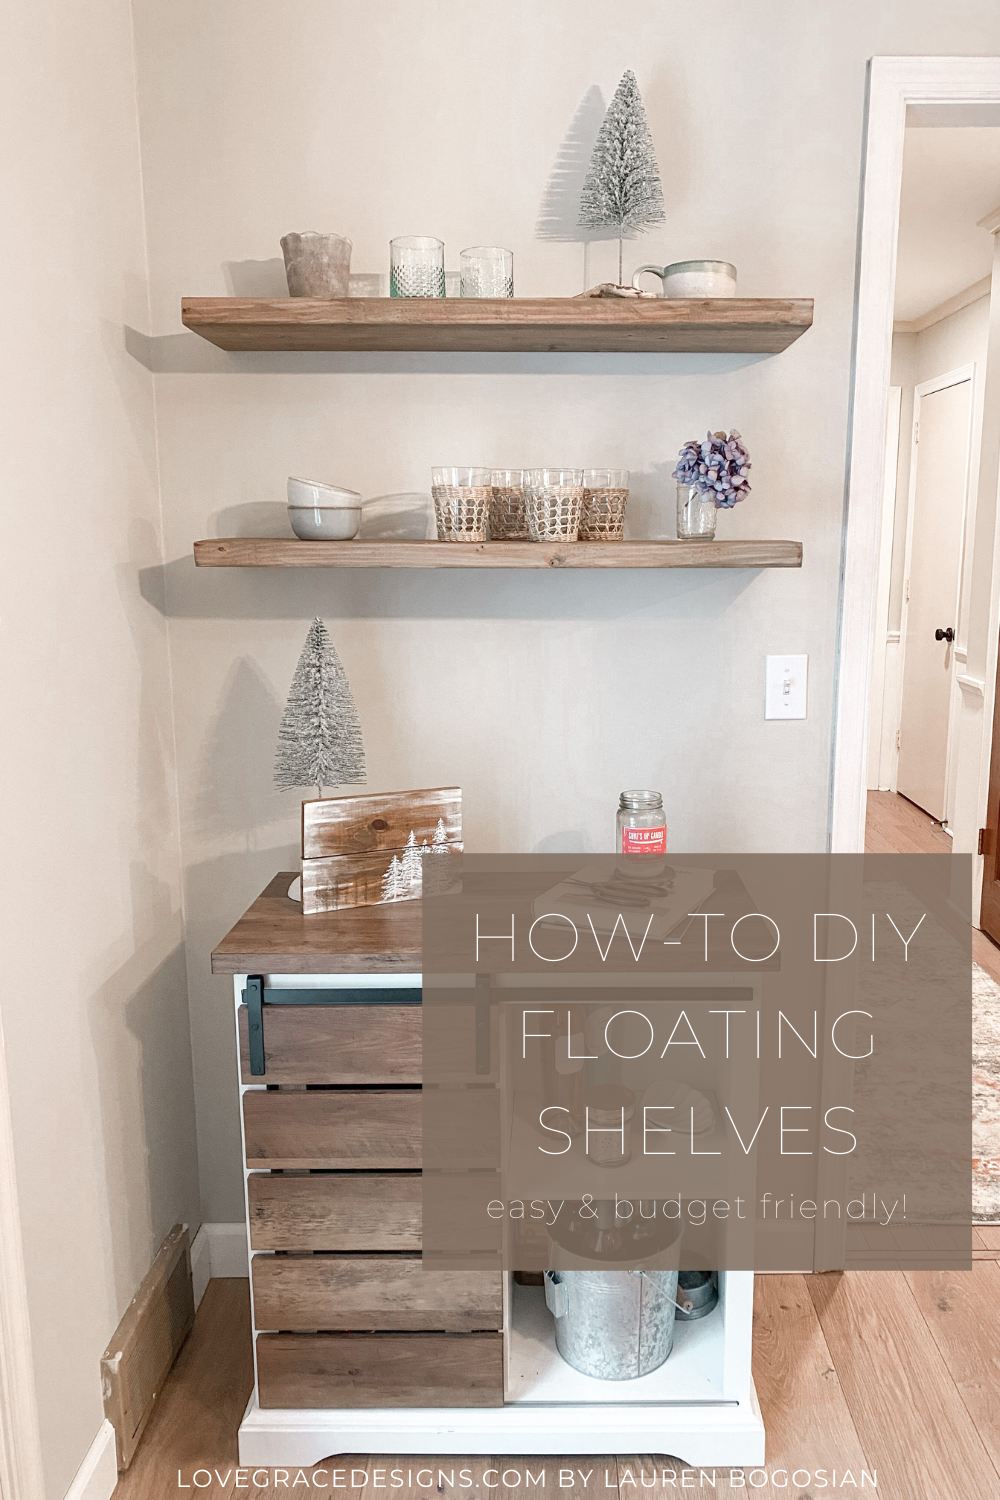
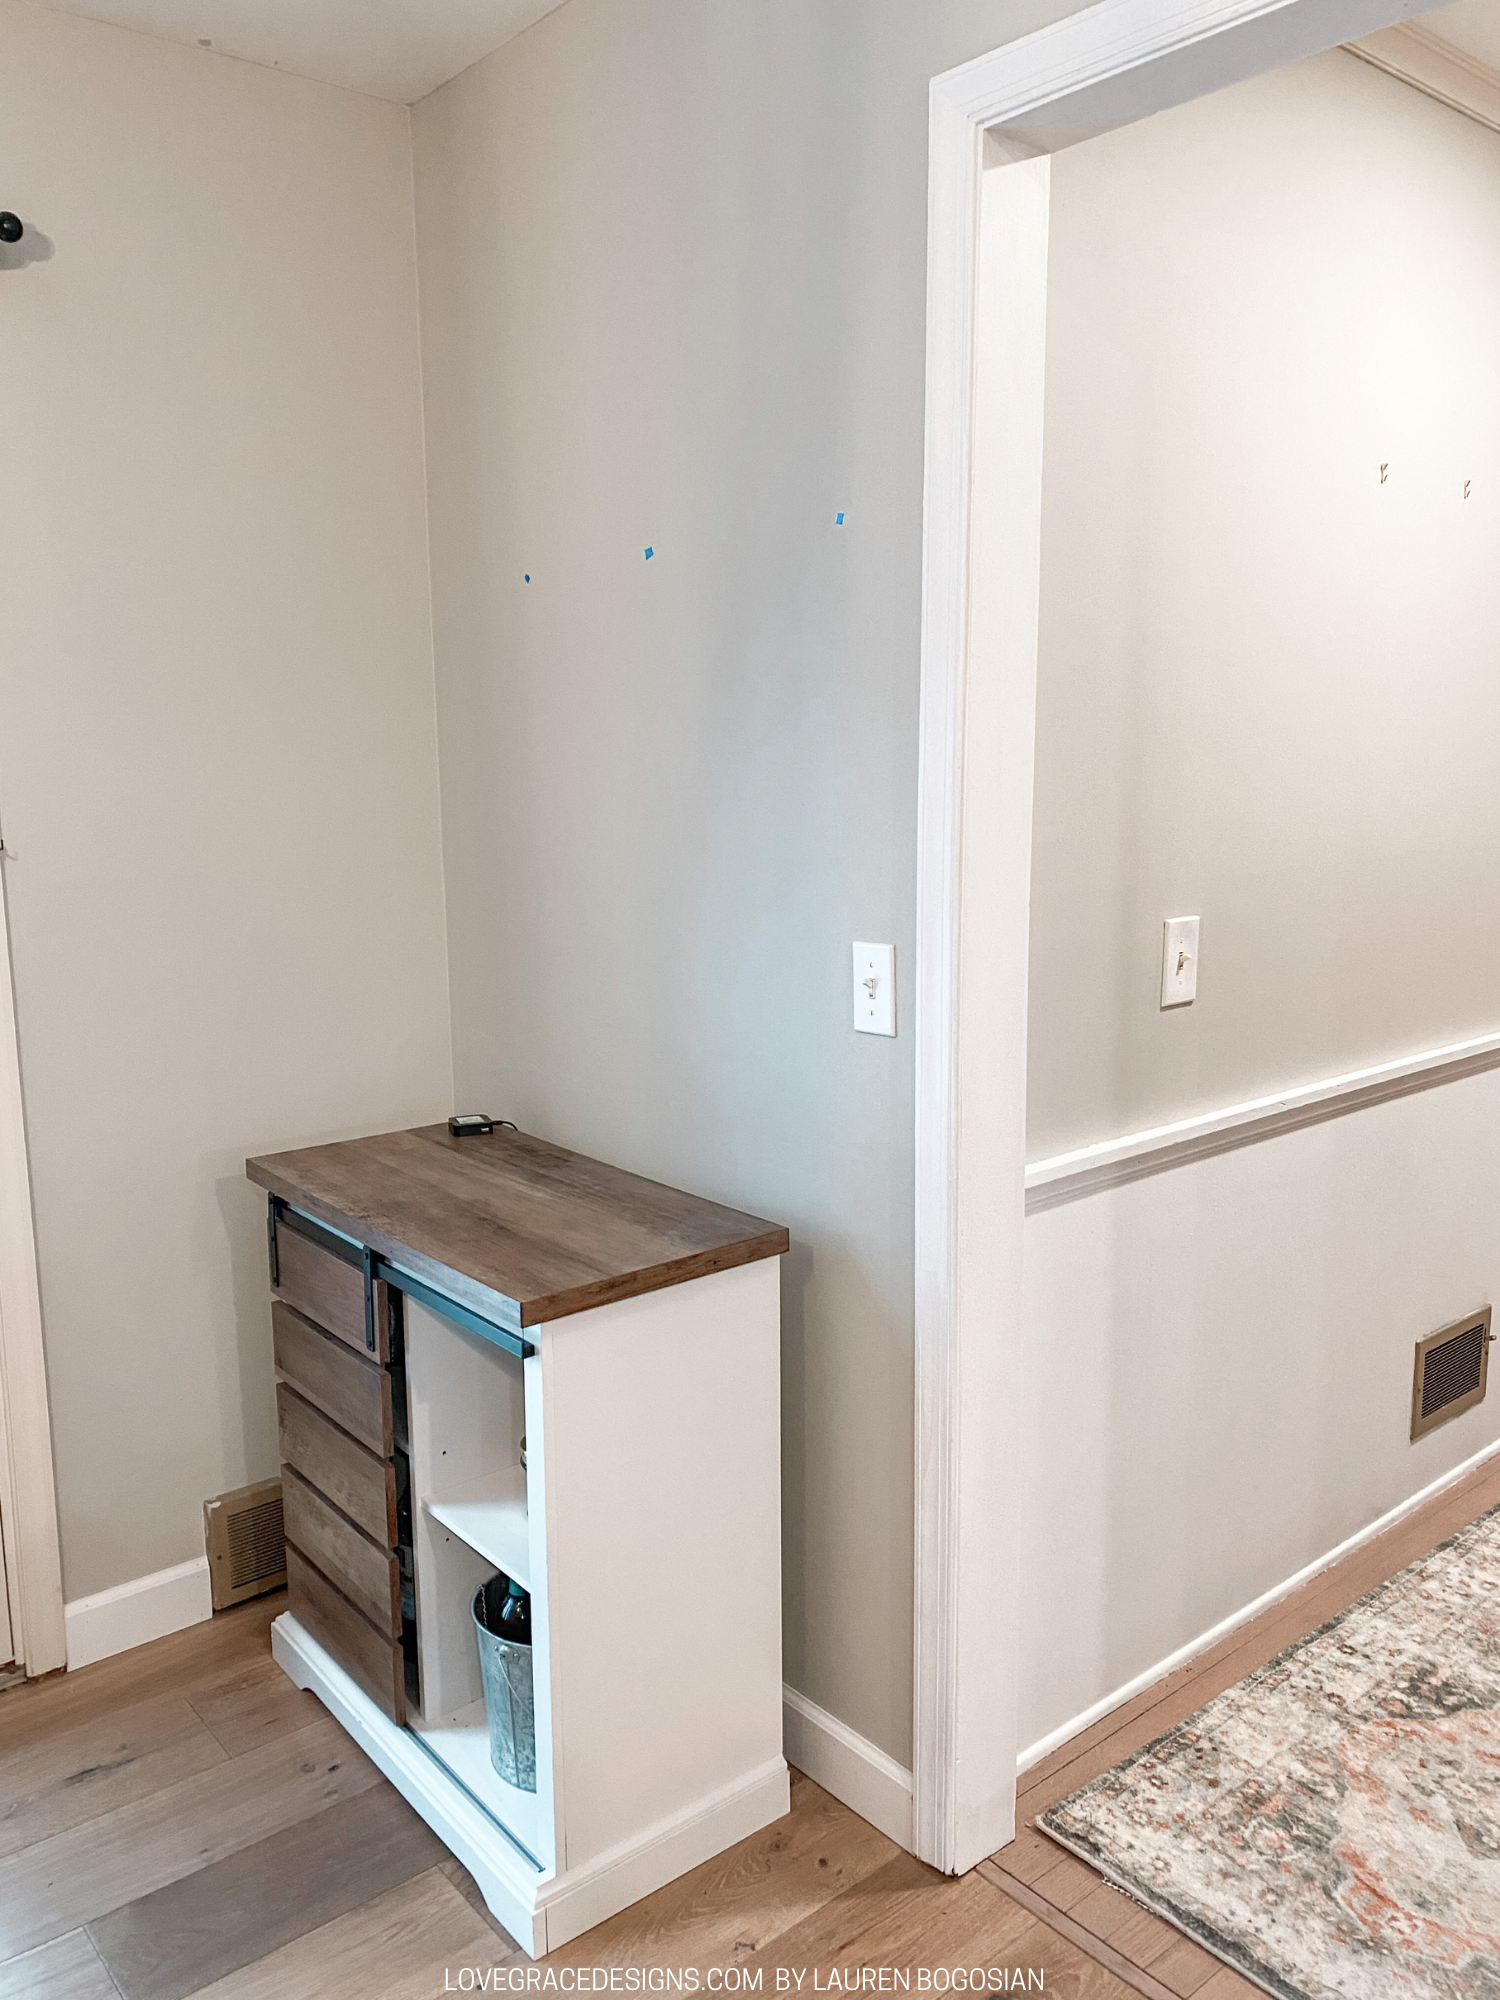
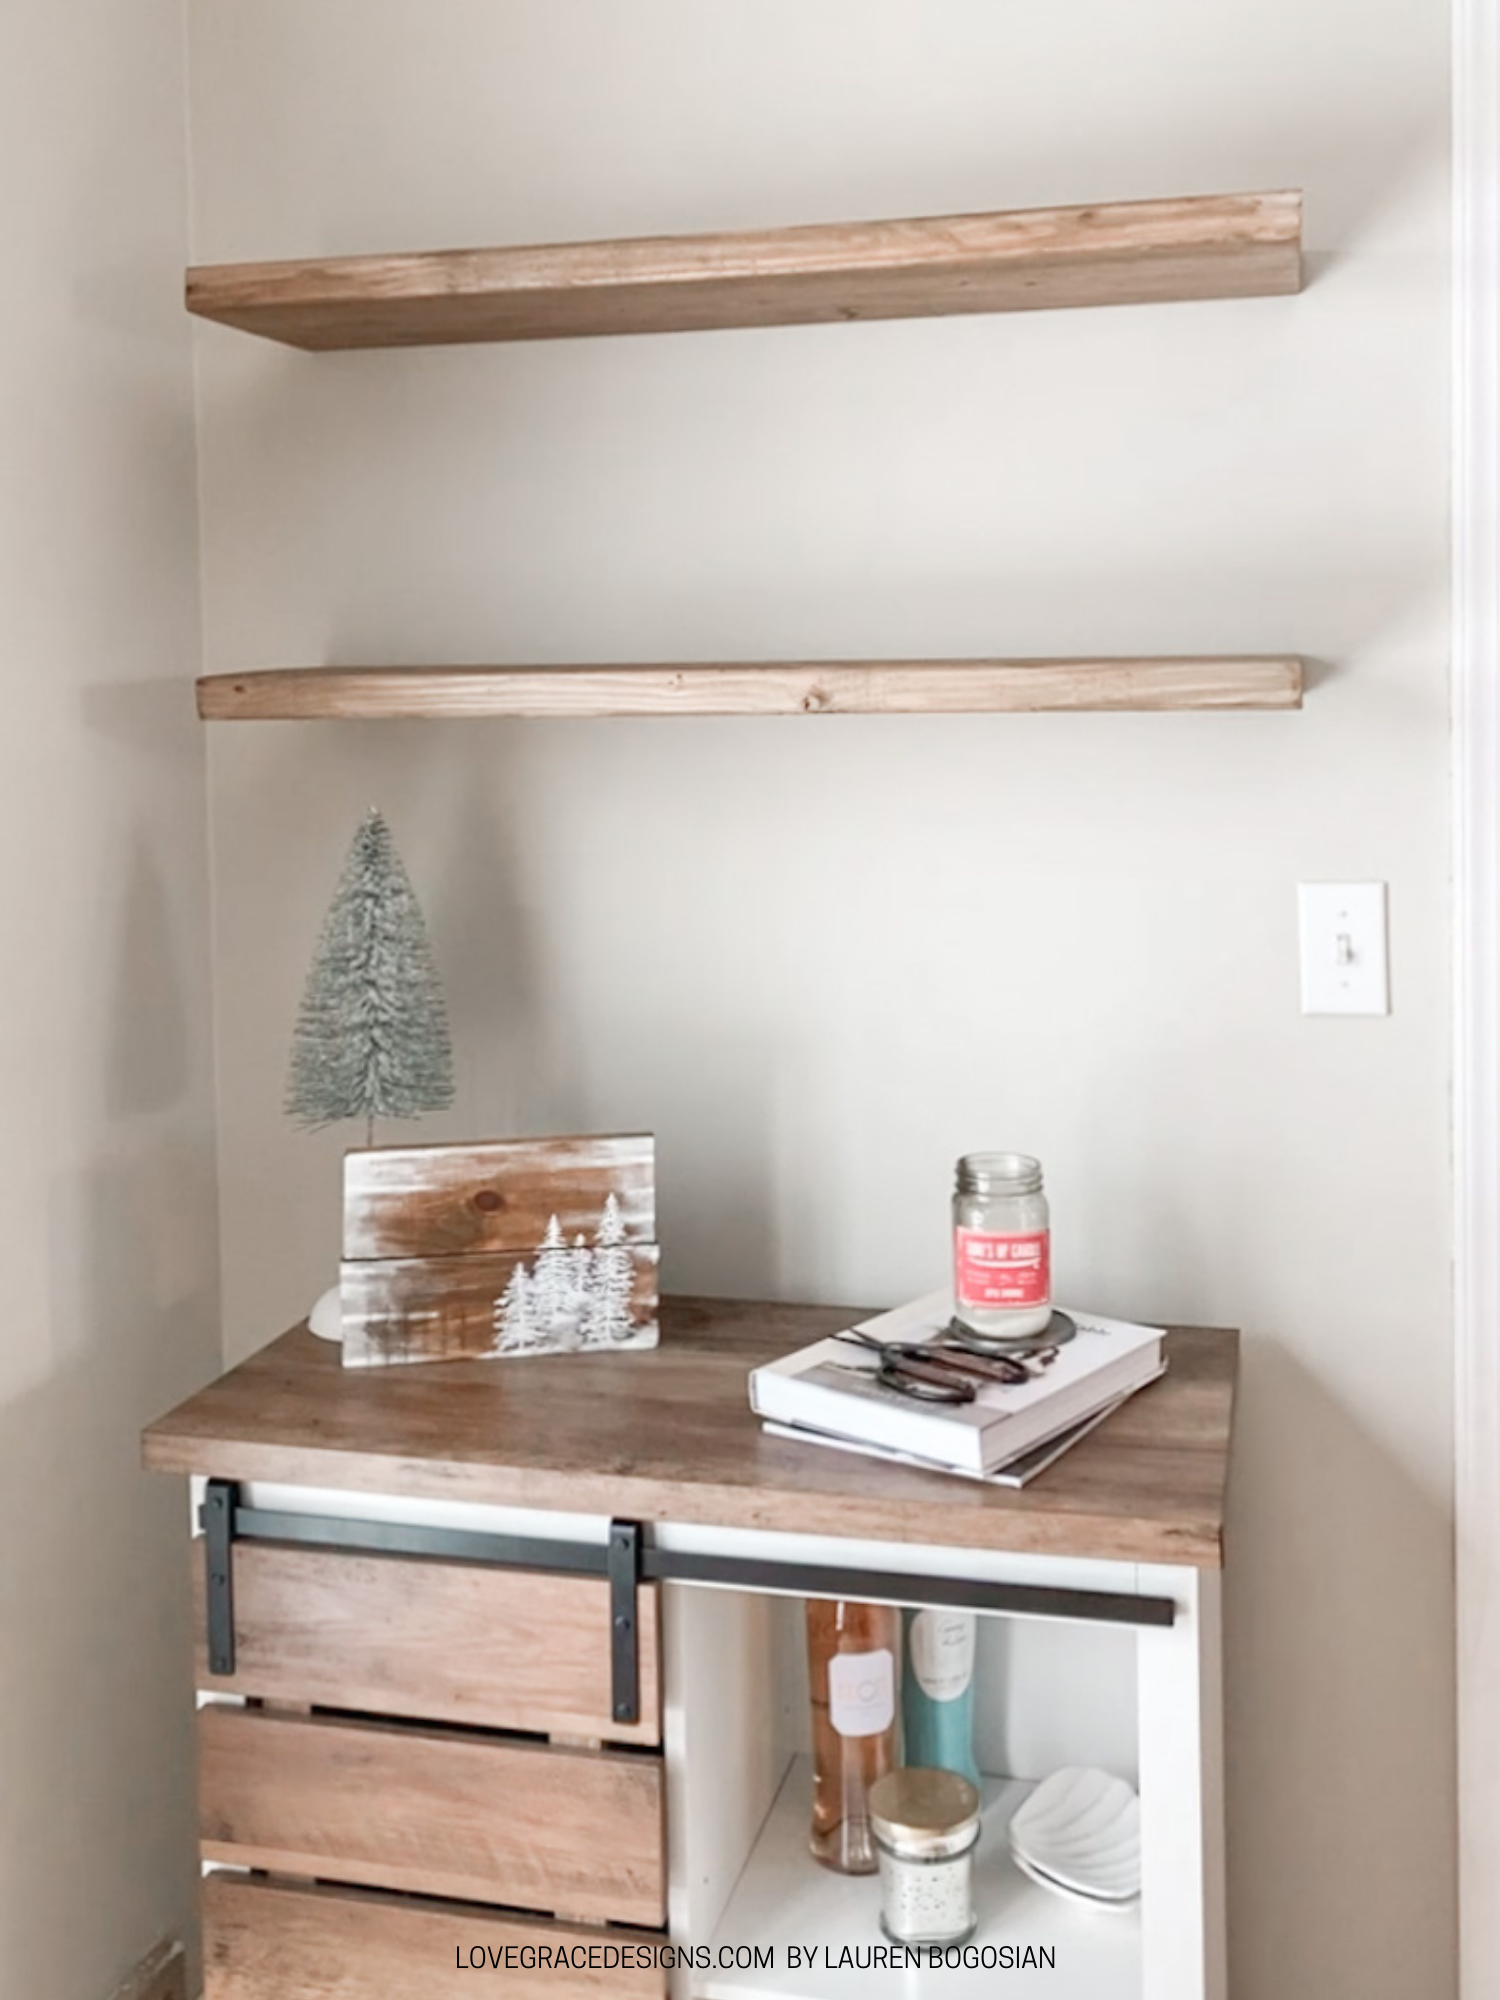
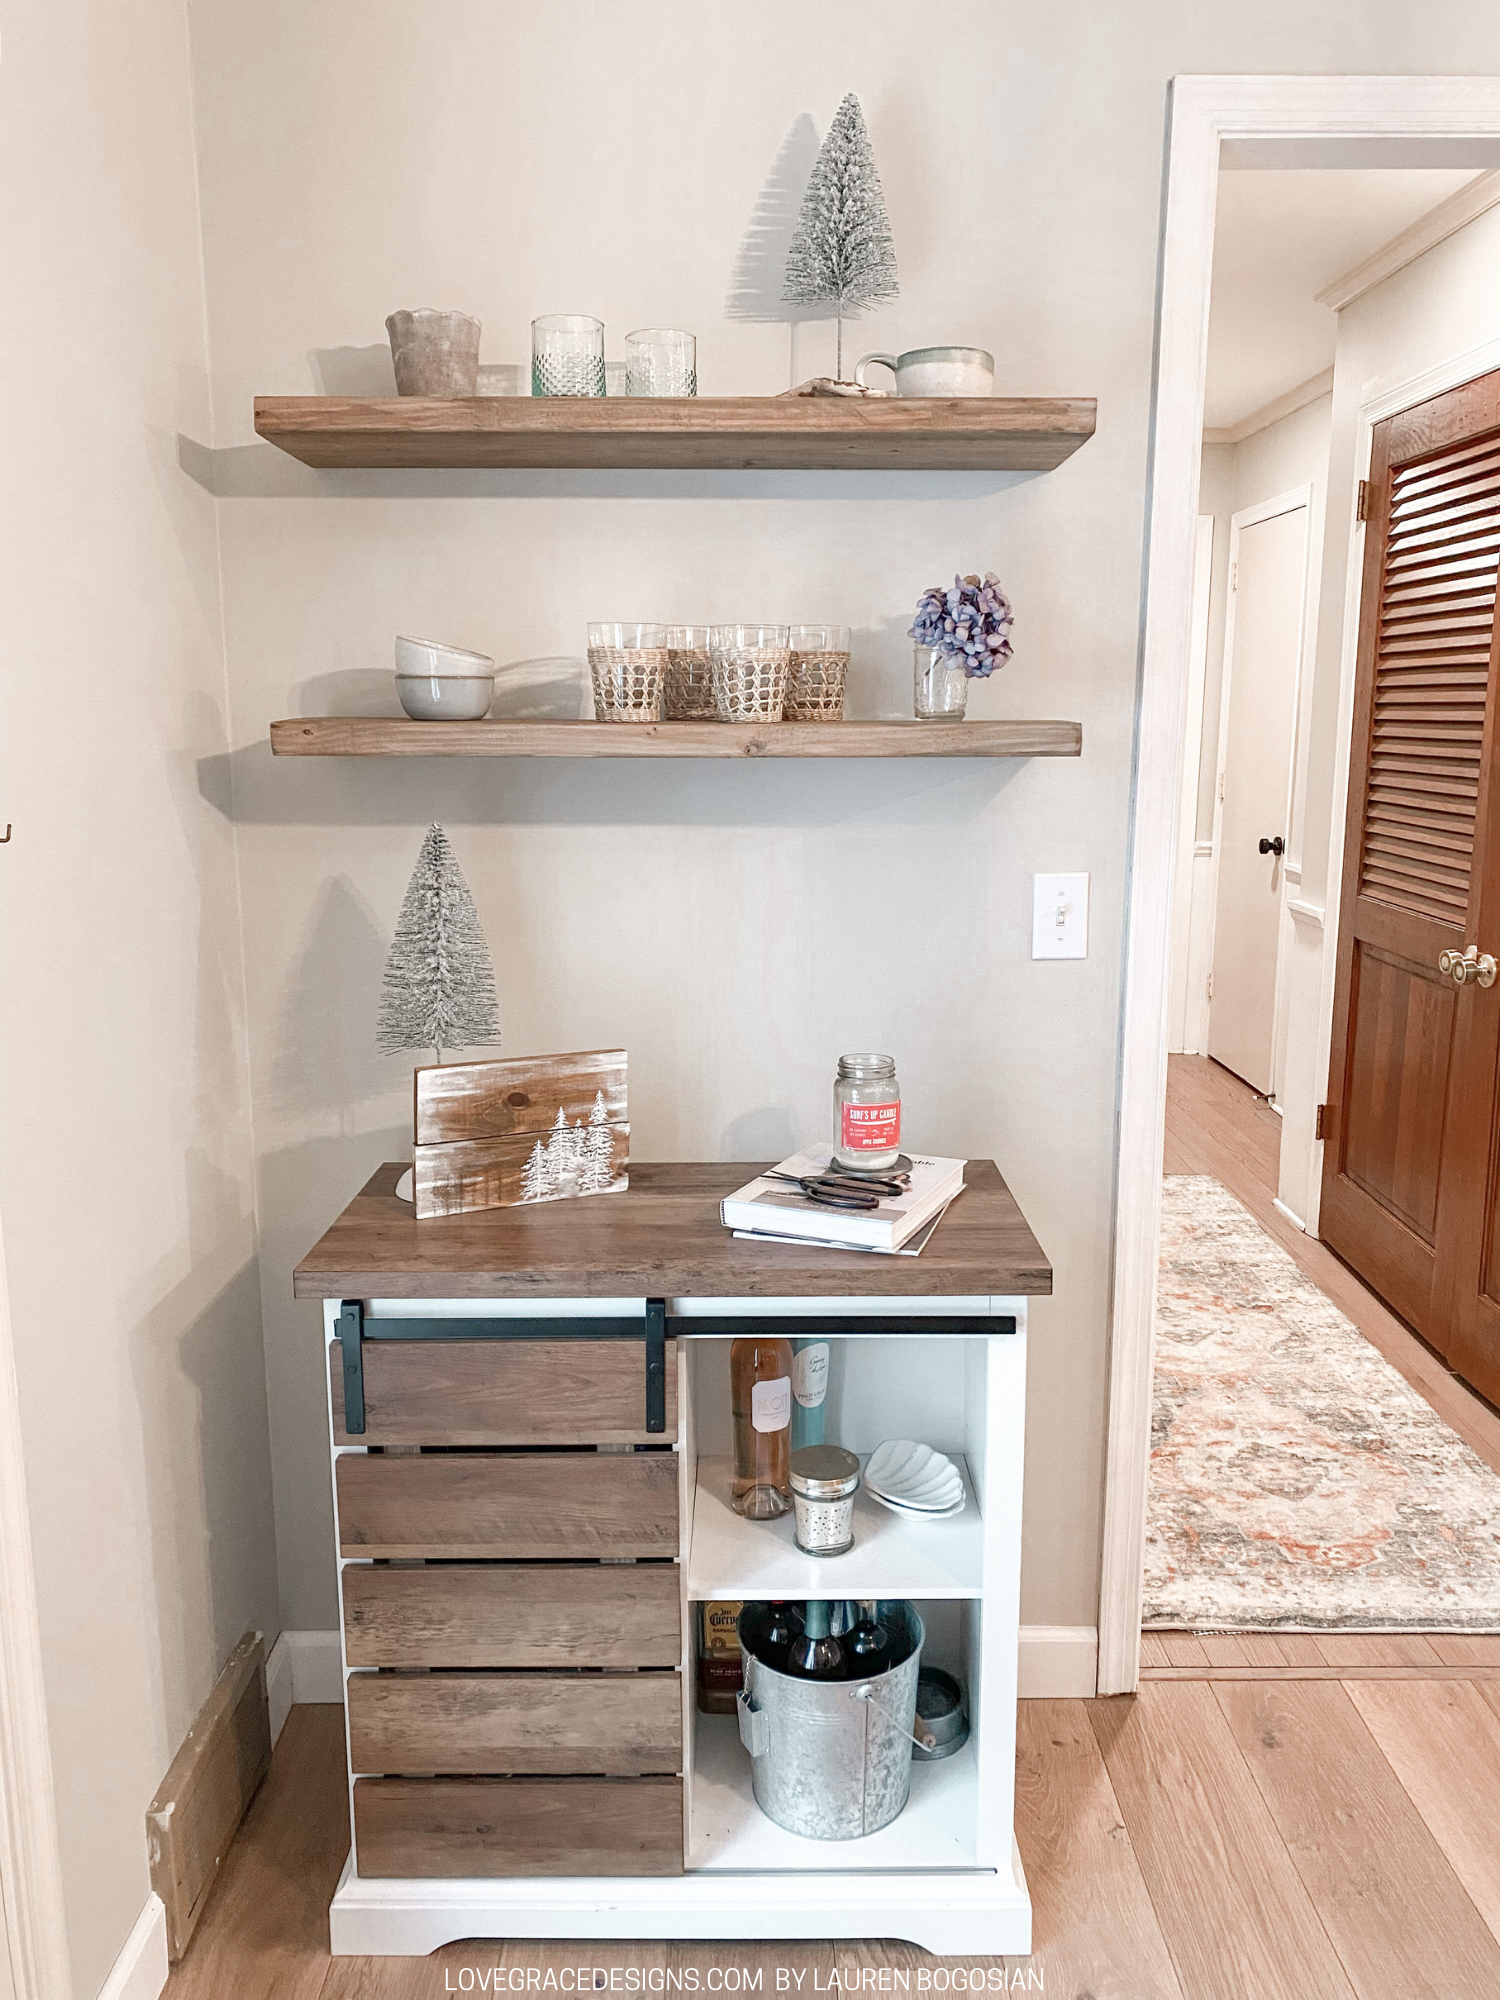
We’ve had an empty wall above our small liqour cabinet for over a year. I have envisioned this space to have shelves above it but I ultimately envision this as our bar area with a built in wine refrigerator, glass upper cabinets, and lower cabinets and countertops that match our entirely updated kitchen. But I’m getting ahead of myself…like 10 years ahead of myself.
For right now, I really wanted to have that empty wall be floating shelves, and I wanted to DIY them. I watched a lot of YouTube videos and read a lot of blog posts about the ‘best ways’ to build floating shelves. If the best way for you is the quickest, then this will probably be the best way for you. If the best way for you is the least expensive, then this will also be the best way for you!
The reason this is so easy and inexpensive is because it uses one block of wood and pocket holes. No brackets or cleats of any kind are needed!
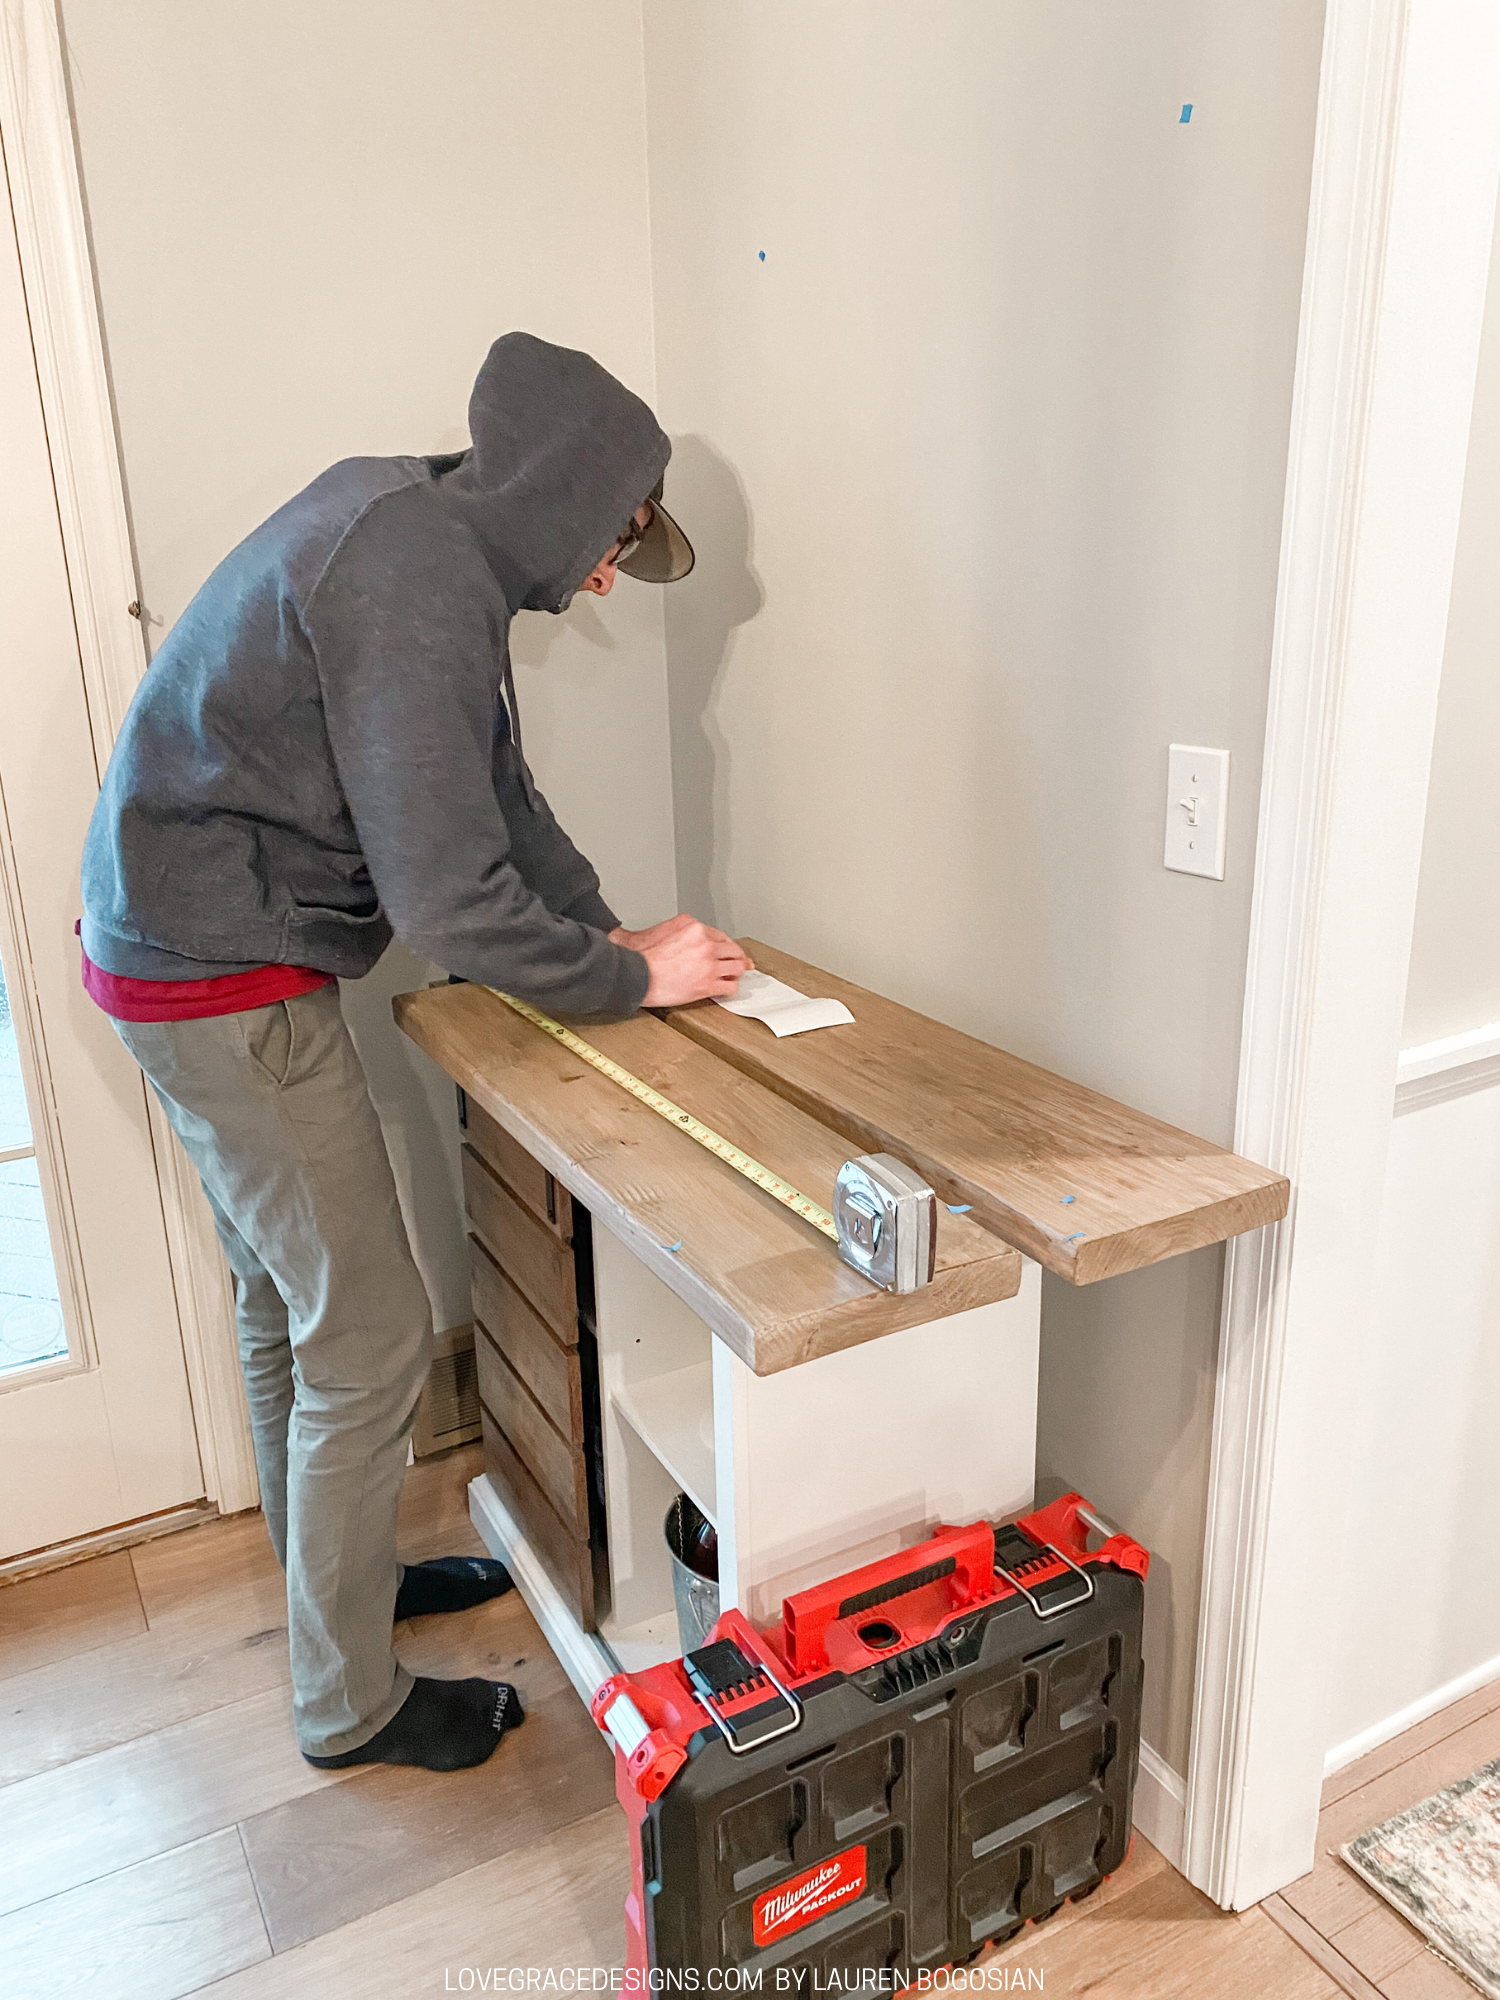
We chose measurements that were perfect for our space so keep in mind that the measurements in this floating shelf DIY can be adjusted for your DIY! Our wall was about 45 inches so we chose to have our shelves 36 inches (3 feet) each. We only needed 2 shelves so I got 1 board from Home Depot and we cut it in 2 with our table saw. You can always ask someone at Home Depot to do this cut for you! I also measured the depth to ensure that it was enough to hold some items but not stick out too far. Our shelves are 2x10’s- but keep in mind, the 2in thick measurement on wood is actually 1 1/2in – just like a 2x4 is not actually 2x4. I would still recommend choosing a 2xSomething baord so it’s extra strong.
Materials Needed for DIY
2x10 pine boards
Table saw
Desired stain
Sand paper
Kreg Jig
4″ wood screws
Drill
Level

How-to Make the Floating Shelves
Good news is, the pine boards are your floating shelves. I sanded and stained our boards after we cut them. Besides staining or painting the shelves whatever color you want it, there is just one other step- making the pocket holes!
Measuring is key and I cannot stress this enough. My husband is great with measurements and triple checking himself which I am very thankful for. You want to find the studs where you are planning to hang the shelves so they are even stronger. We were lucky to have 3 studs properly placed, 2 near the edges and 1 in the middle. We made marks on the walls where they needed to be drilled and marks on the wood where the pocket holes would need to be.
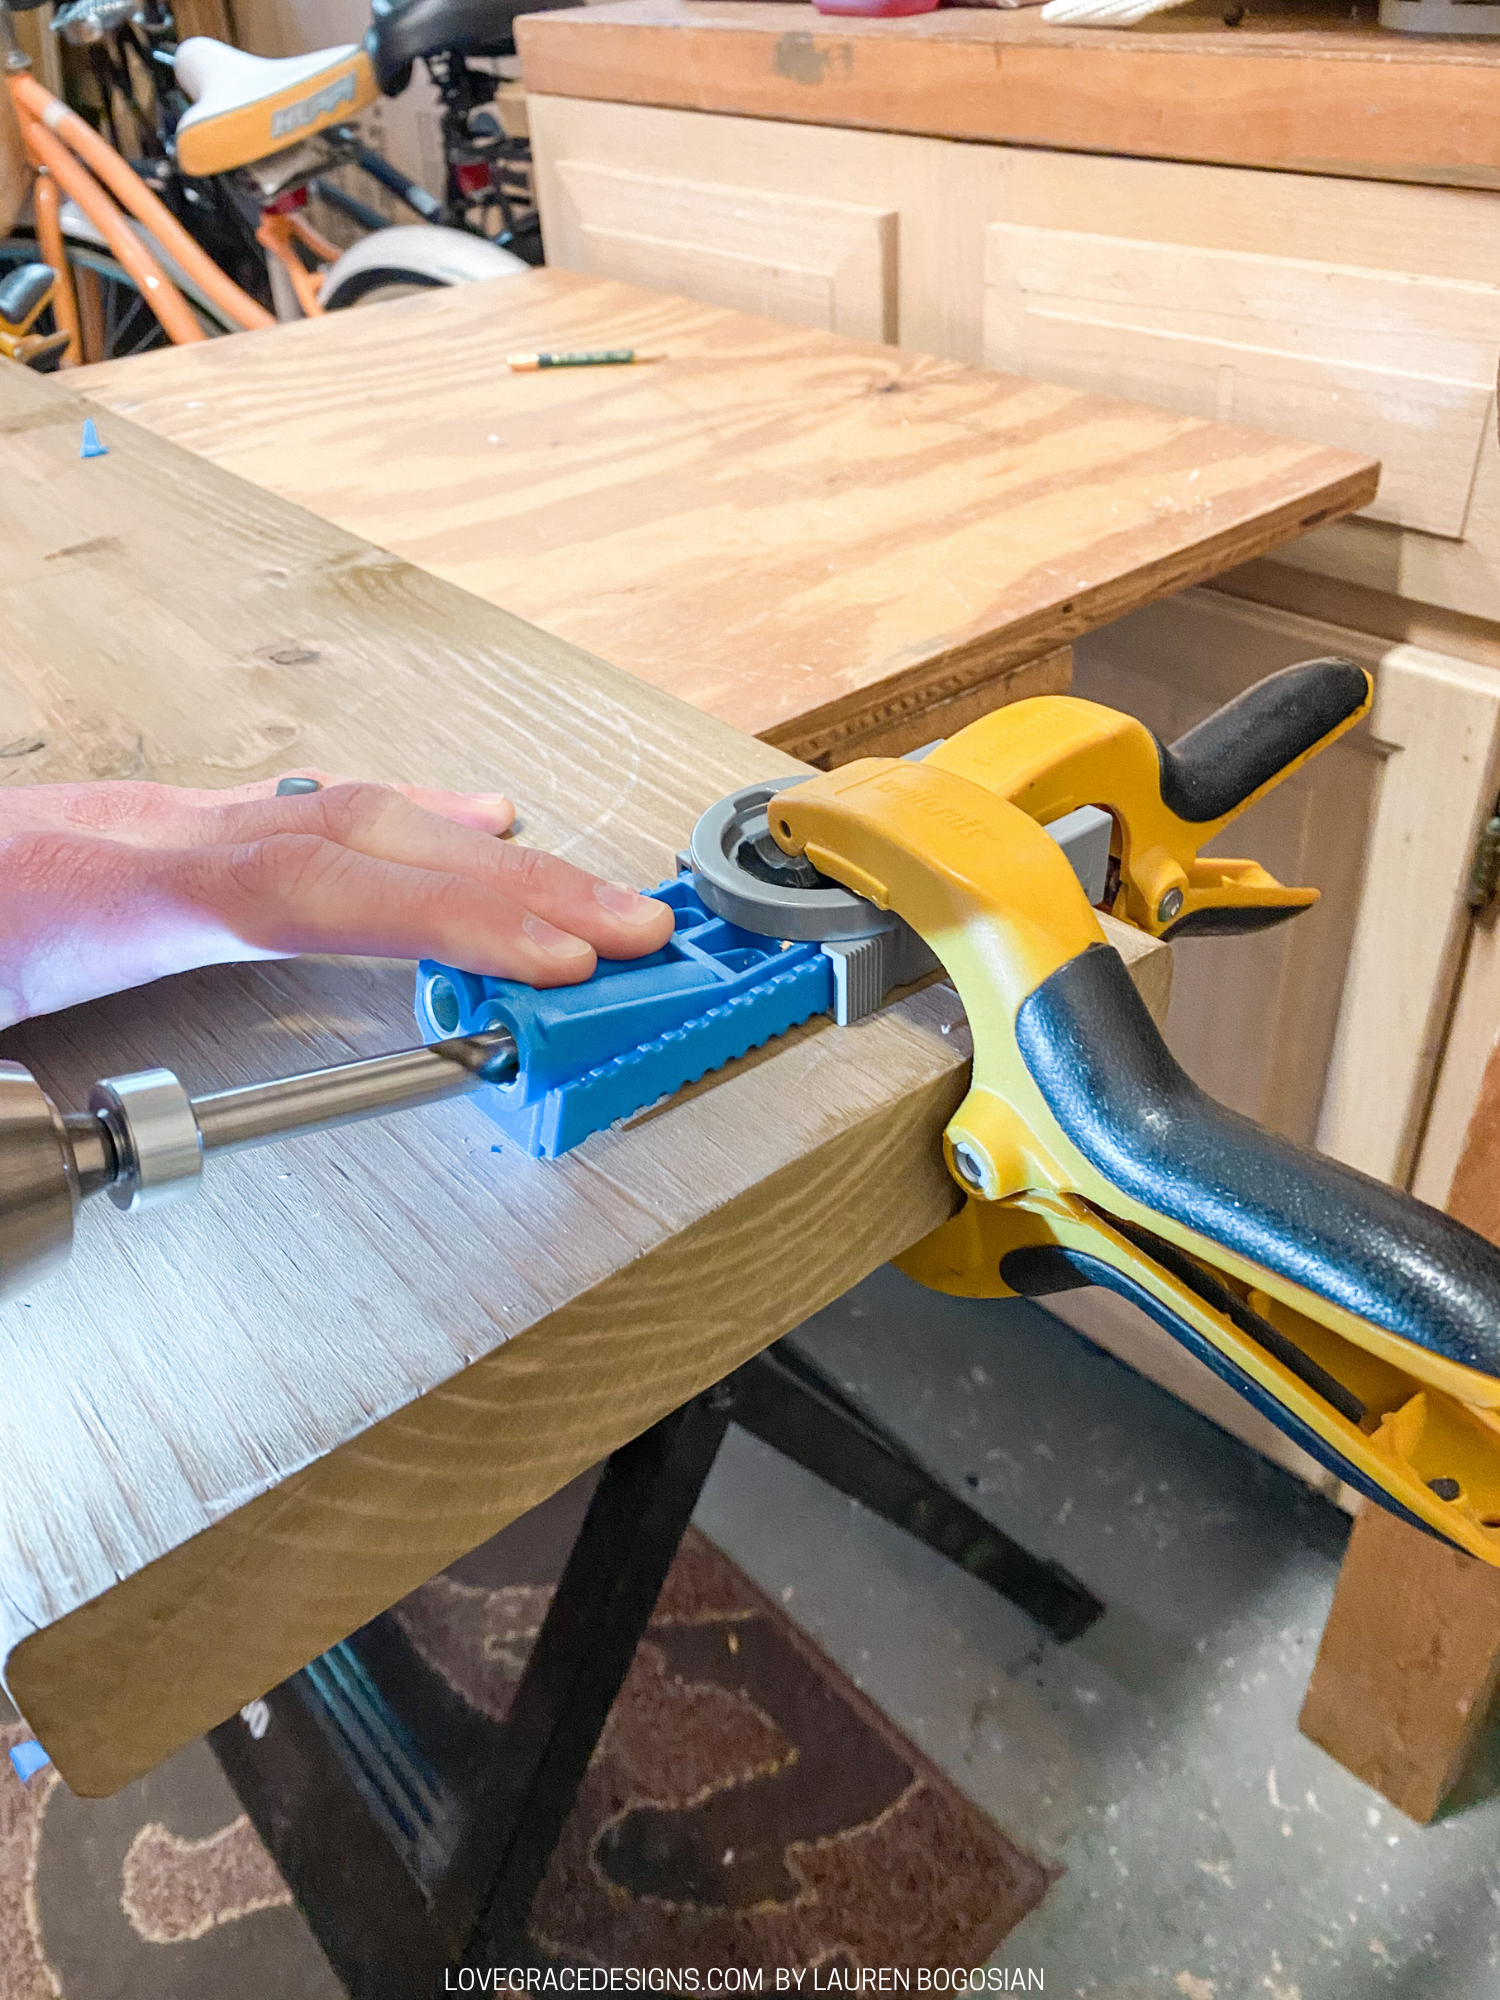
The Kreg Jig system is something I highly recommend getting. We have the Kreg Jig R3 so it is their less expensive version and still gets the job done. You have to be sure to have clamps of some kind or get the Kreg clamp. We already have clamps so we just used 4 of ours to rig something up. I’ve had our Kreg Jig system for probably 2 years or so and this was our first time ever using it. There is a slight learning curve and reading the instructions or even watching some YouTube videos is very helpful before you just go right into it.
There are measurements on the system and you line up the measurement of your wood thickness (in our case, 1 1/2in) with the arrow. You clamp it on the wood, set the depth collar on the drill appropriately for your wood measurement, and you drill the pocket hole.
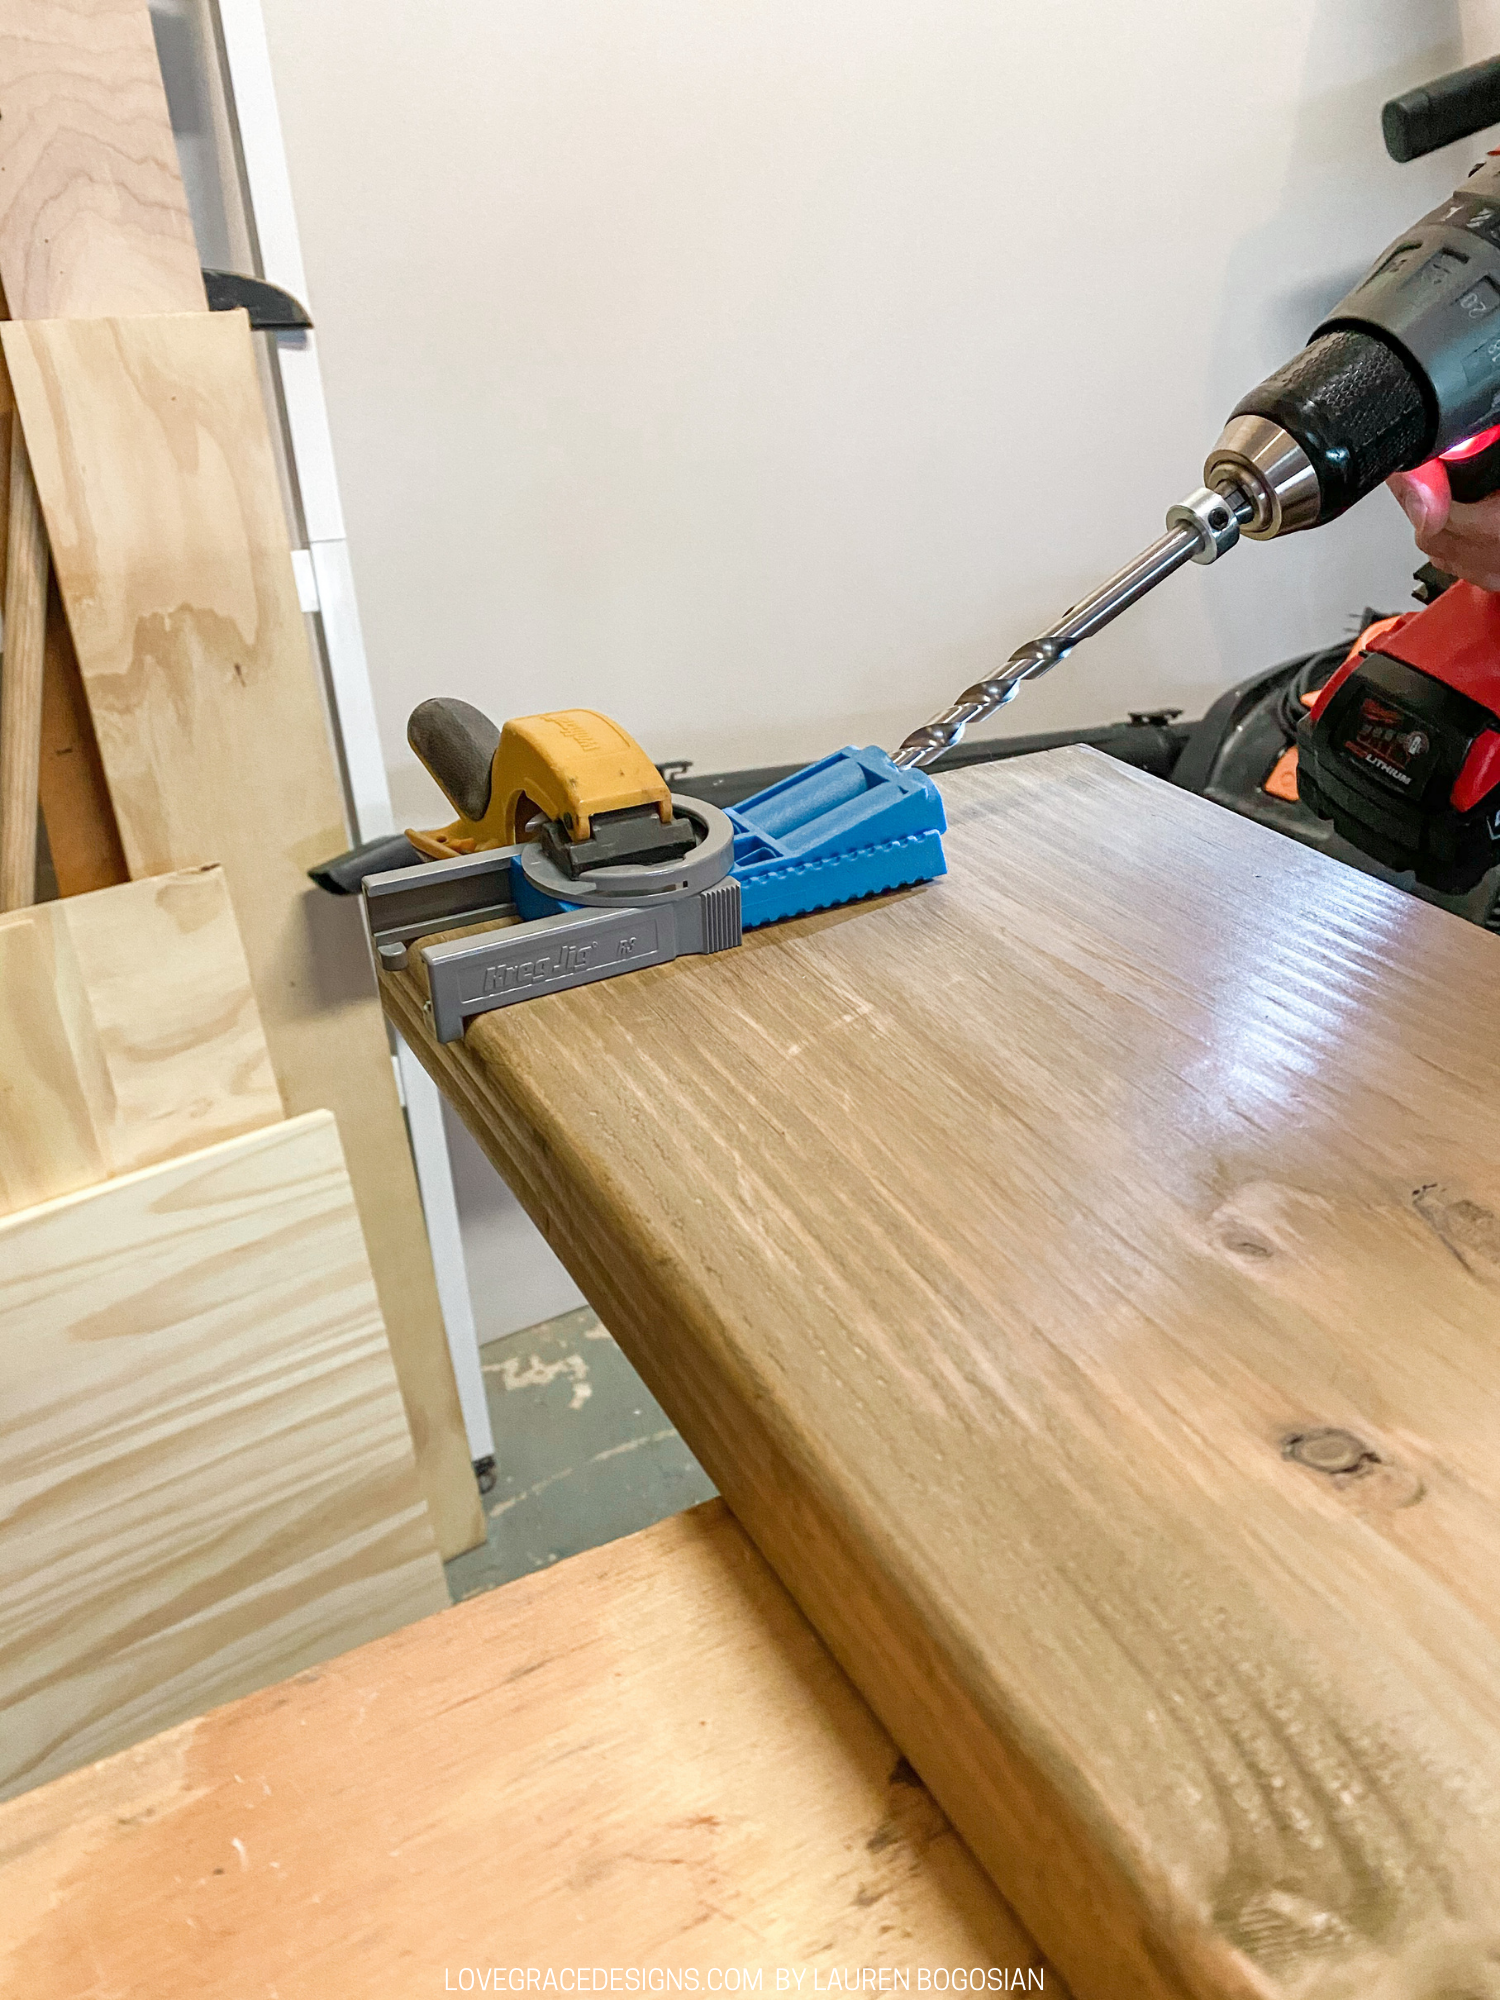
Again, we did 3 on each board.
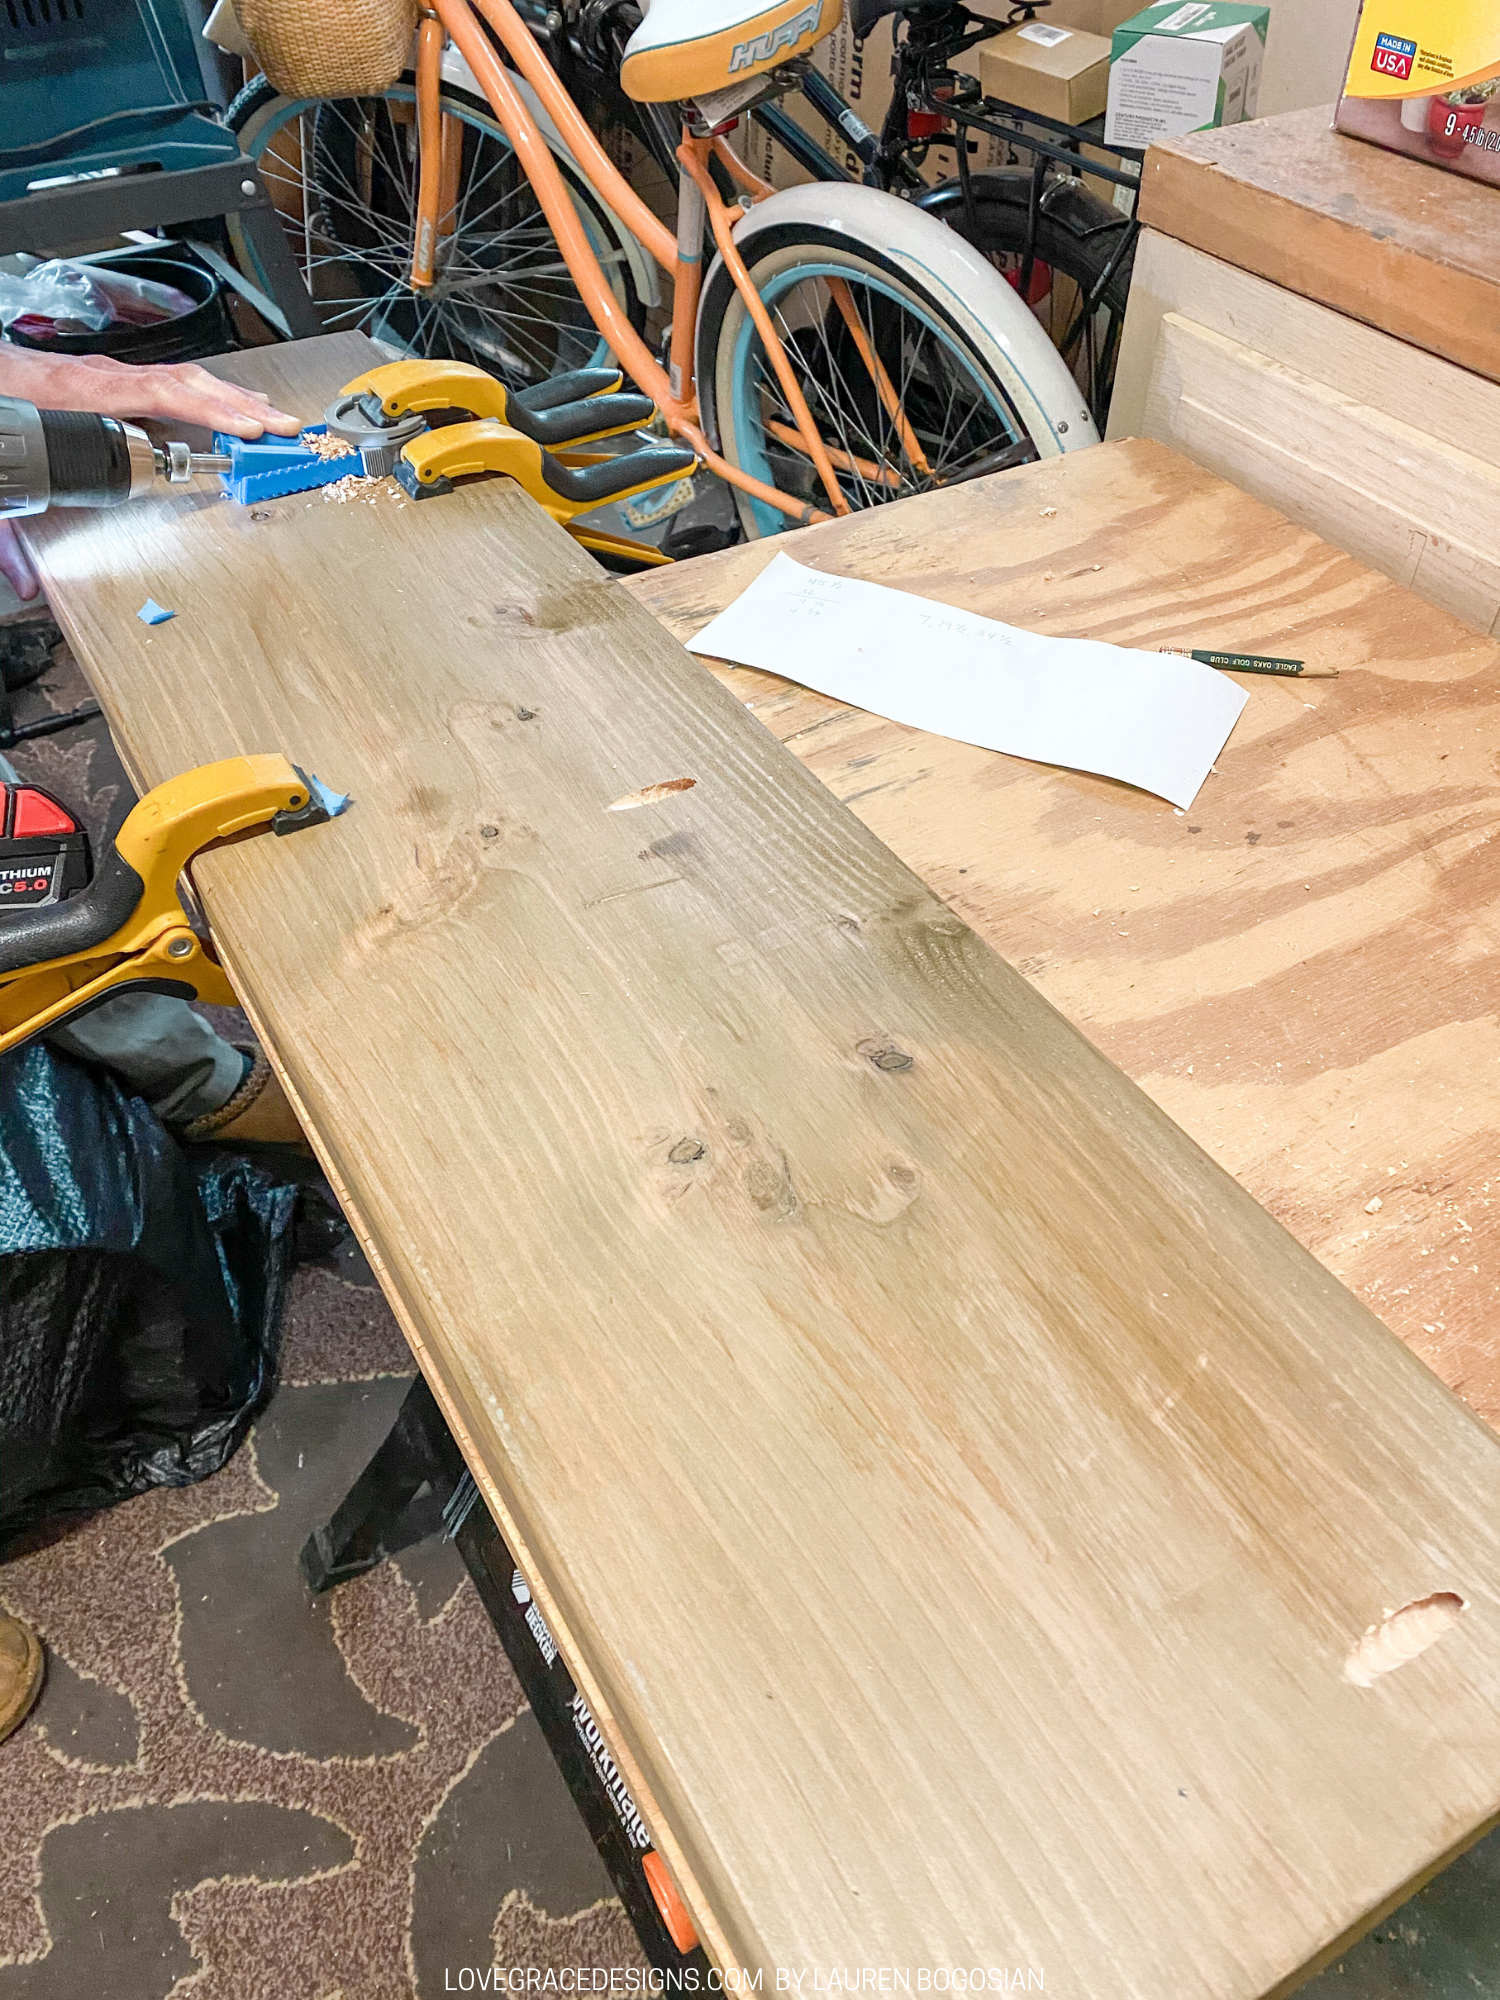
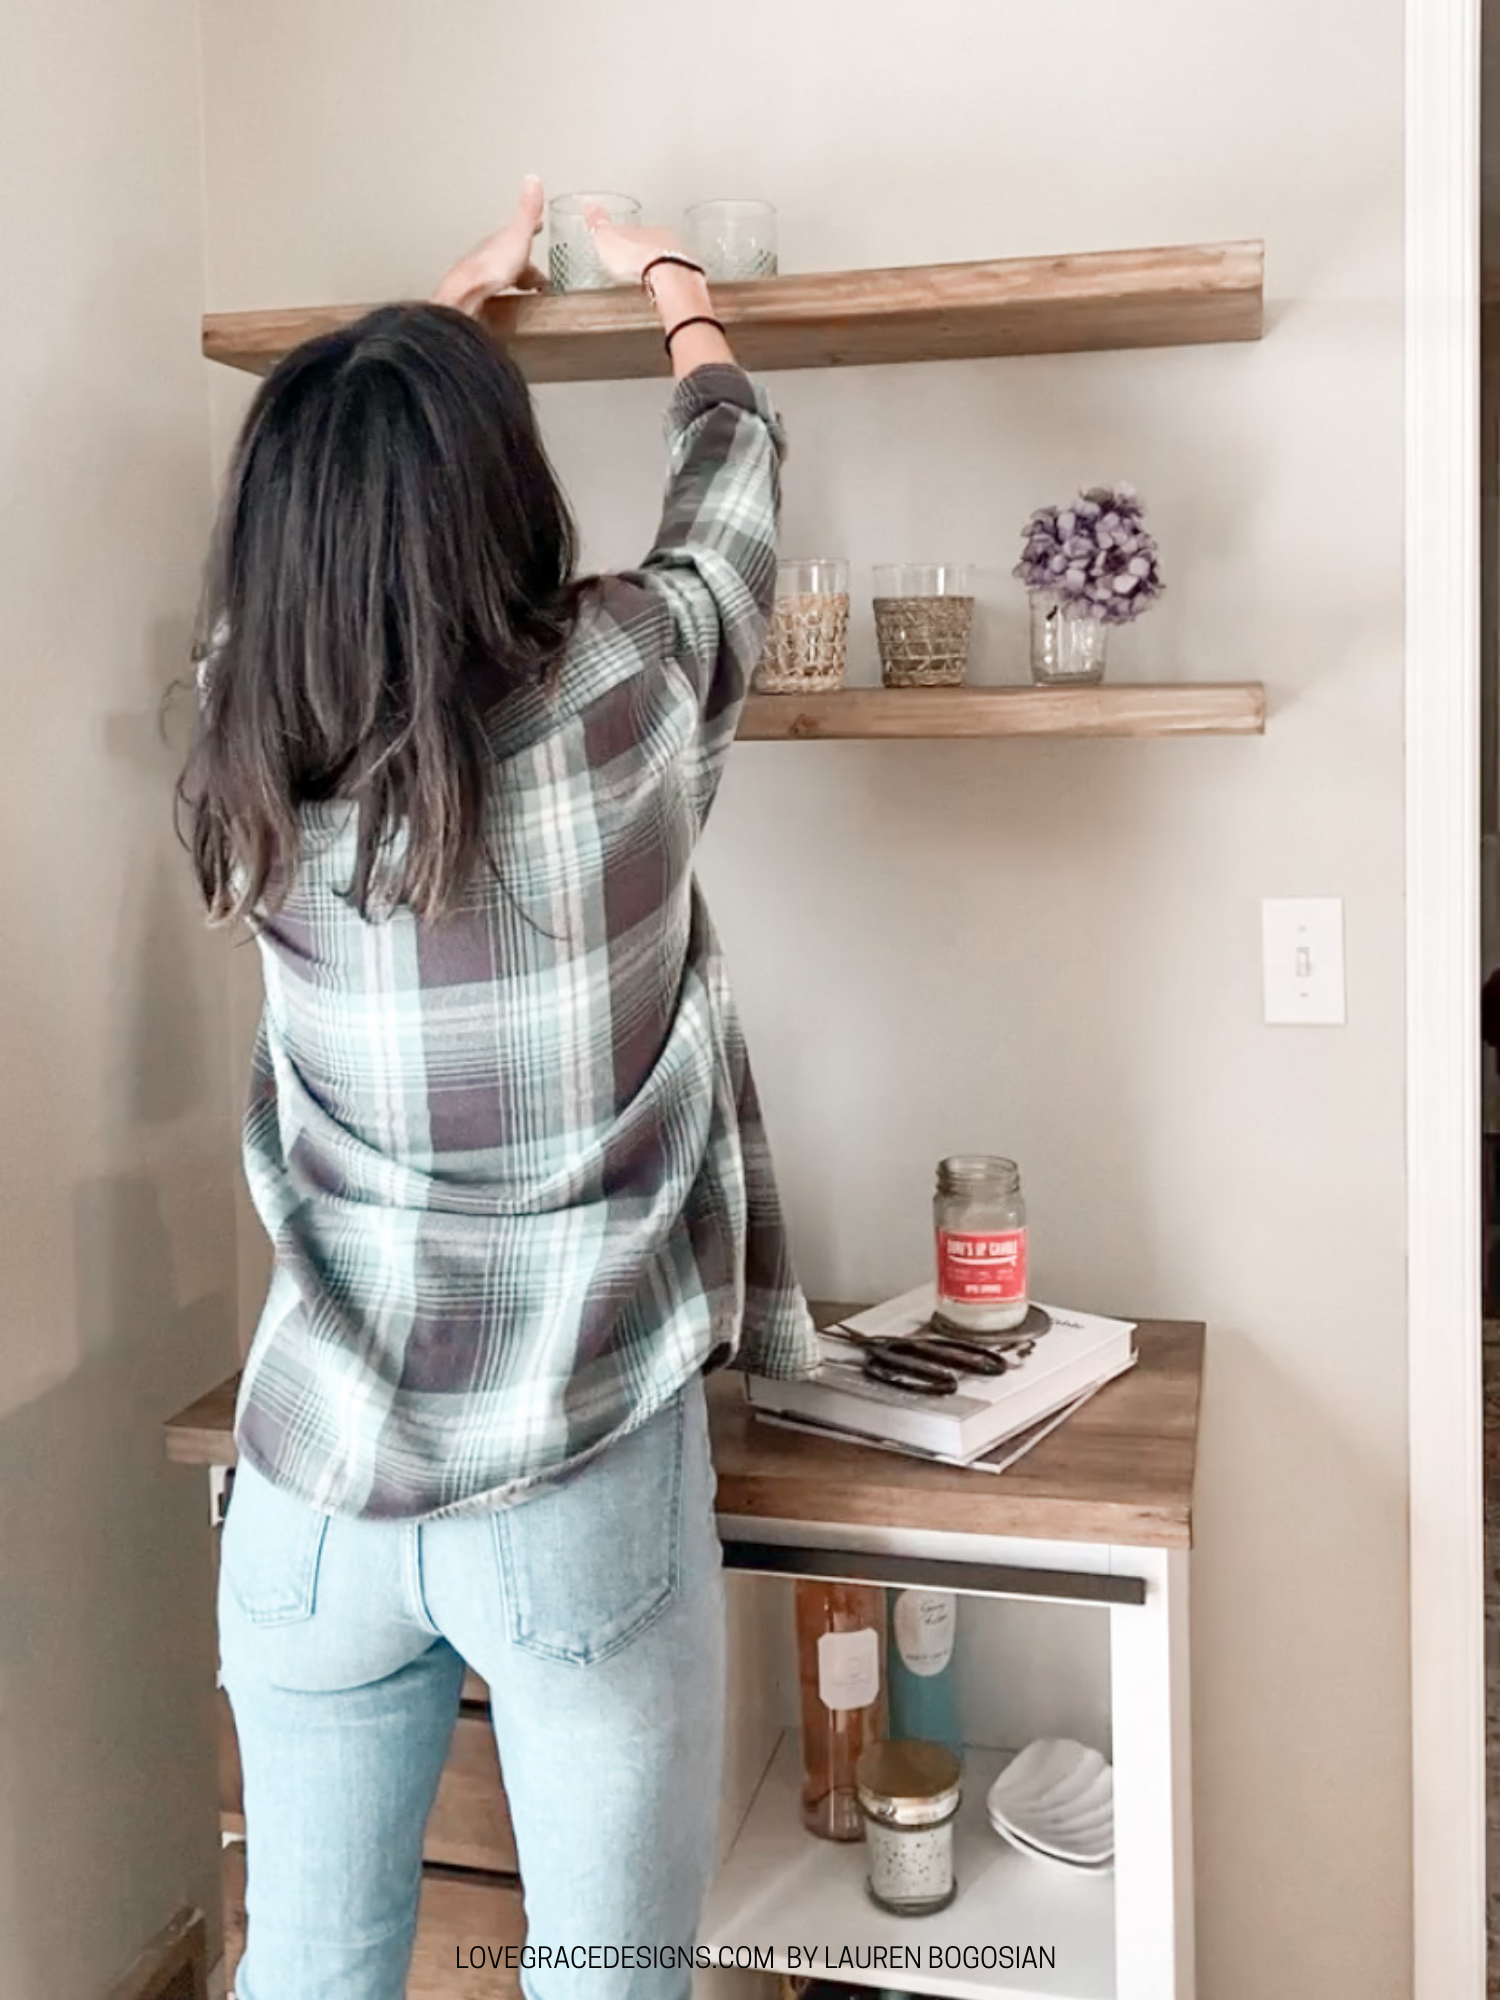
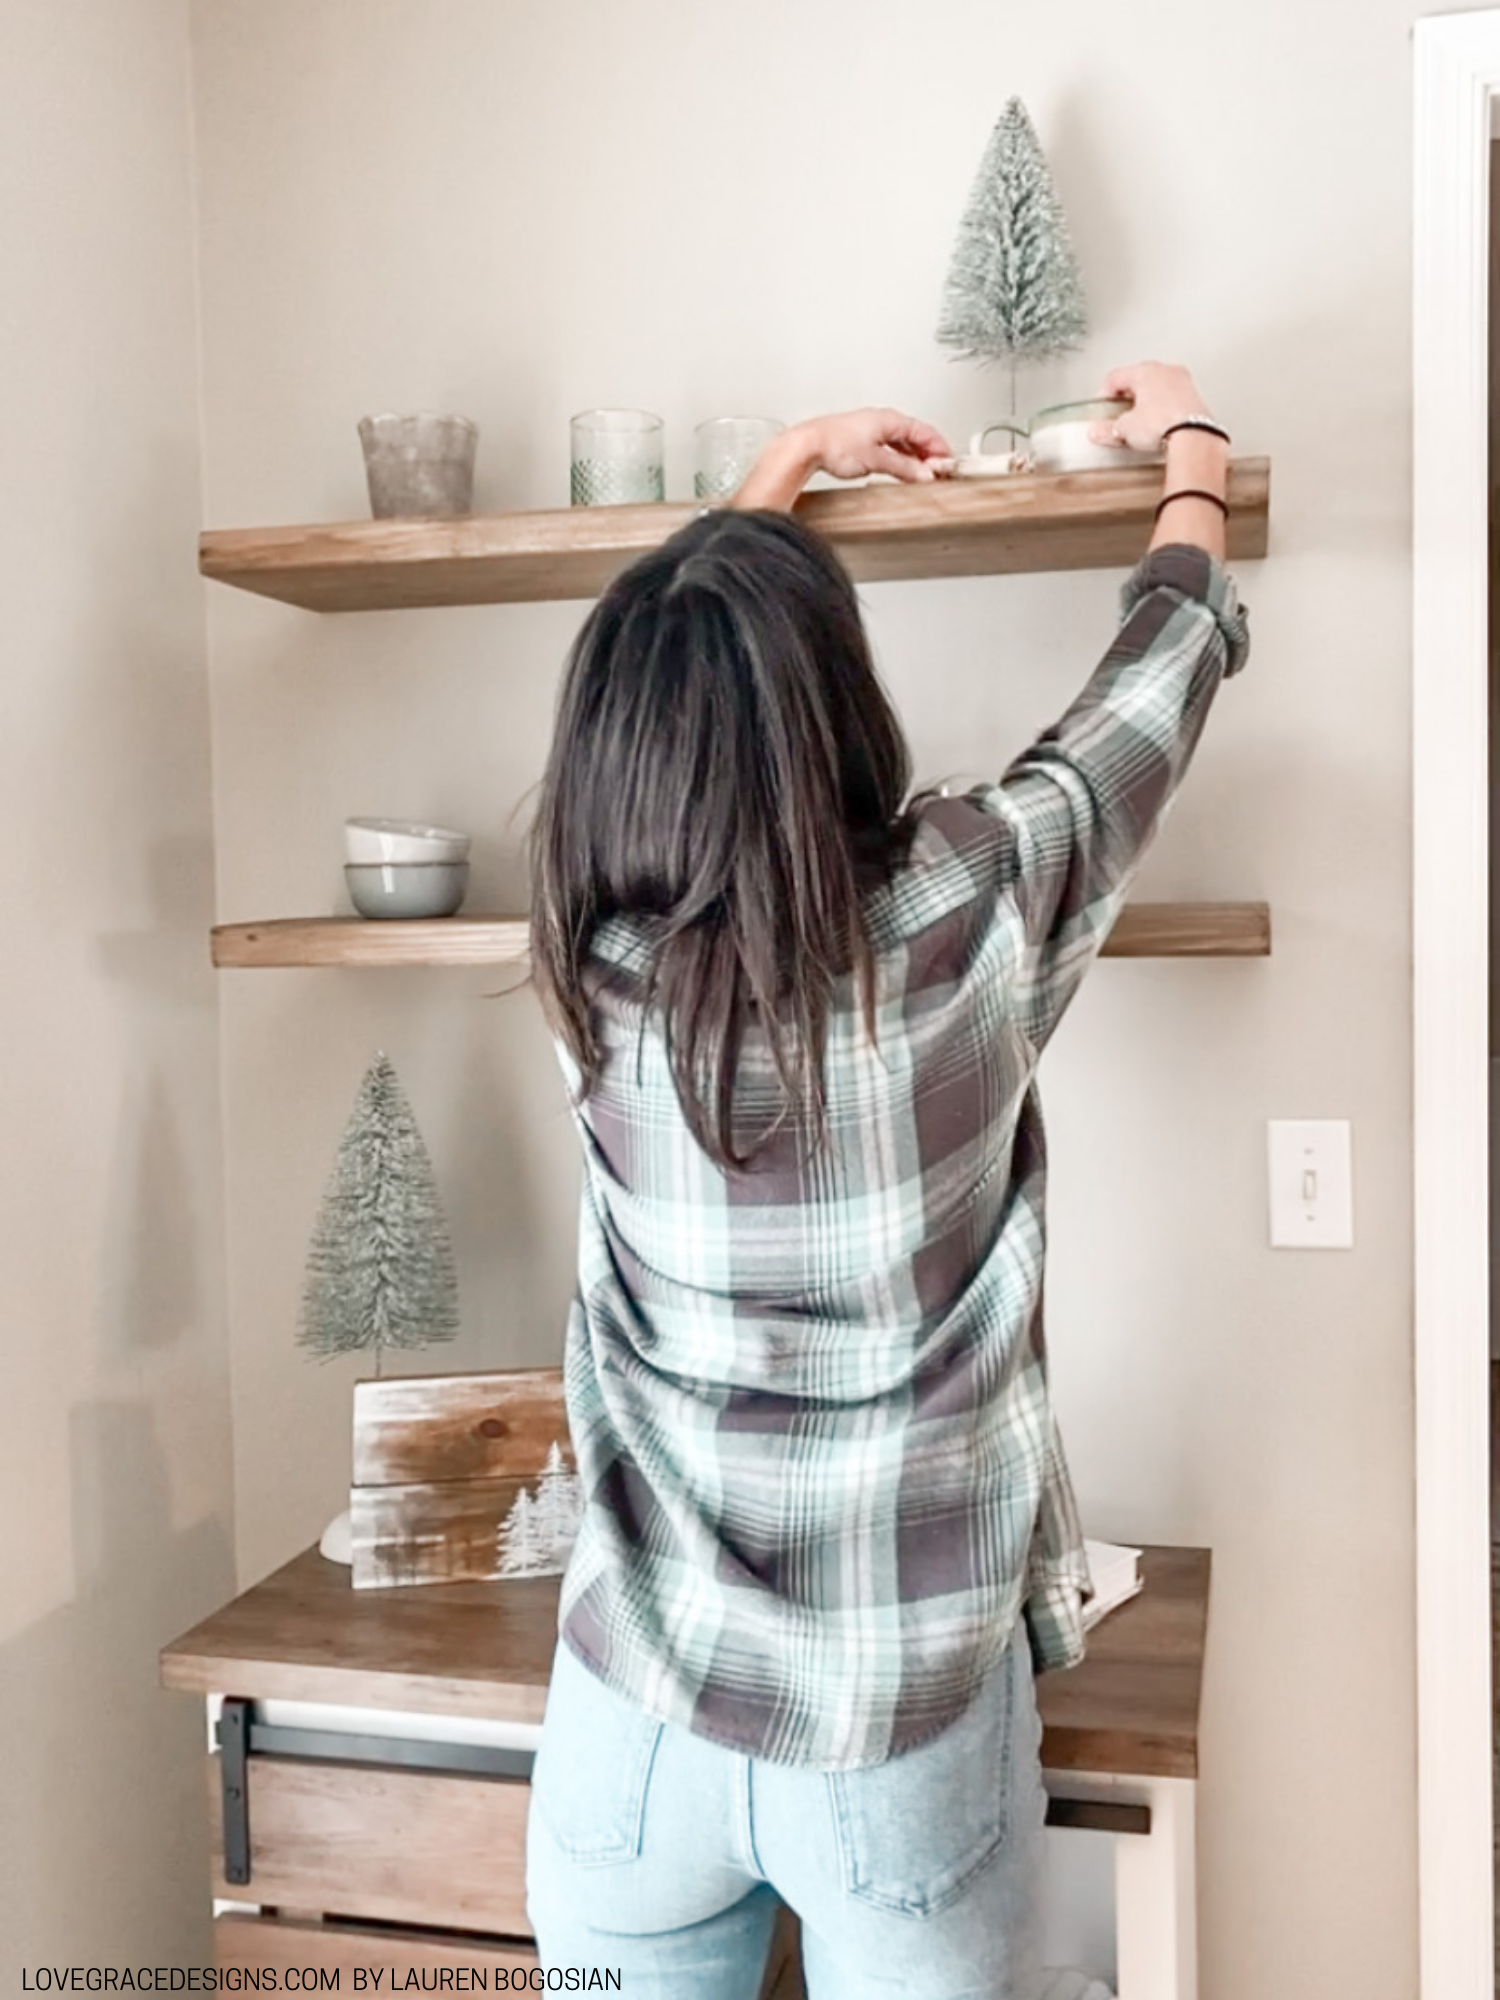
For hanging the shelves, you follow the marks you made on the wall where the studs are that line up where the pocket holes now are. Use the 4″ wood screws and drill into the wall. I’d suggest drilling the middle screw in first and use the level the make adjustments for the outer two screws. Drill the screws until there is no movement in the shelf.
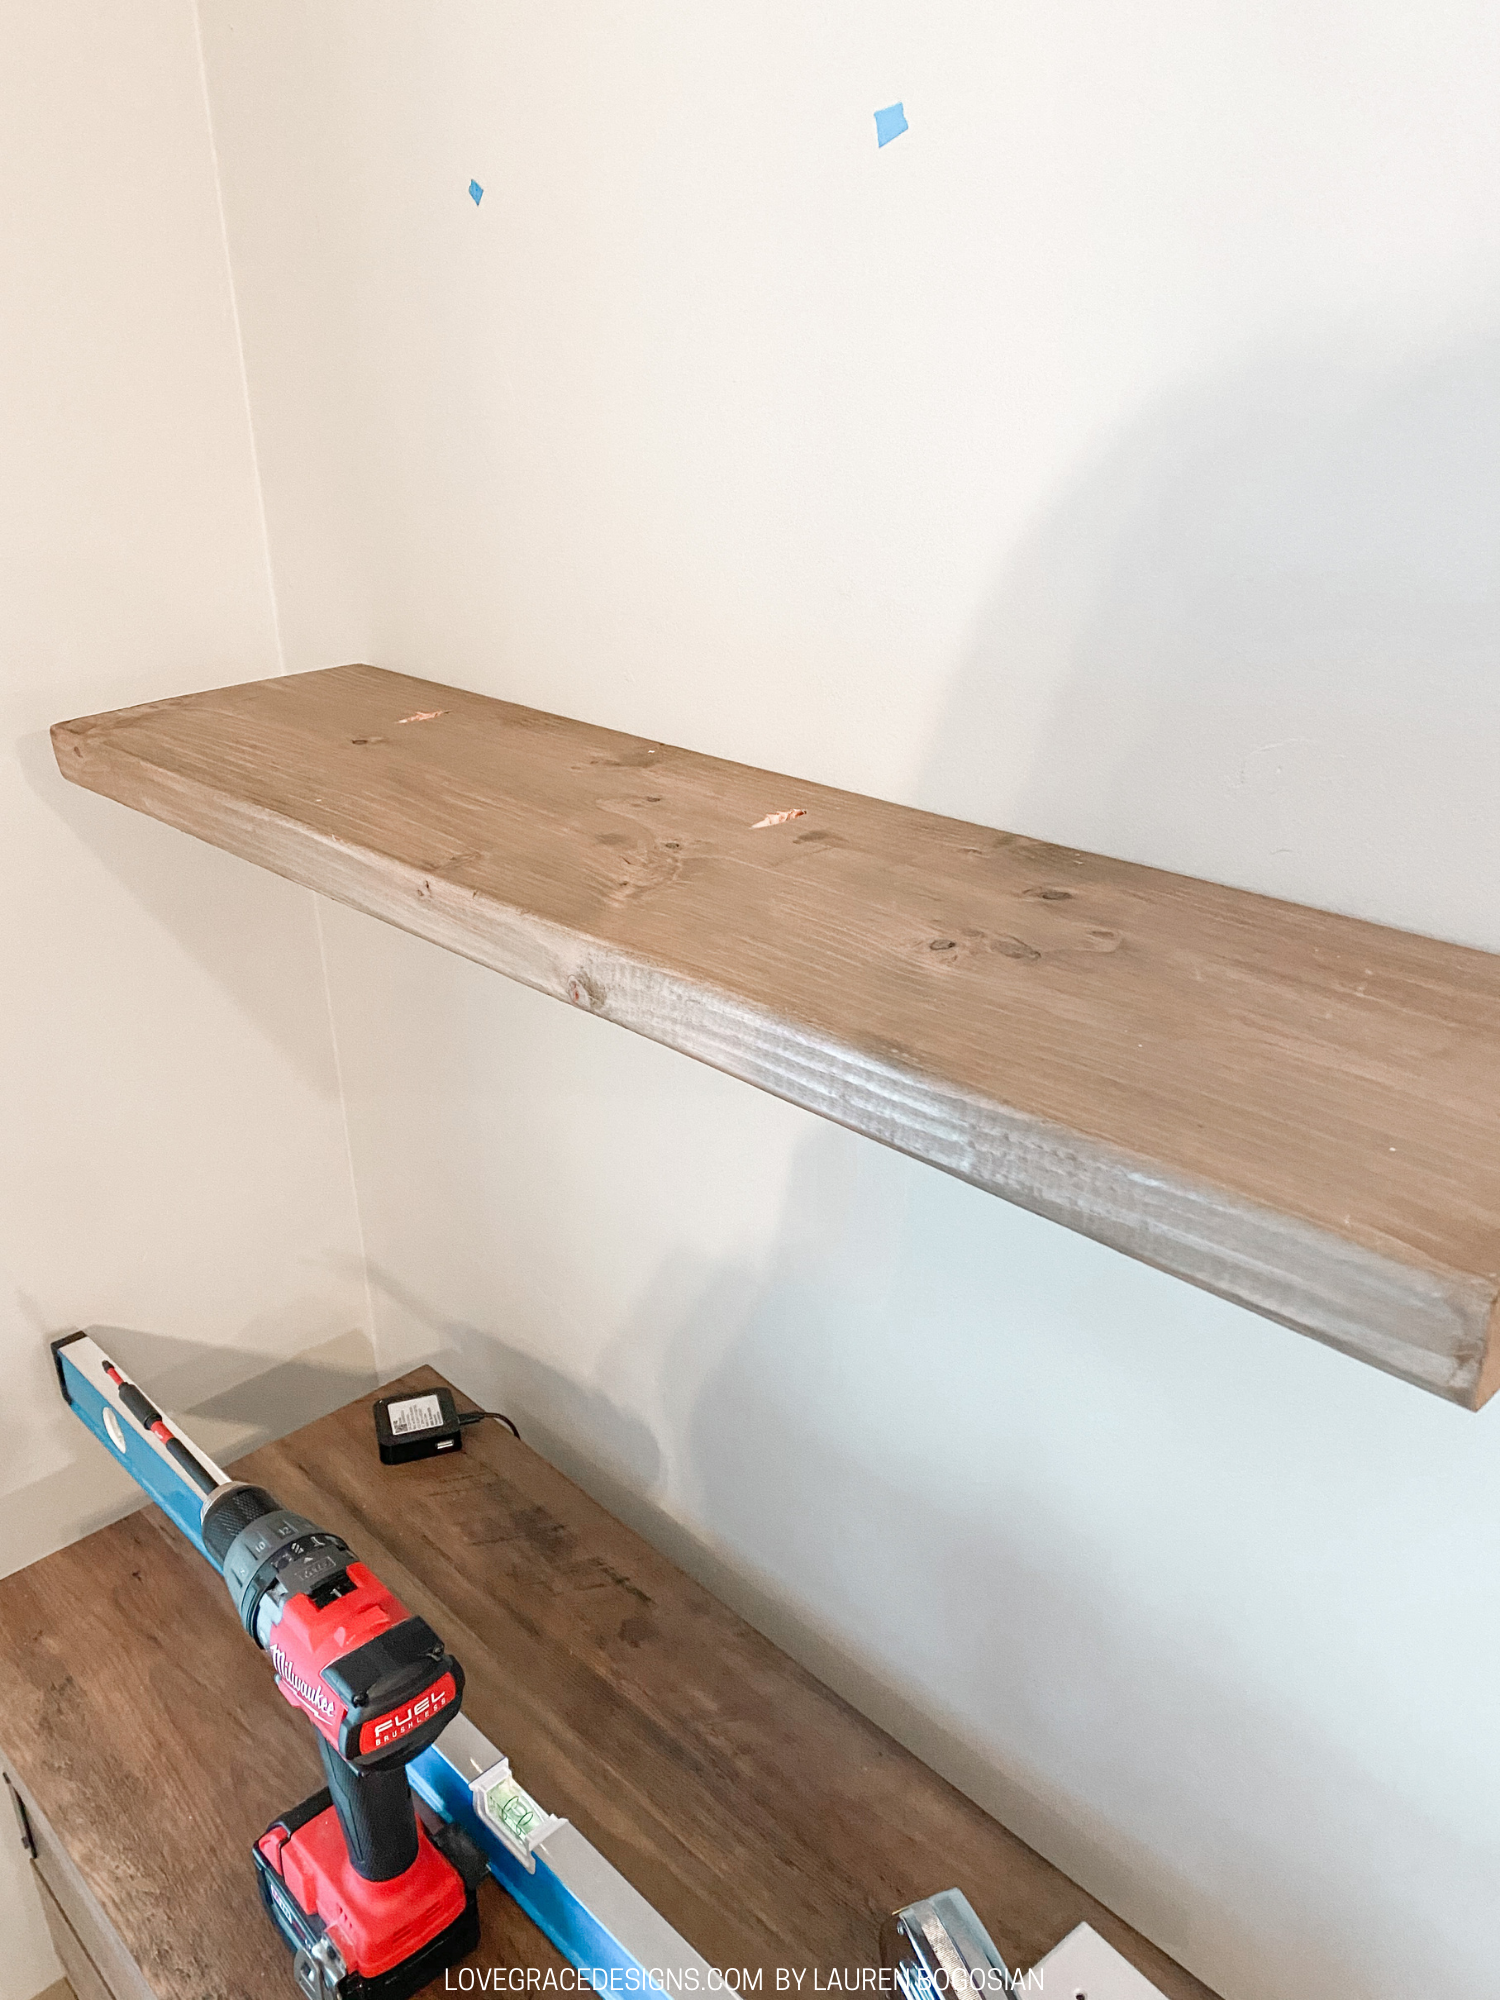
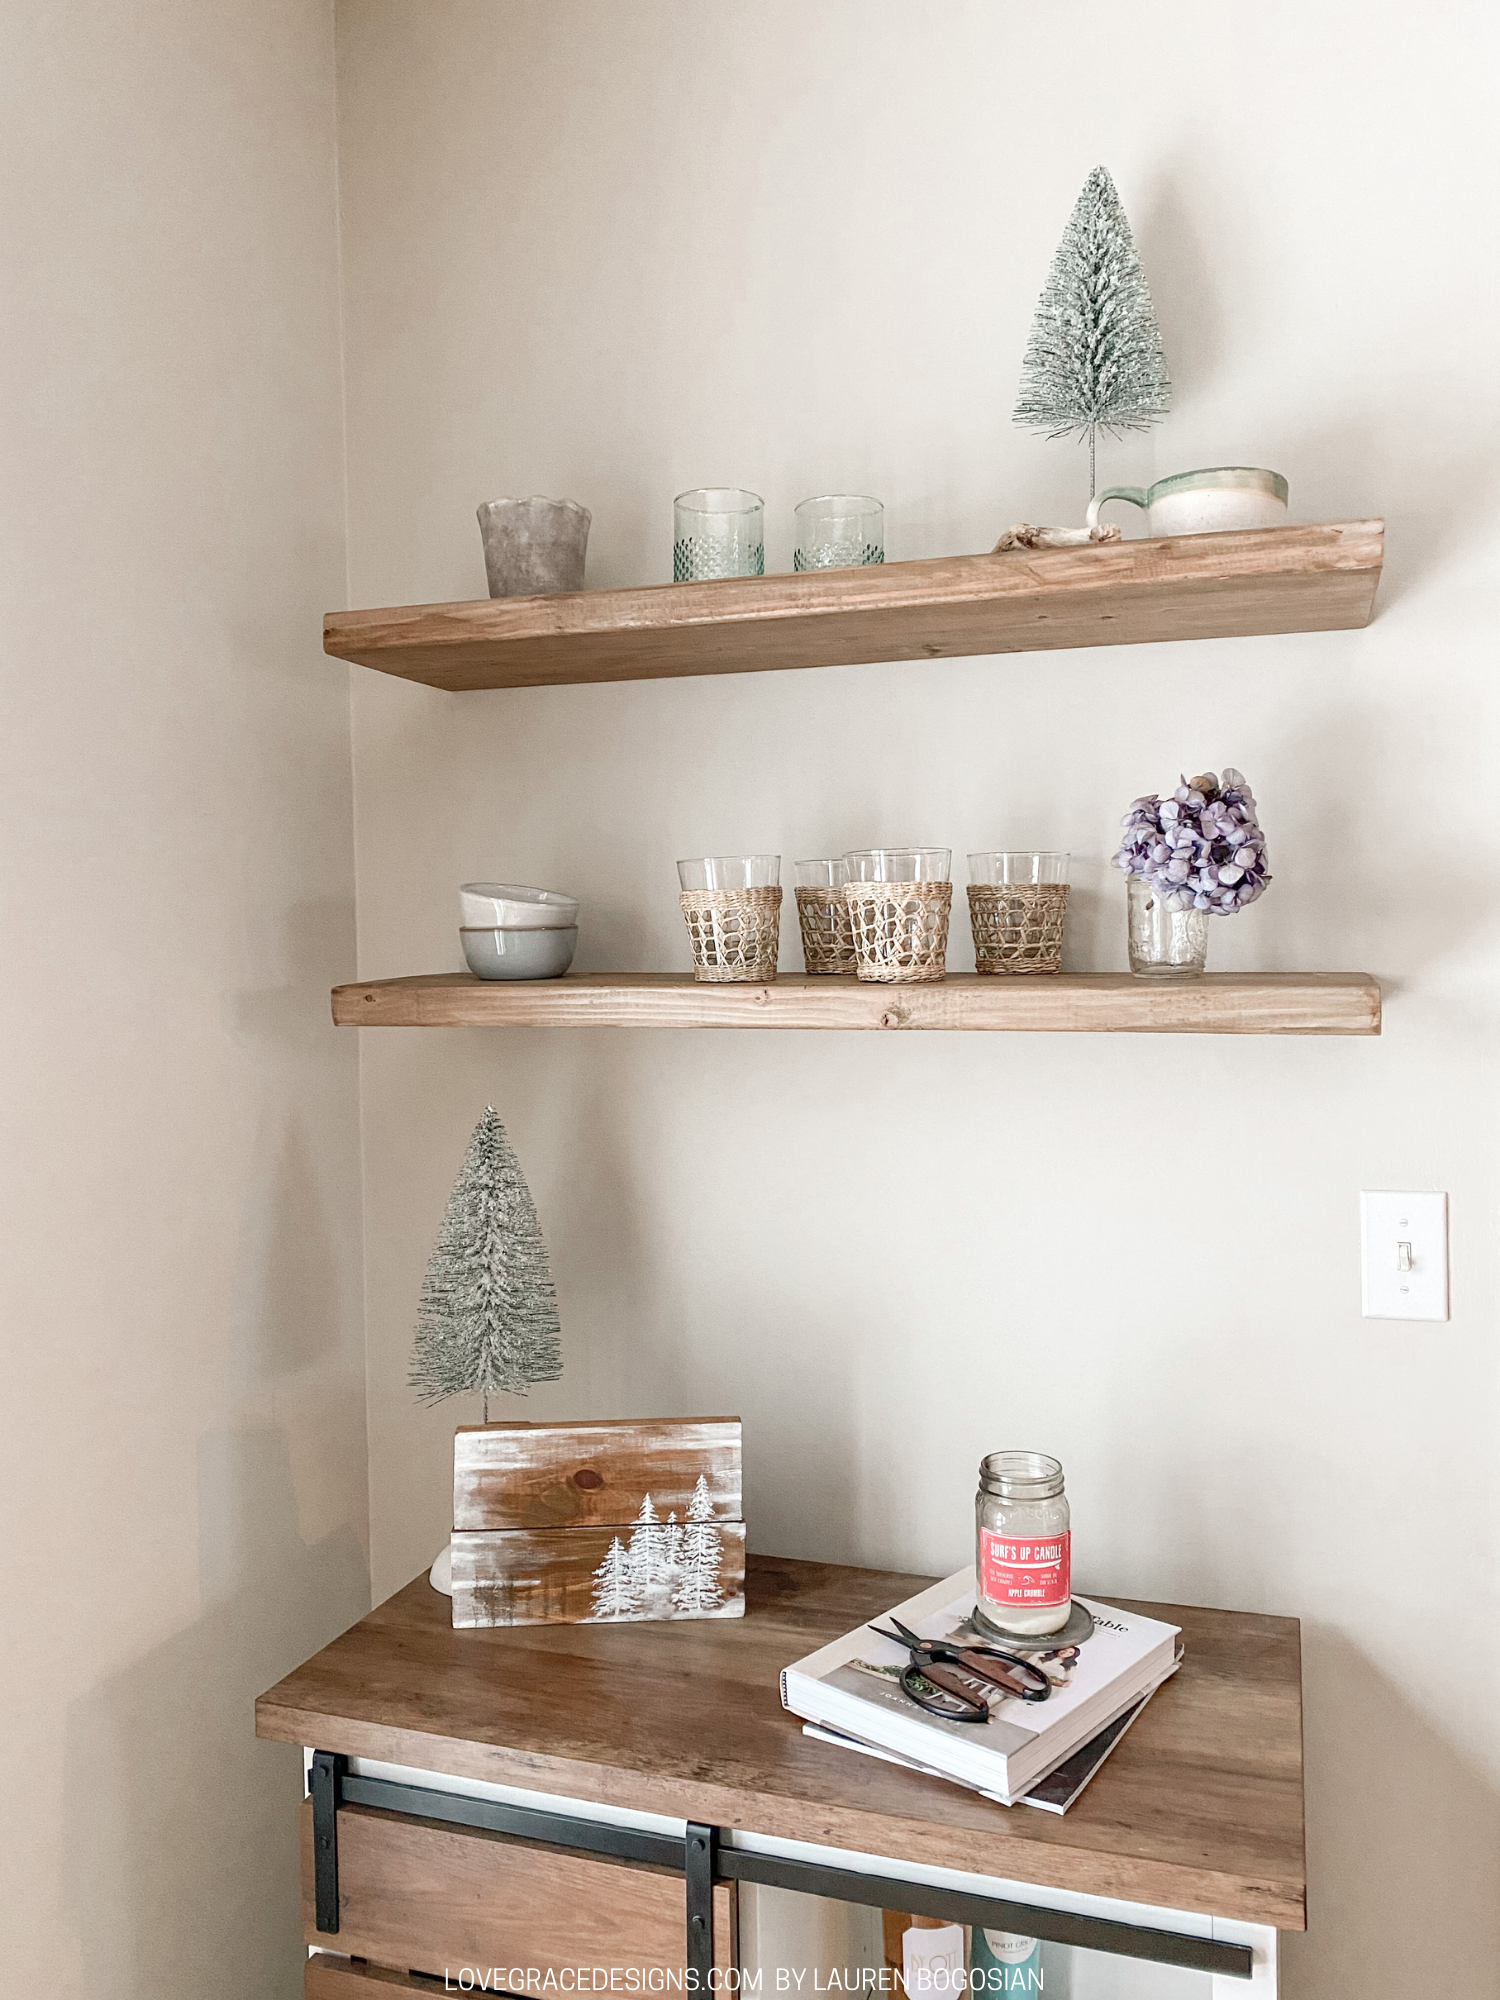
Style, and you are all done!
I had the boards since the spring or summer and we finally just completed our DIY but it is done and that’s all that matters! I cut and stained the boards in the fall which took an hour or so to complete- I made a custom stain which I discuss a little ways down! The measuring, drilling of the pocket holes, and hanging of the shelves took just one afternoon! It’s pretty quick and again, super budget friendly!!
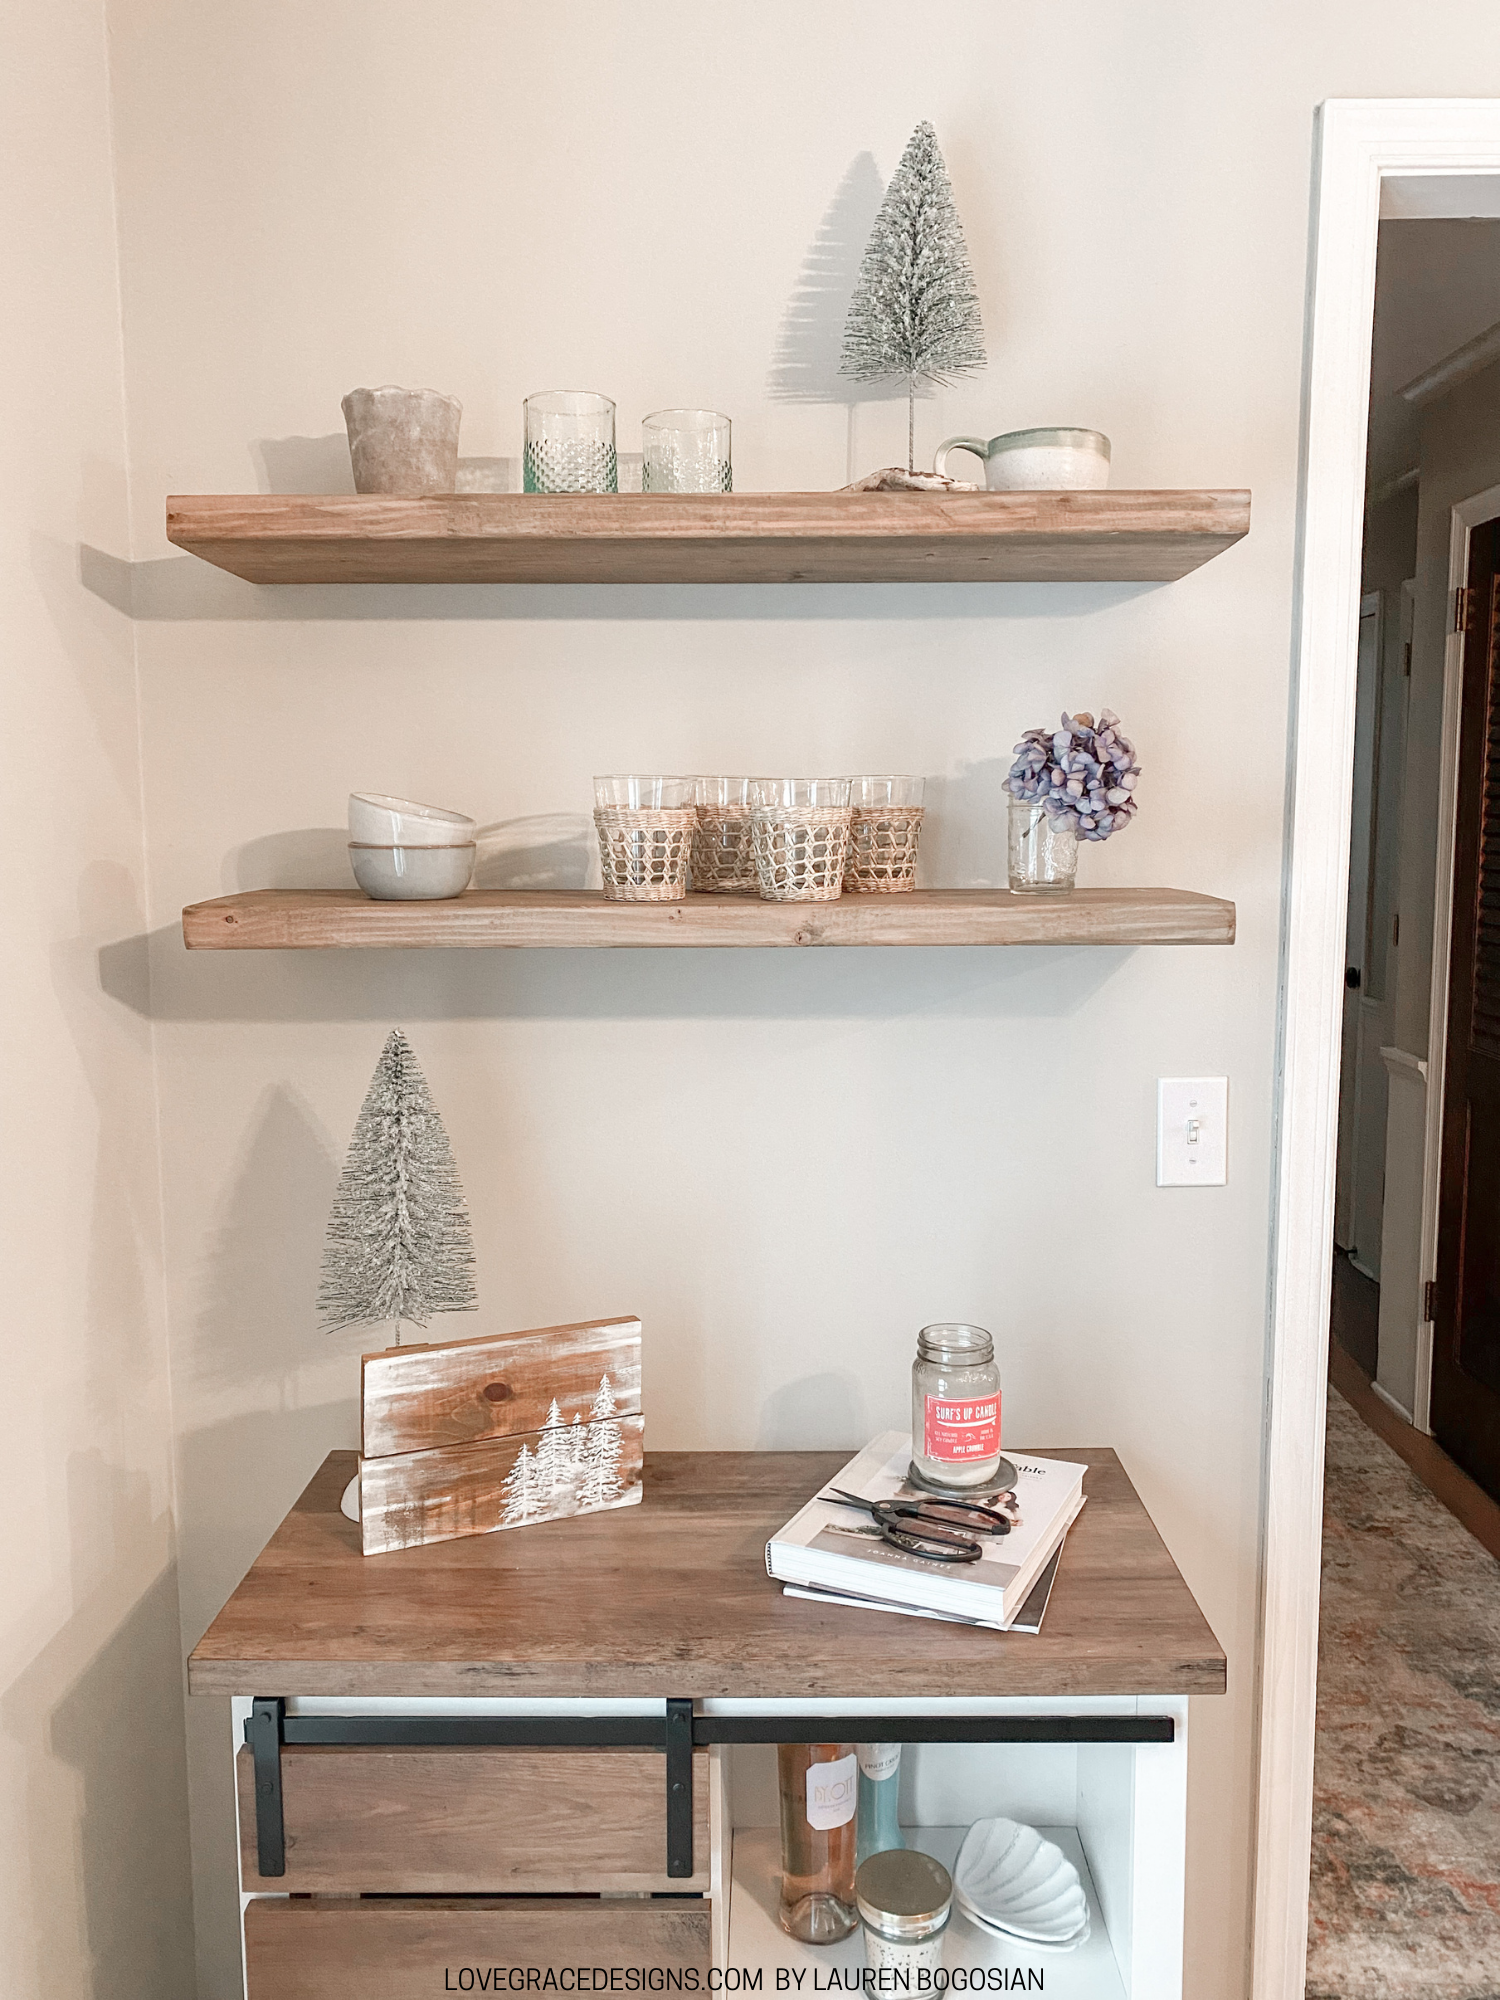
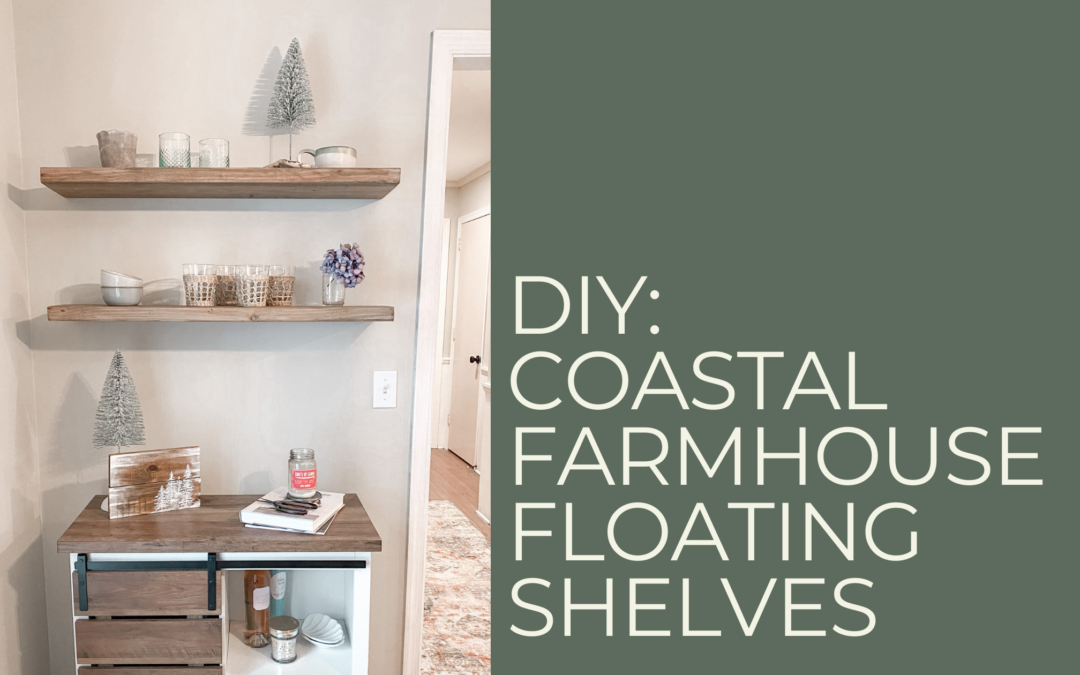
Custom Stain for a Coastal Farmhouse Look
I wanted to stain the shelves to match or be similar to our wood floors. The small liquor cabinet we have has a darker more brown wood stain on it so I wanted to bring the floor colors back up to the wall.
I truly randomly made this stain combo up in my head with stains we already had at home. I went into this just thinking that if it looks bad, I can always sand it and try to re-stain. Sometimes I really over think things and get frustrated it’s not going as I thoughtfully planned out….other times I just wing it hoping for the best and this was ones of those times. Gladly, it went very well and I now love this stain combo for our coastal farmhouse style home!
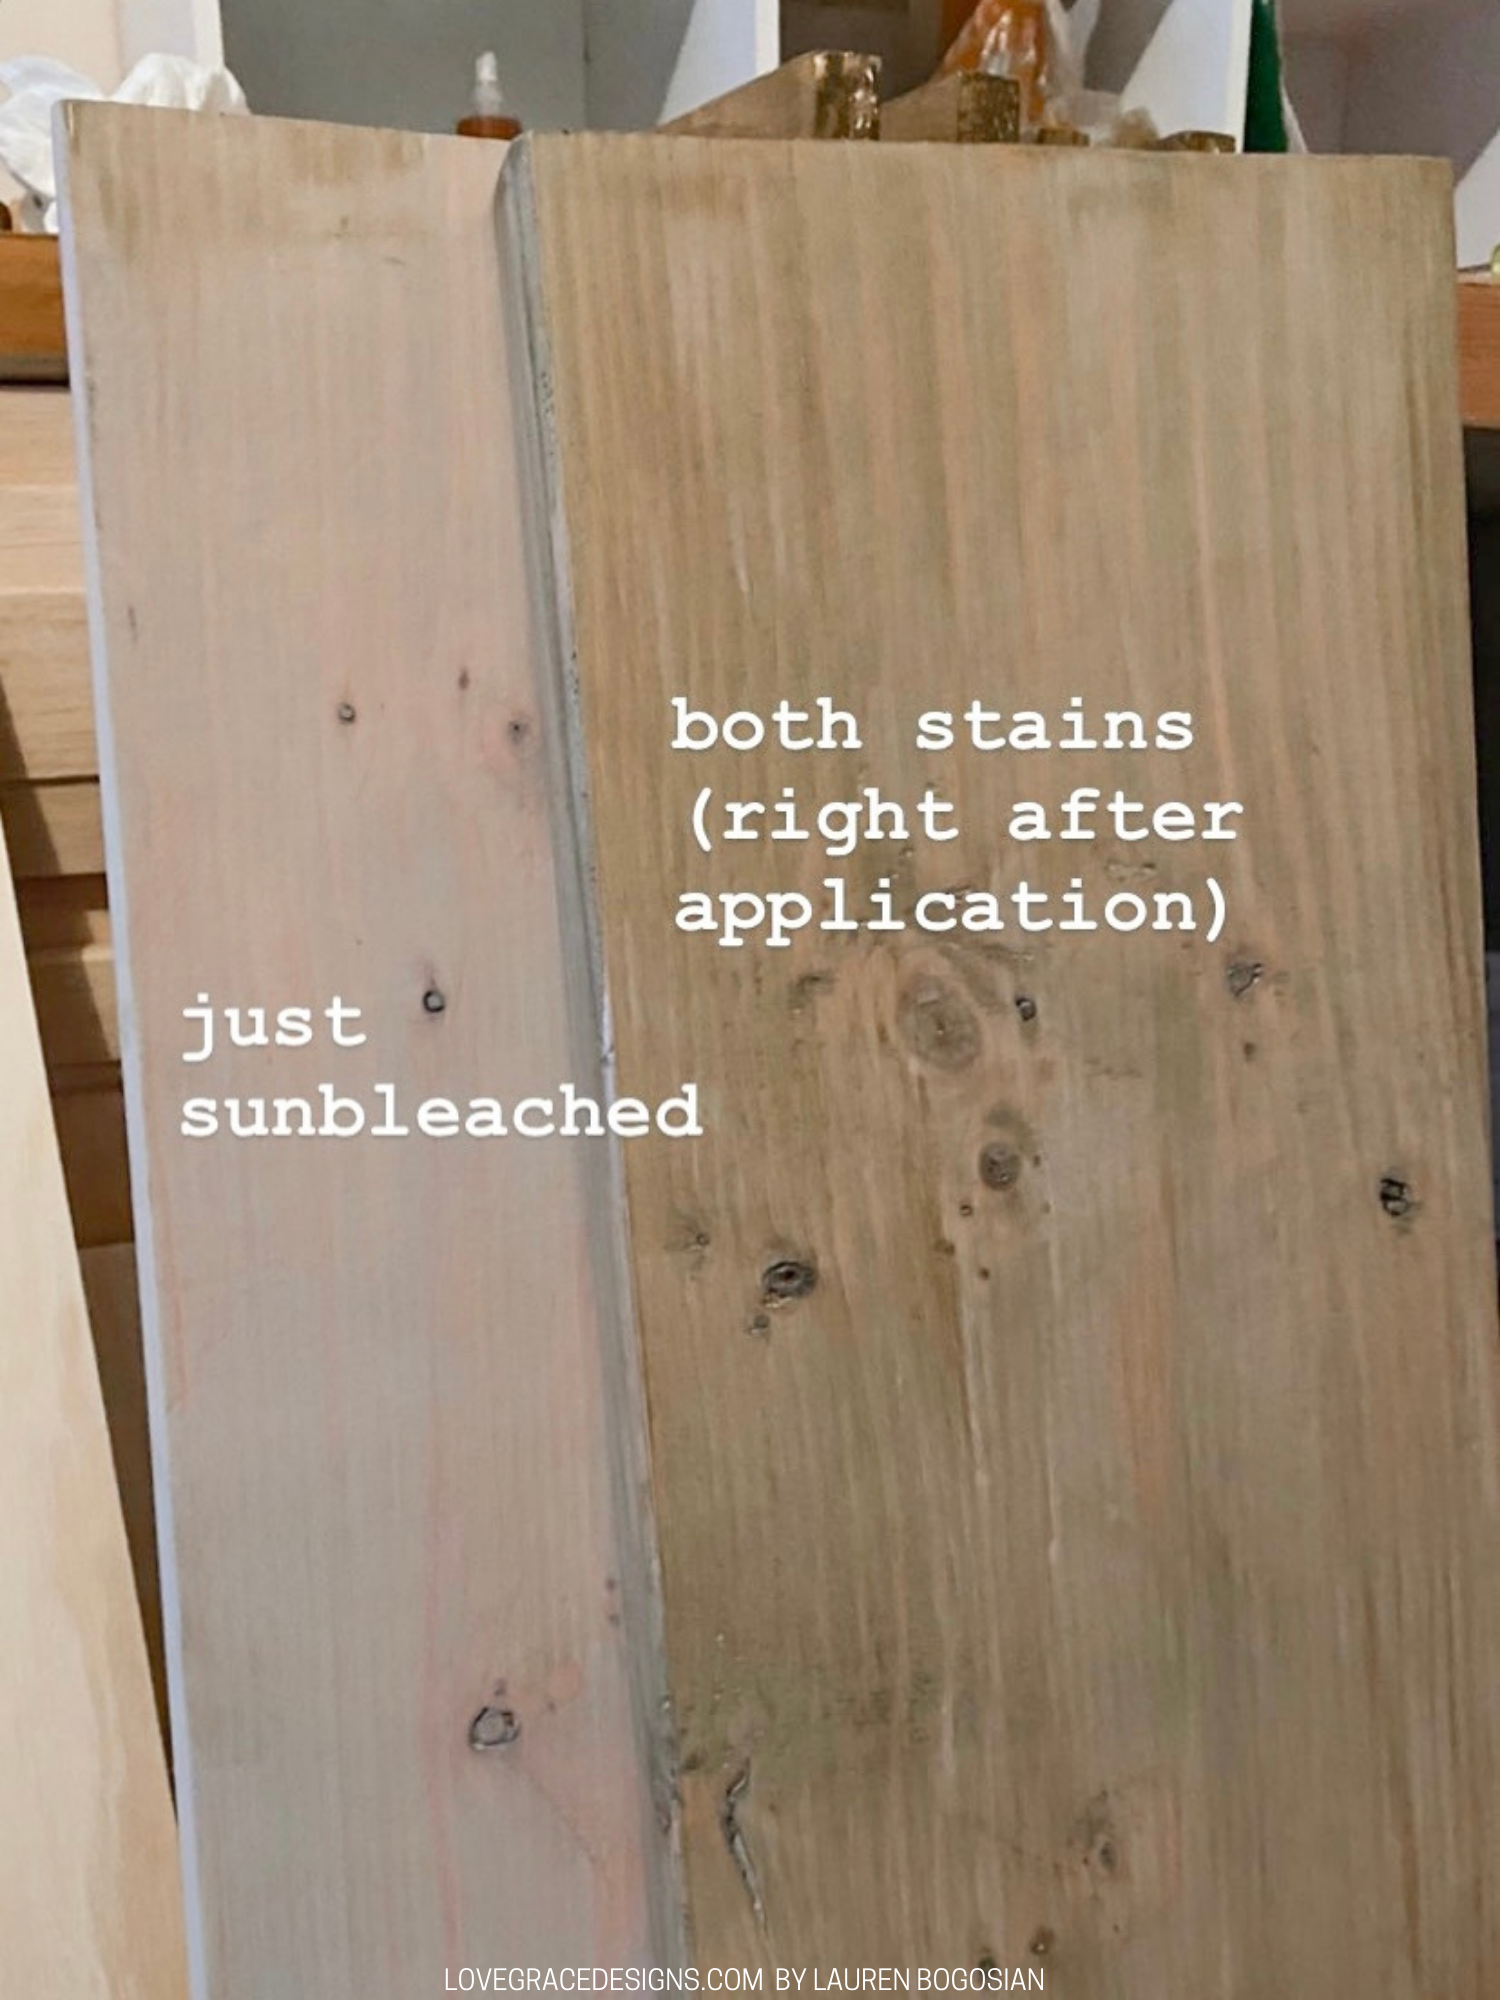
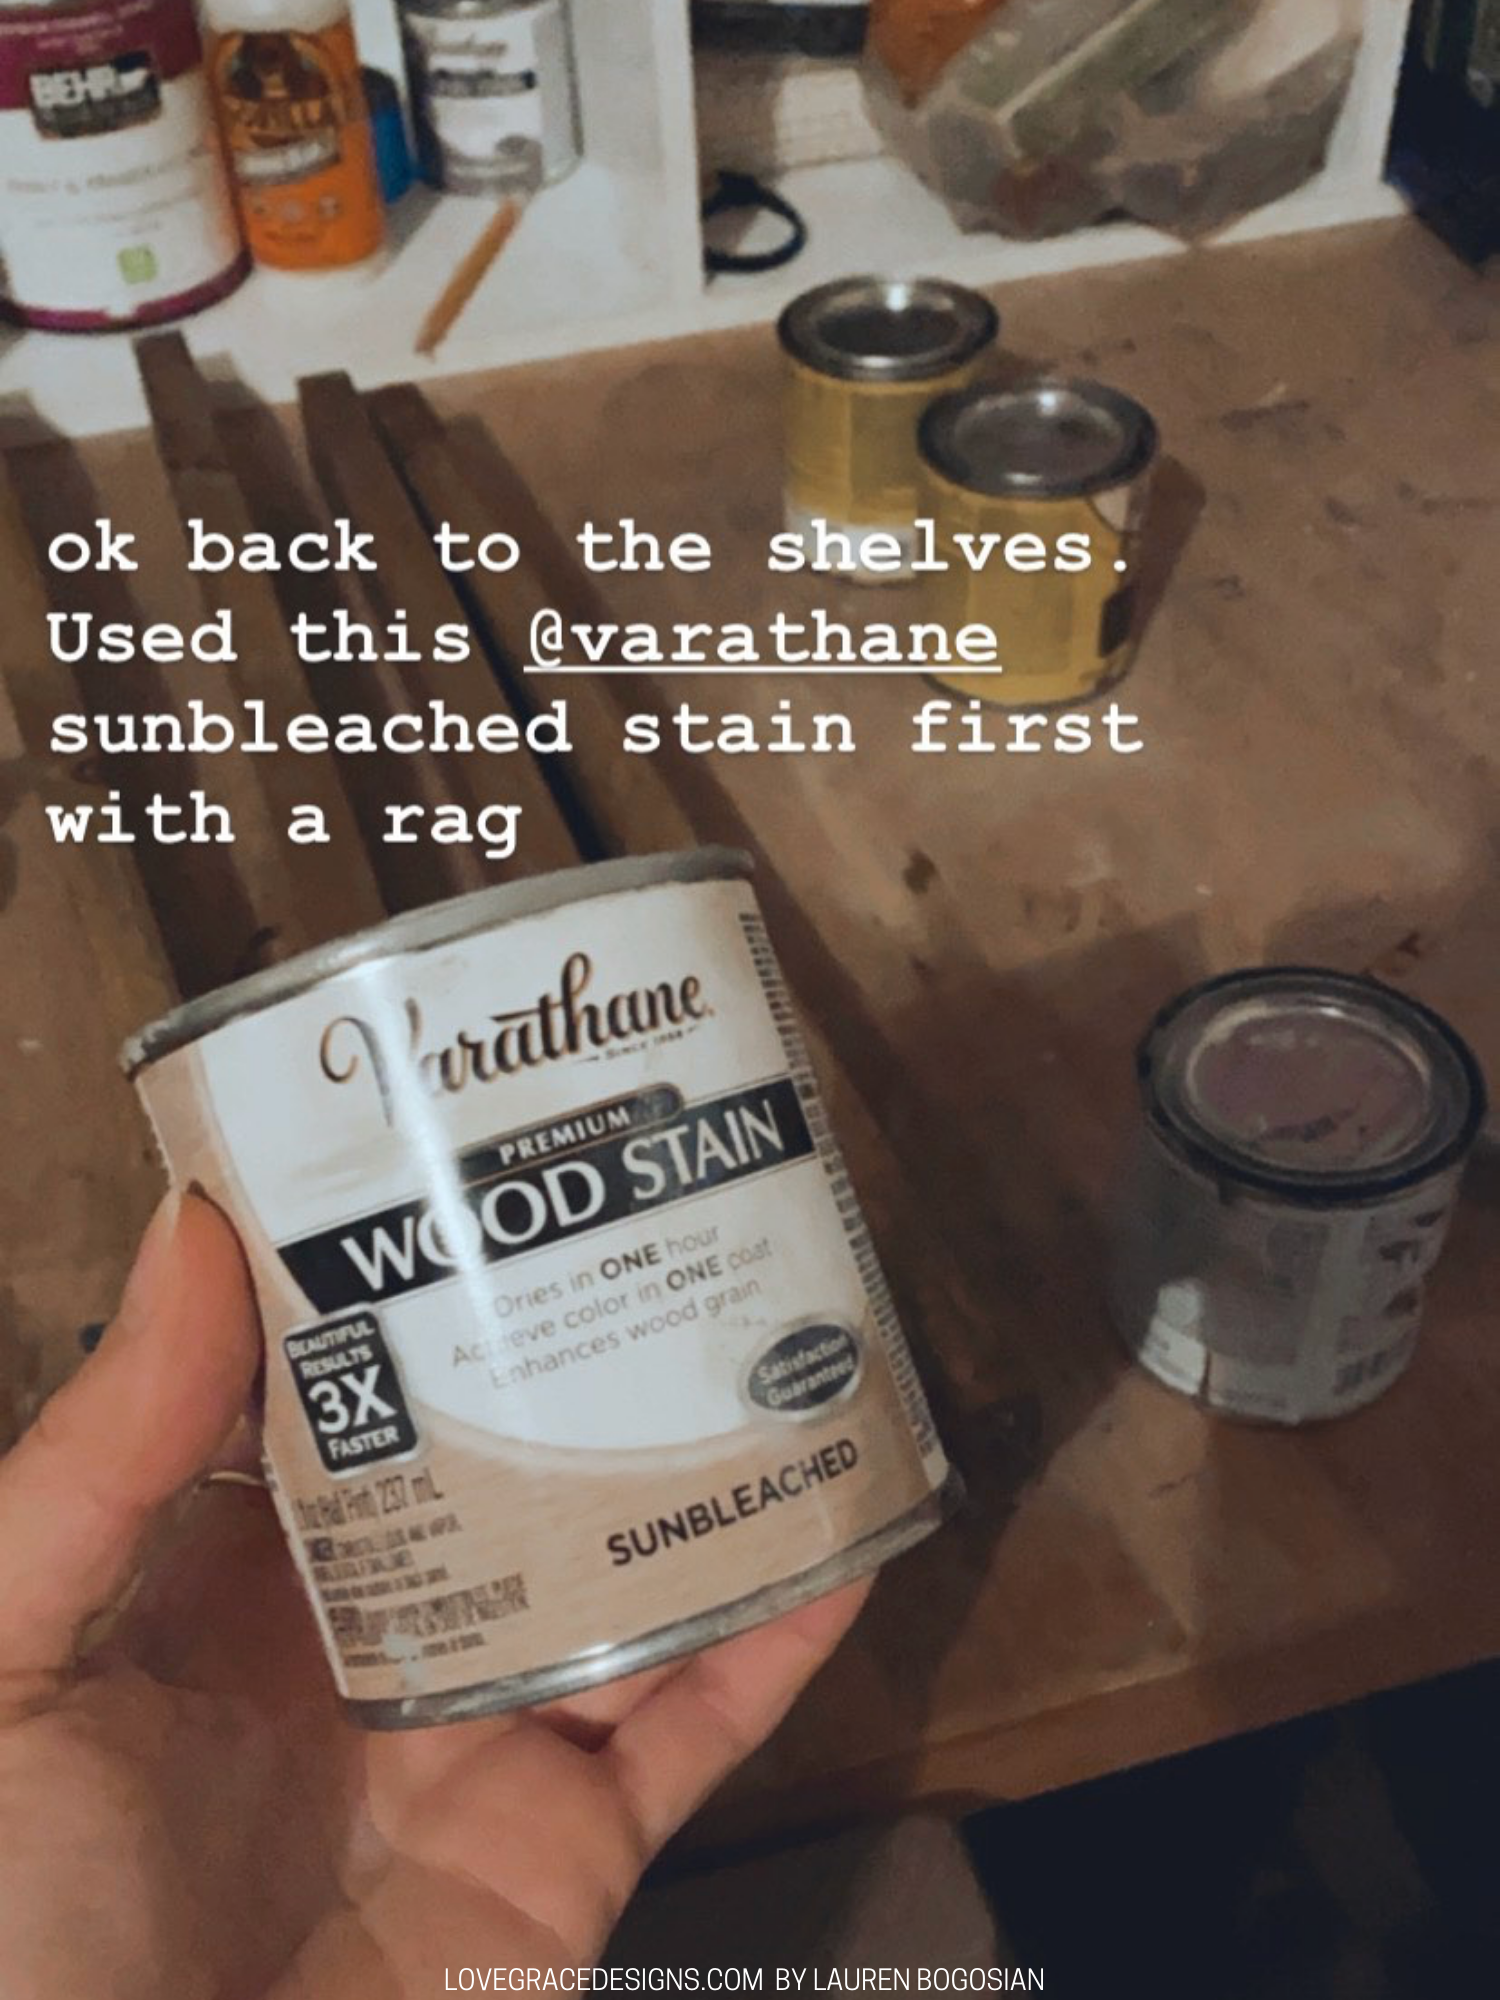
I first stained the pine boards with Verathane sun bleached using a rag. I only let that sit for about 10min or so.
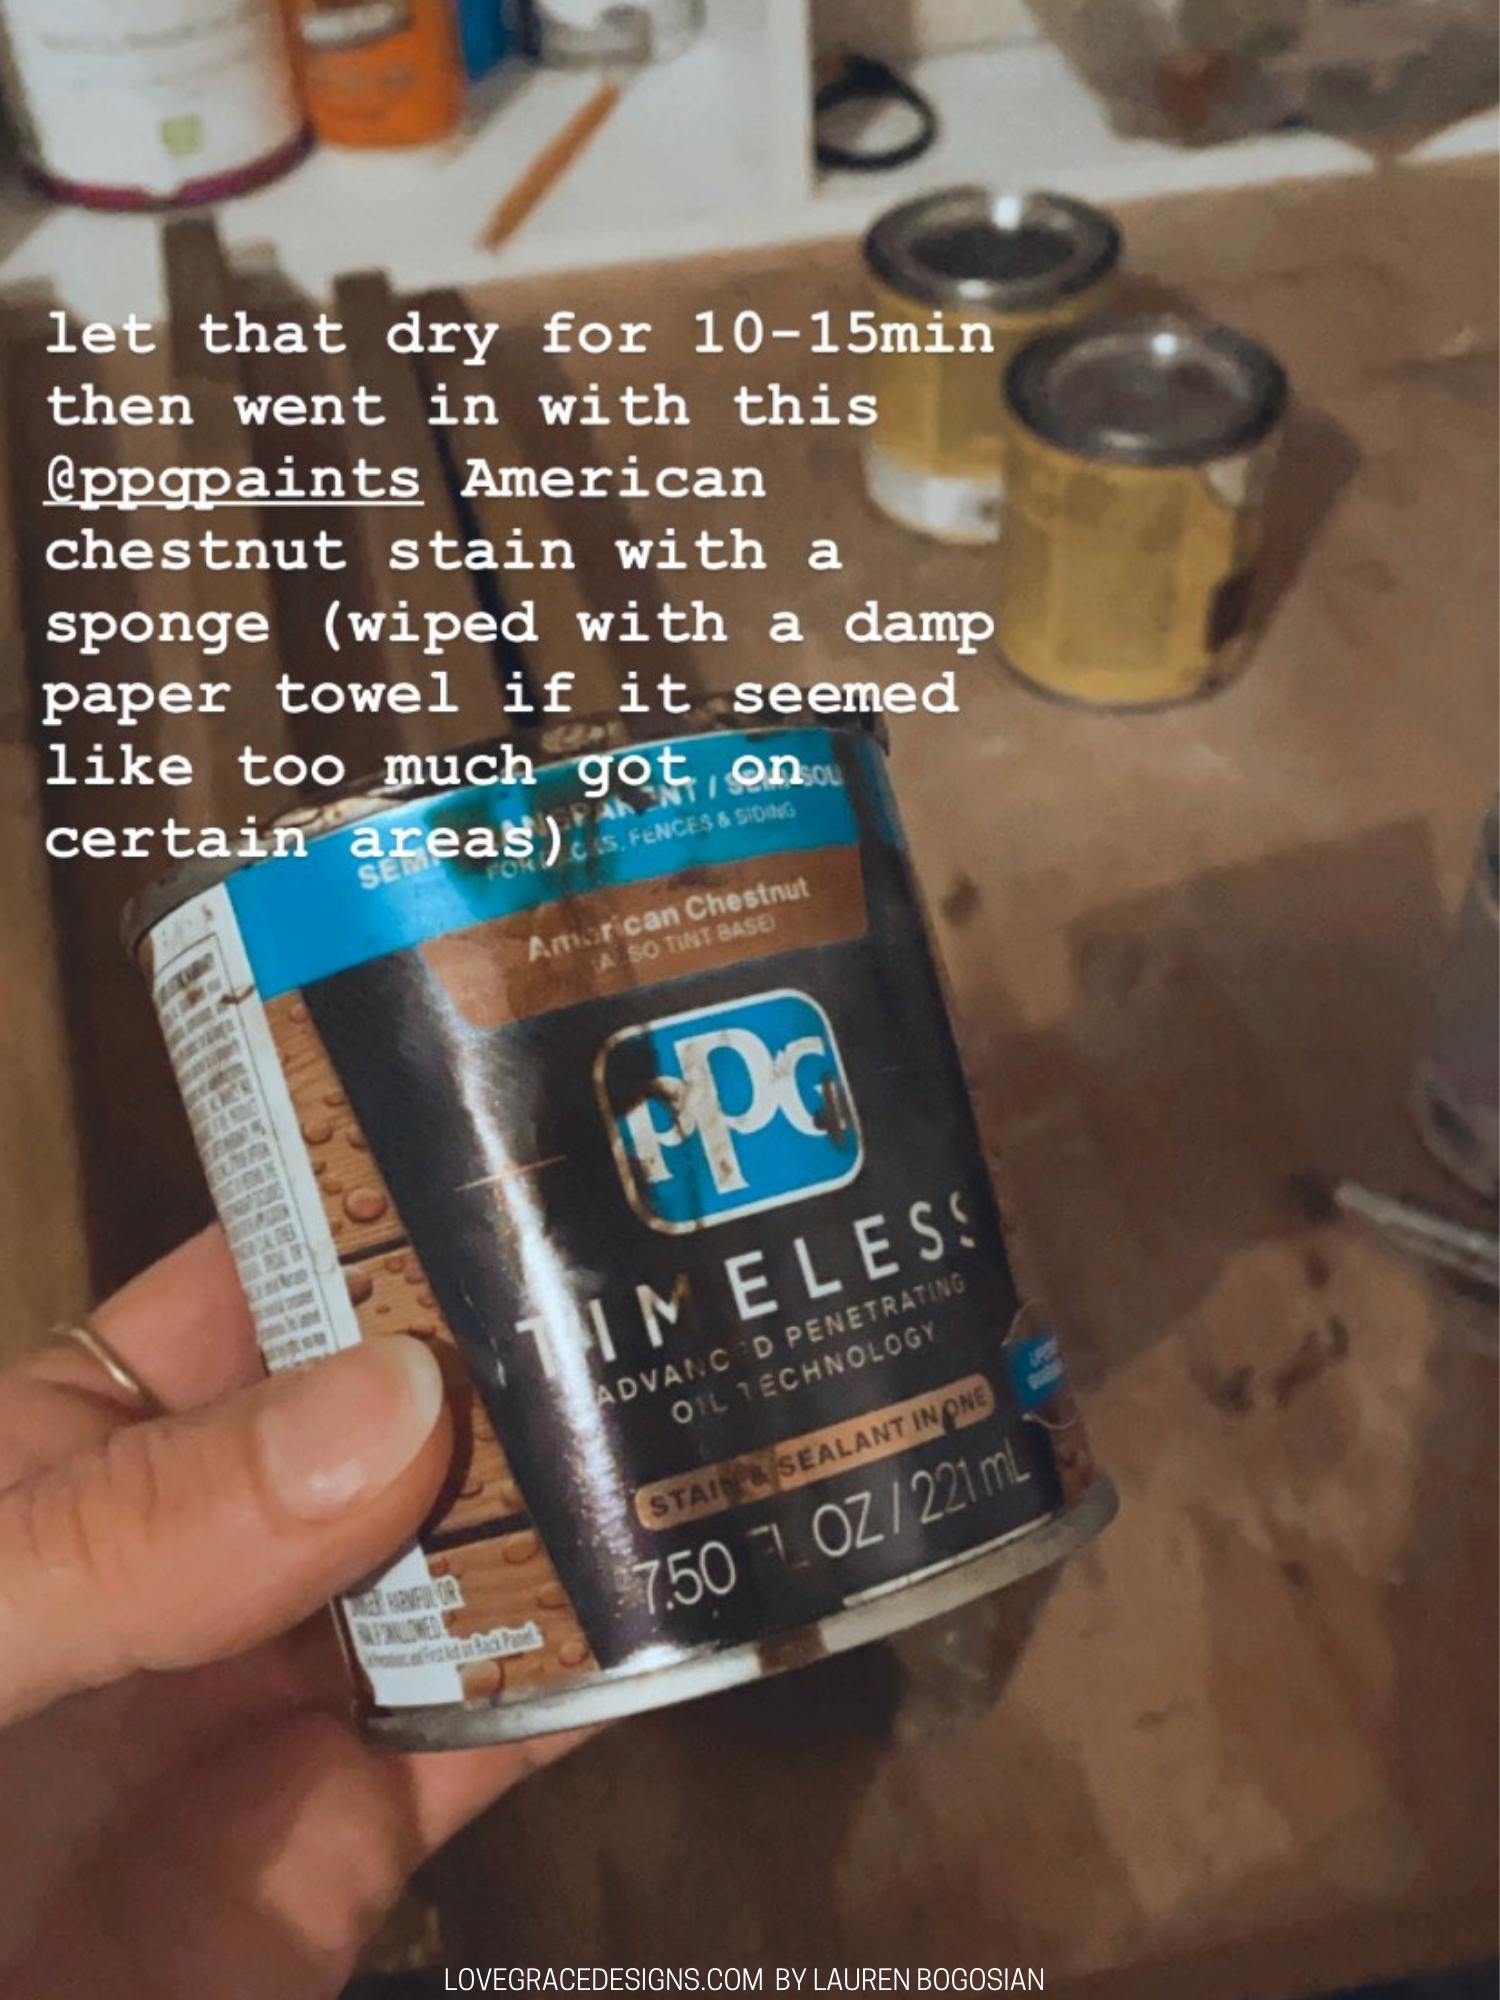
I then went in with PPG American Chestnut using one of those handled foam sponge/brush things. I dipped just a bit of the sponge into the stain can and brushed very lightly over the sun bleached stained pine boards, making sure I was blending it in. Anything that seemed like it went on too dark or too heavy, I just immediately wiped off with a damp paper towel. I continued to repeat that whole process on both boards. This stain part took longer because it was kind of like painting rather than the typical way of putting stain all over.
I seriously love how it turned out and can’t believe how close of a match it is to our wood floors!
There you have it! An easy DIY that is super budget friendly and can be done in an afternoon! Are you looking to make some floating shelves for your home?? If you use this technique, I would love to see!!
Oh, and if you’re interested, you can shop the coastal farmhouse decor!
Be sure to save this post to Pinterest to help inspire you for your next DIY home project!